I recently wanted to make a quick gift to include in a graduation gift bag, and fortunately I had a bit of fabric for the University the graduate was planning on attending.
So, here’s a quick tutorial of how I made the scrunchie. It took less than 5 minutes, start to finish, so this is a cute and easy DIY project.
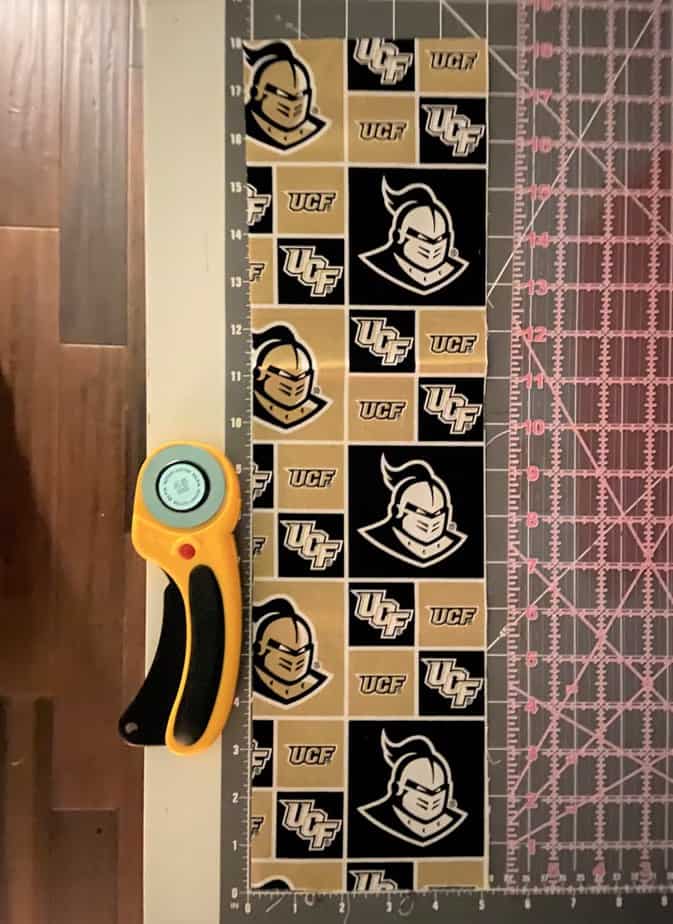
Below is the tutorial and links to materials where I can provide them. (As an Amazon Associate I earn from qualifying purchases.) Here’s a link to some collegiate fabrics for you to start your search if you don’t already have scrap material for your favorite team. The material size you’ll need is just 5″ x 18″.
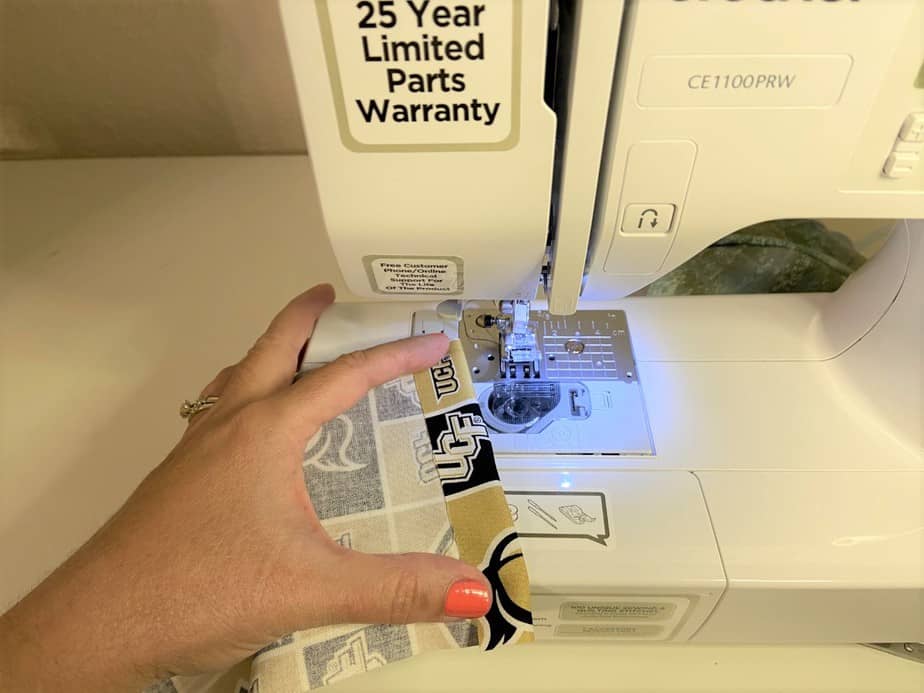
For the first step, fold down the edge of the fabric (the short edge) and sew it down to create a finished edge.
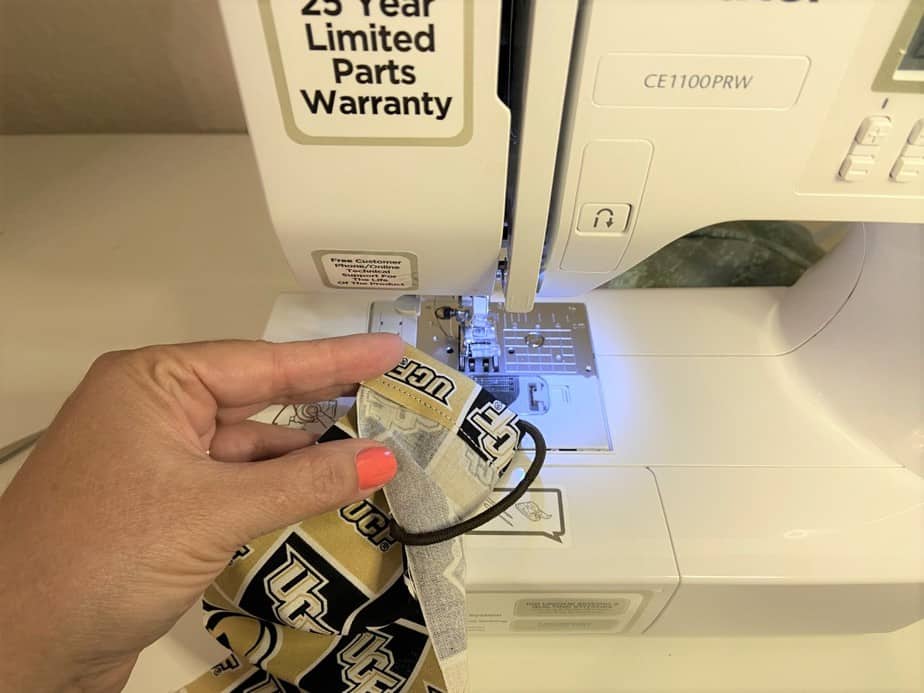
Rather than sew in elastic, and try to figure out the length of elastic I’d need, it was quicker and easier to use a dollar store hair tie since I already knew this was the right elasticity and size.
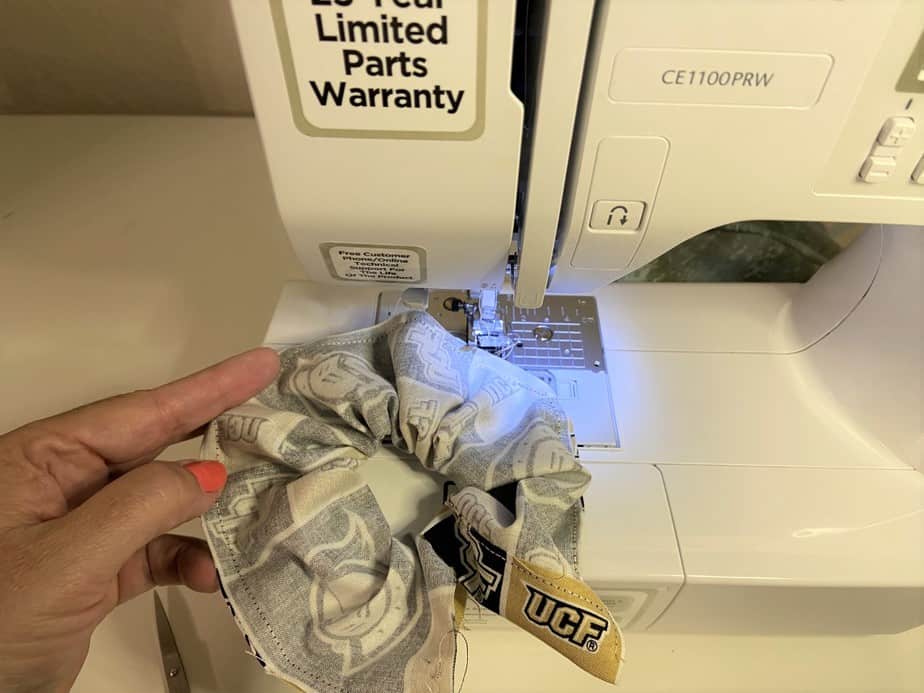
Wrap the fabric around the elastic band as shown below (wrong side of the fabric facing you). Sew down the entire length of the fabric strip.
Here’s what it looks like once you’ve sewn all the way around.
Then turn the fabric inside out, watch the video below (less than 3 min total) if you don’t understand how to do this. Basically just poke the fabric through and “inside out” it.
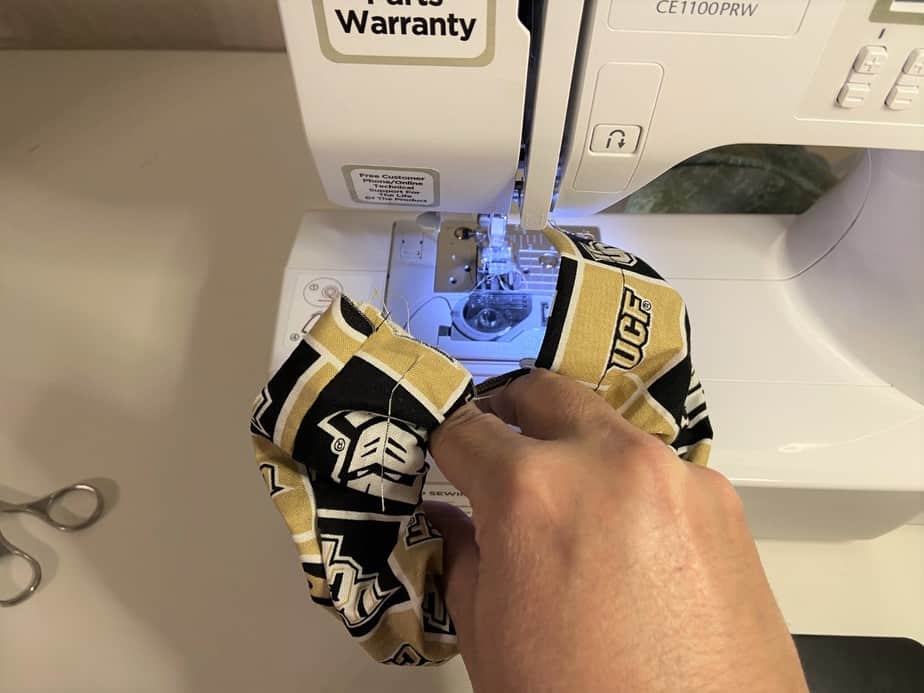
Then you’ll tuck the unfinished edge (the left side of the fabric in the photo above) into the finished edge you created in step 1. Then just sew right down to close the scrunchie.
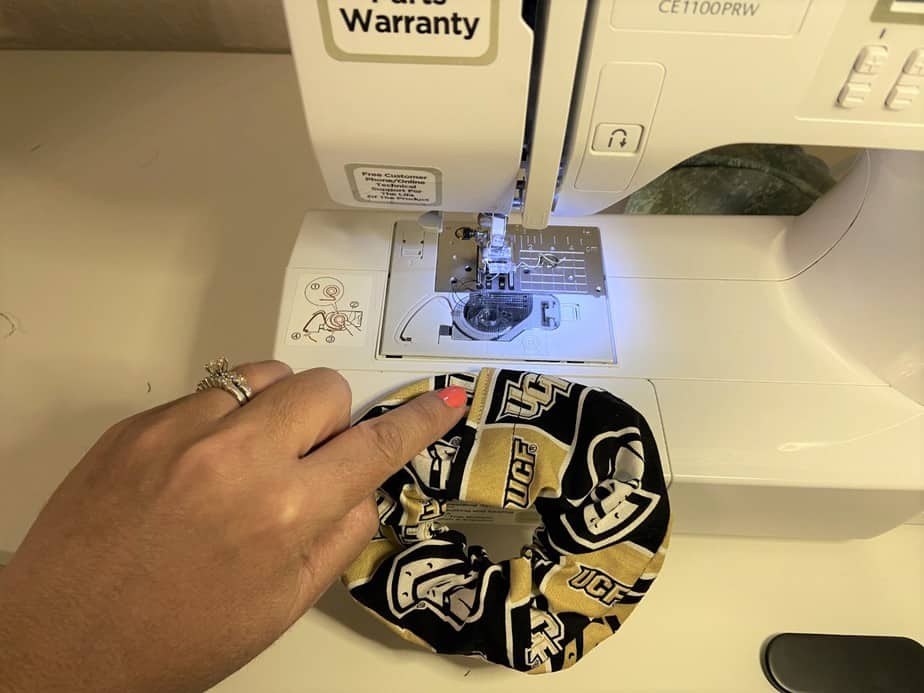
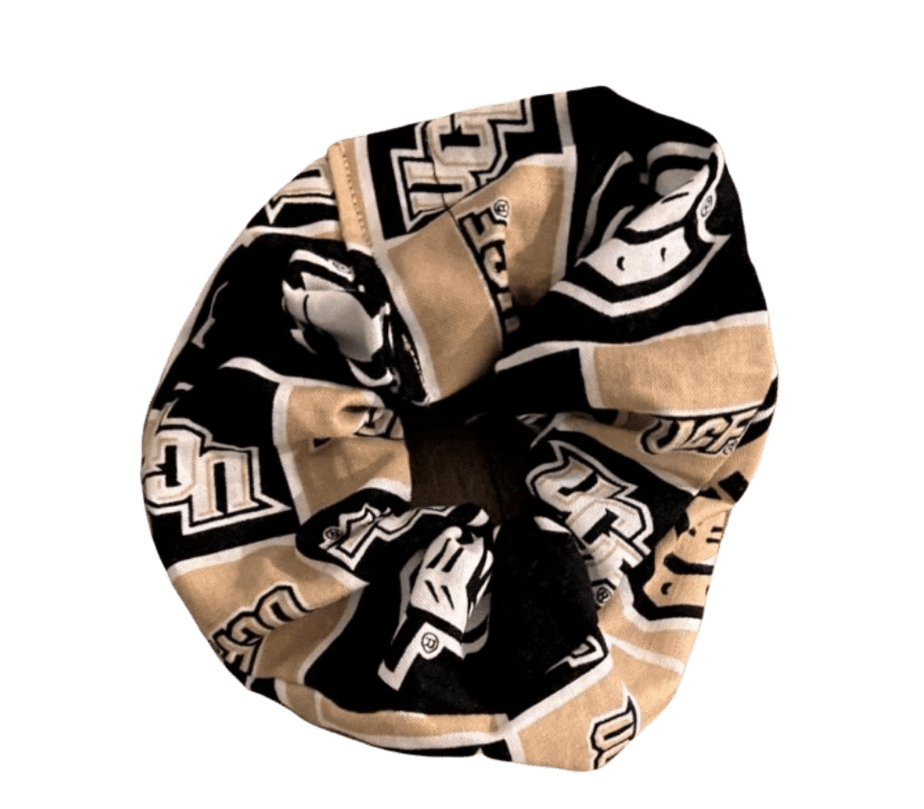
That’s it! Done in no time at all! I hope you enjoy it and that you’ll post a picture in the comments if you make one.


Here’s a link to the YouTube Video: