
Zipper Pencil Pouch DIY
This pencil case tutorial is great as a first sewing project.
Here’s one project you can check off of the school supplies list. Create custom pencil cases using cotton fabrics (or canvas) and a sturdy zipper you may find already stored in your craft room.
The pencil pouches you create are made with your favorite fabrics. So you can make a cute pencil pouch with different colors, polka dots, or other cute designs.
This pencil bag can hold all of your daily essentials inside of the large roomy compartment inside.
This bag easily fits school essentials, perfect for sticky notes, crayons or art supplies, writing supplies, your own pencils, mini stapler, gel pens, and other small items.
I use this same set of basic instructions to make cosmetic bags, toiletry bags, even a canvas pouch to hold craft supplies.
You can also make the zipper pouches slightly smaller to hold personal items (especially for adolescent girls who may need a discreet way to store personal feminine items).
I have created the zippered pouch a few different ways. You can see which you like best in terms of the finish and the materials you have on hand.
All of them are quick tutorials, taking around 15 minutes.
DIY Pencil Case Instructions:
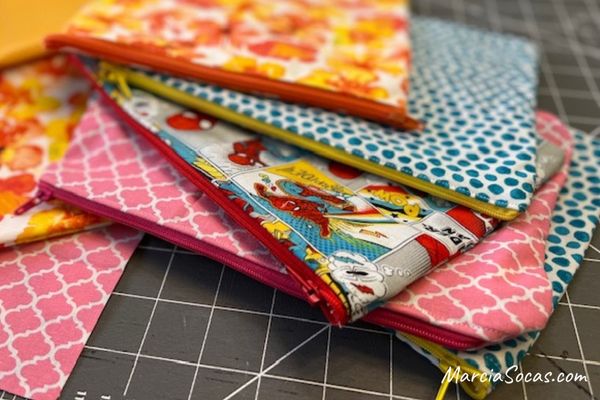
Here are the 4 styles. Each comes with it’s own step by step instructions. You can scroll down to view all of them, or click on your favorite below and it’ll “jump” you down to that specific tutorial or to the corresponding blog post.
- Fabric pencil pouch with coordinating lining (click to jump to it below)
- Fabric zipper bag with interfacing (tutorial coming)
- Canvas zippered pouch (tutorial coming)
- Cricut project for zippered pencil pouch DIY (tutorial coming)
- Here are adorable pencil pouches on Amazon that you can buy or use as inspiration
Sizing for the Pencil Pouch
The size I used was 11″ x 8″ for my materials. (This means I can make 2 zipper pouches from one fat quarter piece.)
A standard pencil measures 7.5″ in length, so the bag size is ample.
For me this is the perfect size because by the time I’m done, I’m at around 10″ x 6.5″. This is a perfect size to fit everything.
Throughout my site I provide affiliate links to products that I hope will help you with your DIY project supplies. As an Amazon Associate, I earn from qualifying purchases. This means that I may receive a small commission if you use these links to purchase products, but it does not change your price in any way.
Fabric pencil pouch with coordinating lining
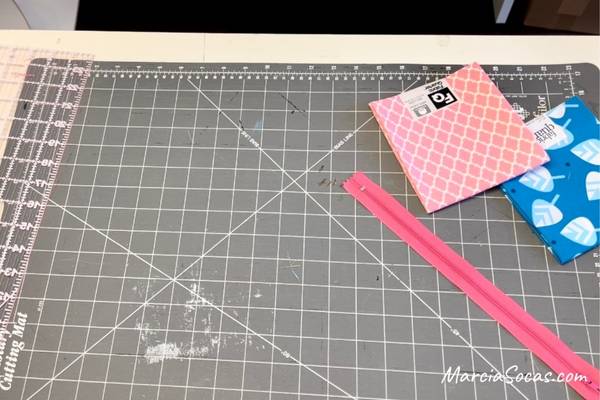
Supplies:
Cutting mat (mine’s well-worn but works perfectly for me)
Fabric for outside of the bag (I’m using the pink for the exterior)
Fabric for the inside lining of the bag (the blue)
Zipper
Rotary cutter
Ruler
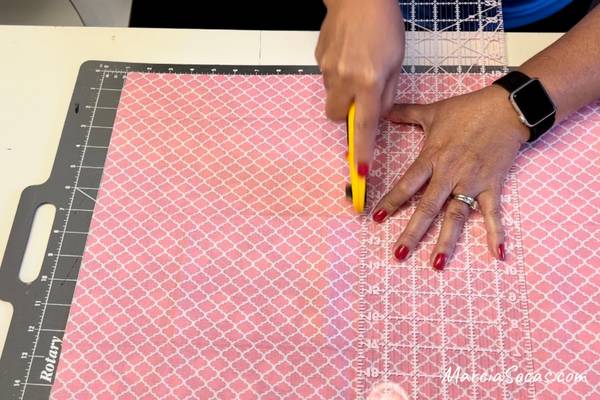
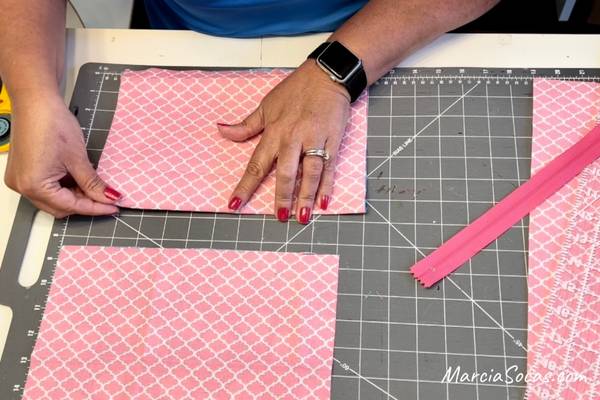
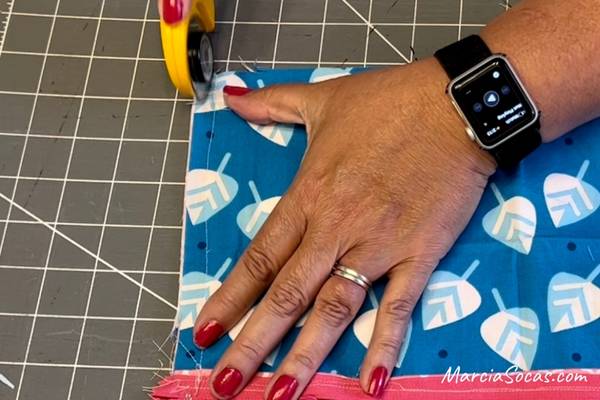
Cut 2 outer fabric pieces and 2 inner fabric pieces 11″ x 8″ in size. For me, its easiest to put the outer fabric pieces and inner lining pieces together (wrong sides together so that the pretty side is visible) and cut them at the same time. That way they are cut in exactly the same way and fit together perfectly.
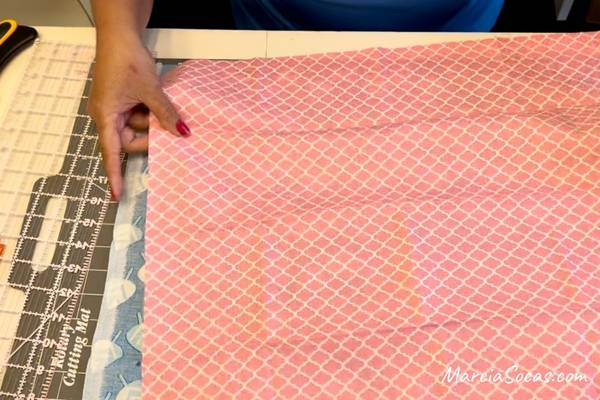
You’ll have two fabric rectangle sets of fabric. Each set is made up of two pieces of fabric; the pretty outer piece on the top and the coordinating lining piece on the bottom. The finished part of the fabric is visible on both sides.
Lay the first fabric set on your table, with your finished outer fabric facing you (facing up).
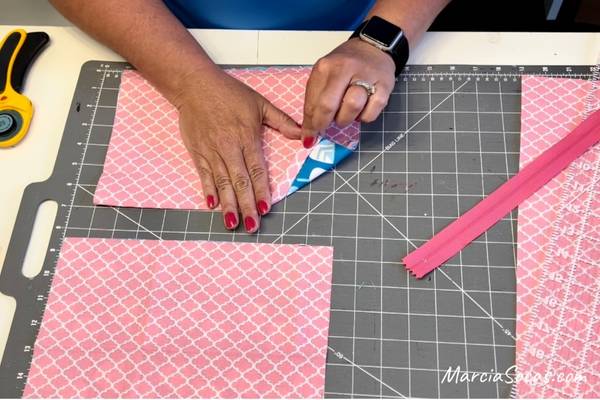
Fold over a small piece of the top edge of the fabric (away from you). You can iron this down. I detest ironing, so I just crease it down and hold it and skip the ironing.
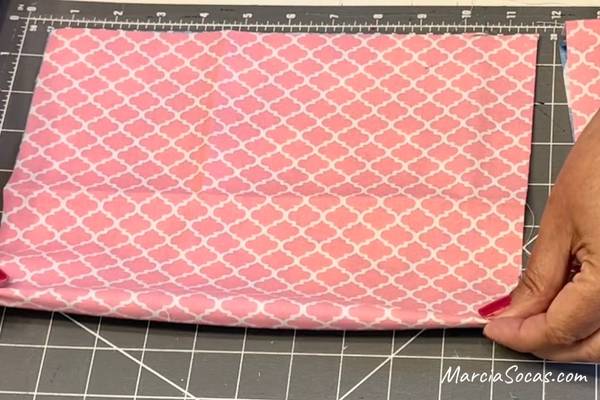
Here’s another view. See how the pretty side is showing on both sides of your fabric set. One is the outer fabric and the other is the lining.
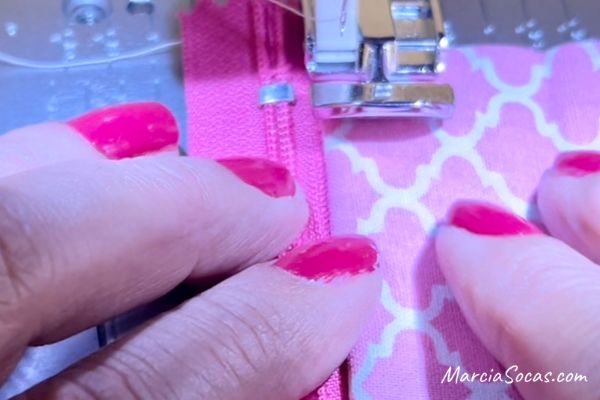
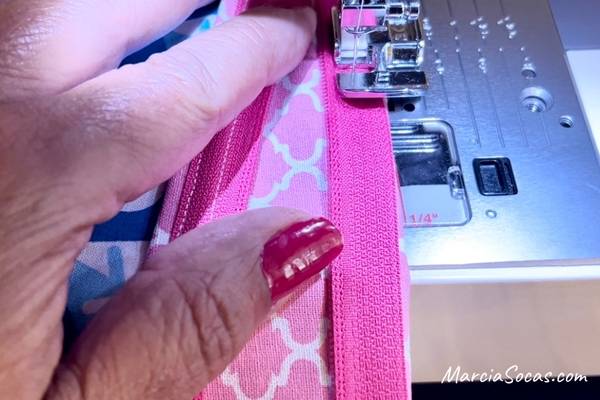
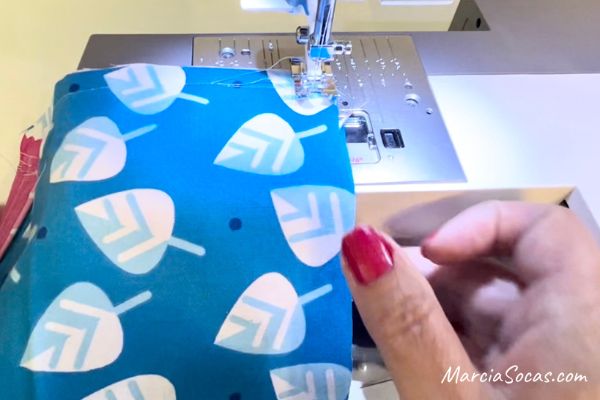
Now lay the zipper onto your fabric. The zipper face must be facing down so that you’re looking at the back side of the zipper. Line the zipper edge up with the folded edge of your fabric set. Open zipper half way. Secure this in place using your favorite method. I use pins, but some people like tape or binder clips instead.

Time to start sewing your pencil pouch!
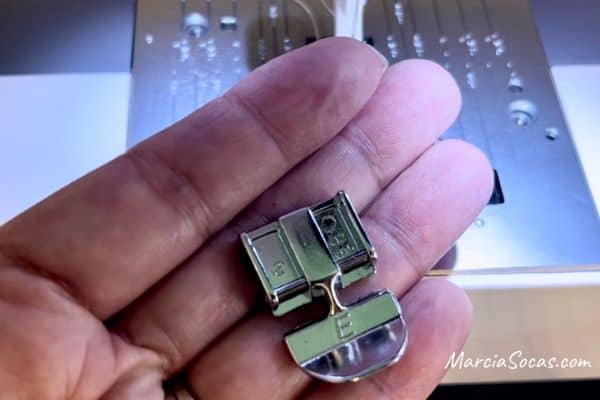
Switch to a zipper foot on your sewing machine. On my machine (Husqvarna Viking), it is the E foot. Sew along the side of the zipper from the top of the zipper down to the bottom. *Note: some people like to cut their zipper down to size before attaching it, but I don’t find it necessary when creating this simple zipper pouch. Skipping that step saves me time. However, if you’d like to see how to do it, just jump up to the Fabric Zipper Bag with Interfacing section. I showed how to do it there for those who are interested.
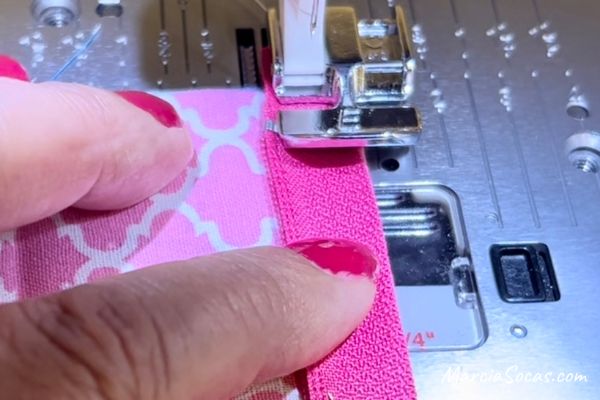
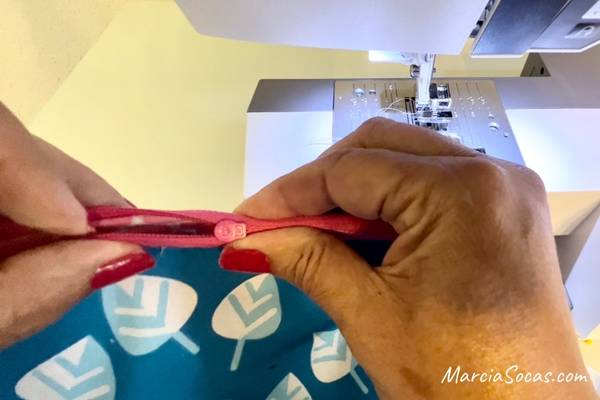
While you’re sewing along the size of the zipper, you’ll need to move the zipper pull out of the way. The easiest way to do this is to put the needle down into the fabric, lift the presser foot, then move the zipper head past the sewing area.
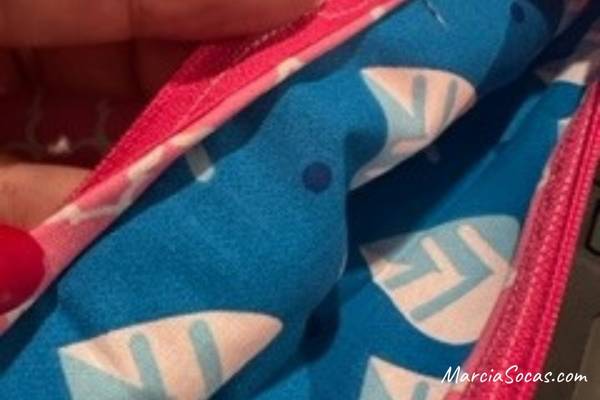
Keep sewing down to the bottom edge. Now you can take a look and see how nicely the zipper is attached. The edge that you folded at the beginning is now a finished edge inside the bag, so no fraying throughout the school year. I love how this little step gives it a much more professional finish and still doesn’t take much time at all.

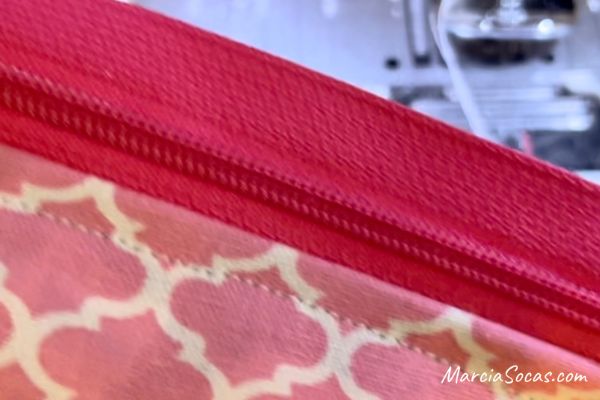
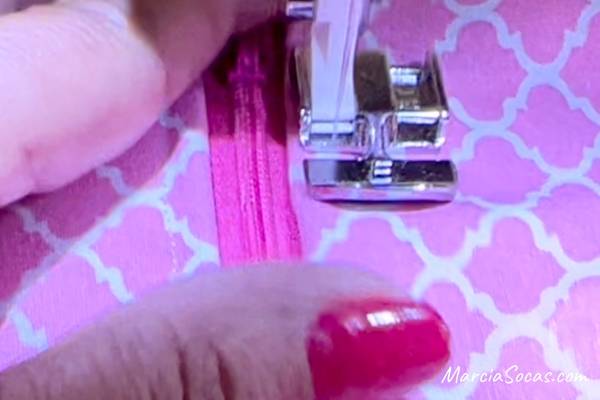
Turn it so that the zipper seam is facing you and now top stitch as shown. Follow a nice straight line using the zipper foot because this will be visible when you’re done. By the way, i like to pull the piece of fabric just a bit tight during this step so that there’s no chance of fabric getting caught in the zipper once the new pencil case is in use.
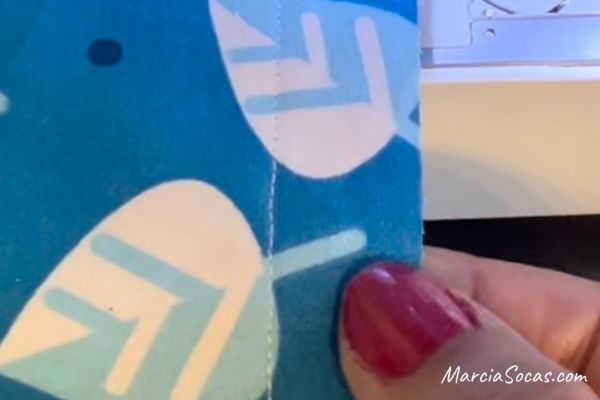
Look how nicely the topstitching looks on the pencil pouch
And, see how professional the finishing inside the bag under the zipper looks. No threads or raw edge since we’ve “double folded” that edge.
Head back to your table, and let’s work on the other side.
You’ll use your second fabric set now. Again, place it with the pretty outer fabric face toward you (the lining fabric is below). Once again, fold the top over a bit, away from you, making sure to fold both the outer fabric and the bottom lining piece. This way the raw edges will again be sewn in and out of the way once you add the zipper.
Place the zipper, face down on the fabric. Pin it into place.
Return to your sewing machine and once again sew the zipper onto the fabric along the long edge of your pencil pouch.
Then flip it over and topstitch along this long side.
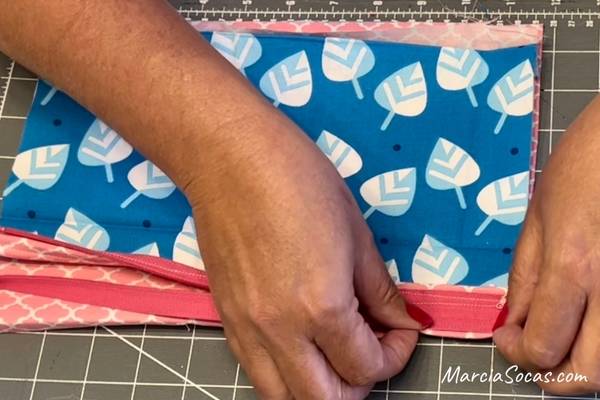
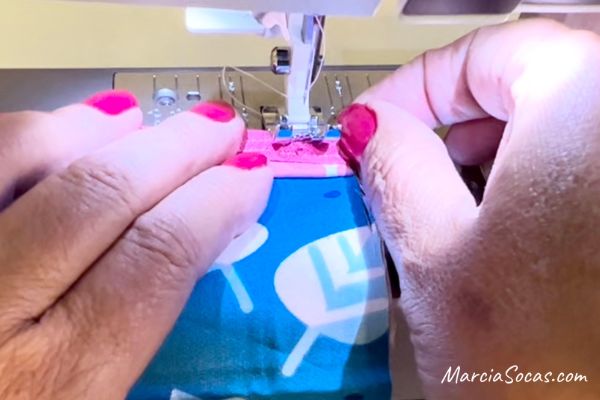
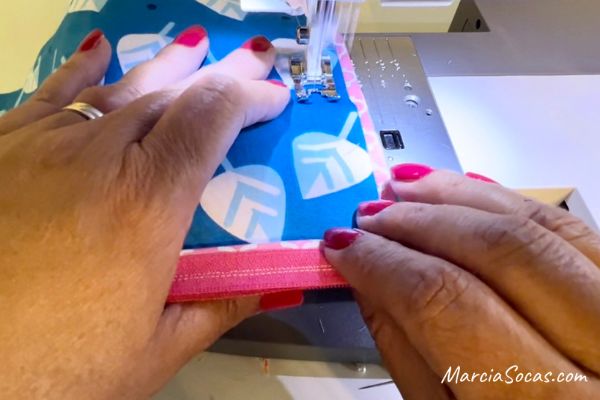
Now your easy pencil case is looking like something. You’ll have the right sides of the fabric facing each other. The zipper should be lined up at the top and you’ll pinch it so that you’re holding it perfectly centered. You can pin it in place to hold it. At this point, make sure your zipper is open approximately 3/4 of the way.
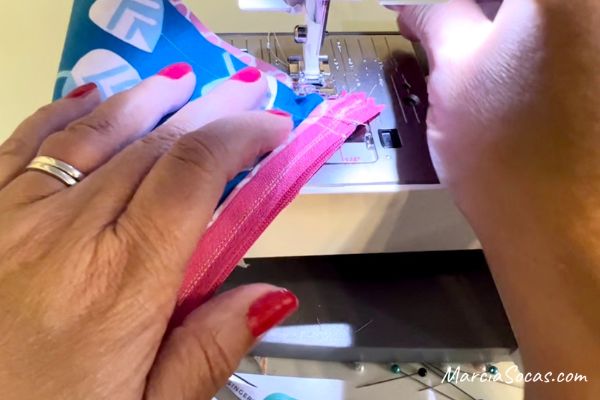
Line up the outer edges of the bag, focusing on each side of the fabric and lining them up. Sew down along the edge of the bag, securing the front and back pieces together. You may need a larger seam allowances (space from the edge of the fabric) than normal just to make sure you avoid sewing over the metal part of the zipper and breaking your needle.
Sew along to the bottom edge, then backstich up a bit. You can turn the fabric and continue now along the bottom edge. One of the easiest ways for me to do this is to put the needle in the down position, lift the presser foot, and then turn the fabric.
Sew along the bottom edge, making sure that you’re getting all 4 pieces of fabric, I sometimes use approx one inch seam to make sure I’m getting all of the pieces properly secured.
Turn your fabric again and now you’ll sew up the final side of the pencil case.
To give your bag additional strength, you can sew a small diagonal along the two top corners. This reinforces the zipper area a little bit since it goes over the ends of the zipper.
Cut away the excess fabric, be careful not to cut your stitches.
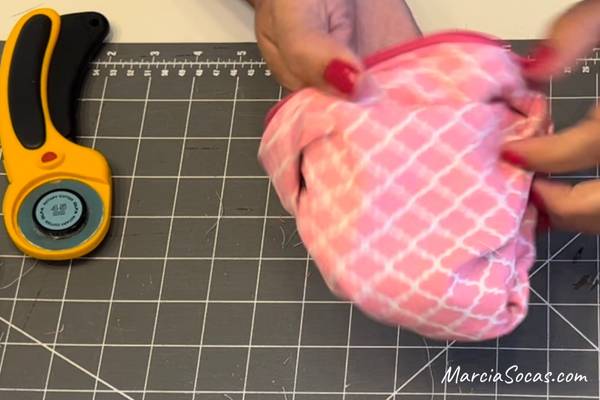
Cut all of your hanging strings and turn your pencil pouch inside out.
I hope this was a great tutorial for you!
While this a great way to create a pencil pouch for an elementary school child, I will say that my high school aged daughter (and some of her friends) have used them too. It all comes down to your fabric choices. I love that you can change the size of the bag, that it’s a quick project, and that it’s a great scrap buster project.
Fabric zipper bag with interfacing (tutorial writeup in progress)
In this bag, I used fusible interfacing to give the pencil pouch a bit of structure. You can find the fusible interfacing in different weights, so that you can make your zippered pouch as sturdy as you’d like. I chose Medium Weight fusible interfacing. It provided a bit of structure and was soft inside the bag.
Canvas bag: (tutorial writeup in progress)
This is a great sewing tutorial for zippered bags that need to be a little stronger. I use canvas when making my makeup bags sometimes, or little zippered beach bags that can hold suncreen and chap stick, etc.
I’m working on that tutorial and should have a link here to it soon