Hanging pictures on the wall can be a pain, especially if you want to create a gallery wall or hang multiple pictures in a precise formation. However, using tape as a template for marking hooks can make the process much easier and more accurate.
Here’s a picture hanging shortcut that works for me!
Step 1: Choose the Placement
Before you begin, decide where you want to hang your picture. Once you’ve decided on the placement, measure the height and width of the picture frame to determine the center point. Make a small mark on the wall at the center point using a pencil.
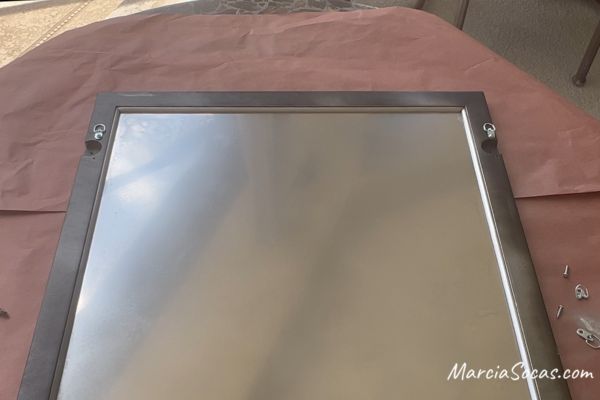
Here’s my starting point. I wanted to hang a mirror that I created from a window. You can see the D-rings on the frame for hanging it.
Step 2: Cut the Tape
Cut a piece of tape long enough to span the width of the picture frame. Painter’s tape or masking tape works well for this purpose.
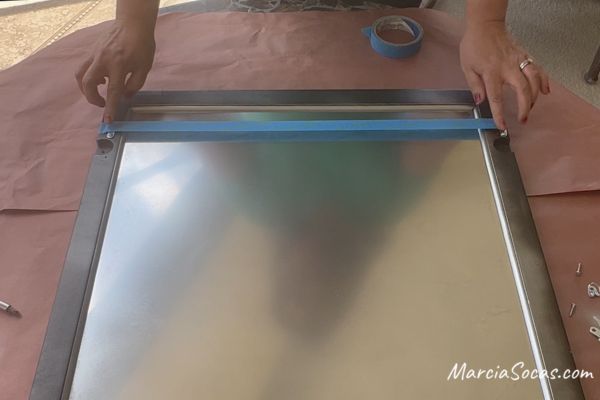
Step 3: Mark the Tape
Using a ruler, measure and mark the center point of the tape. Place the tape over the back of the picture frame, aligning the center point of the tape with the center of the picture frame. Press the tape firmly onto the back of the frame. Then makes holes in the tape where it lines up with the D-rings.
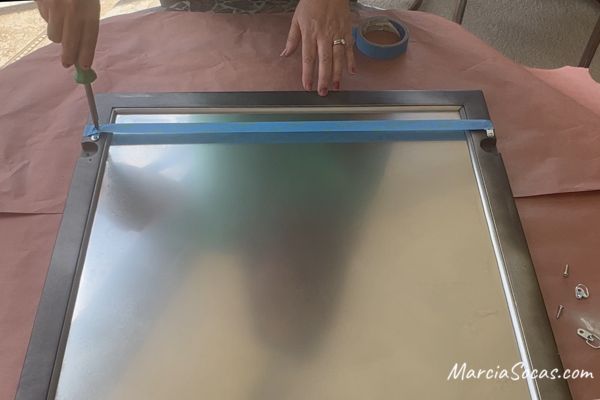
Step 4: Attach the Tape to the Wall
Align the tape with the mark you made on the wall in Step 1. Press the tape firmly onto the wall, making sure it is straight and level.
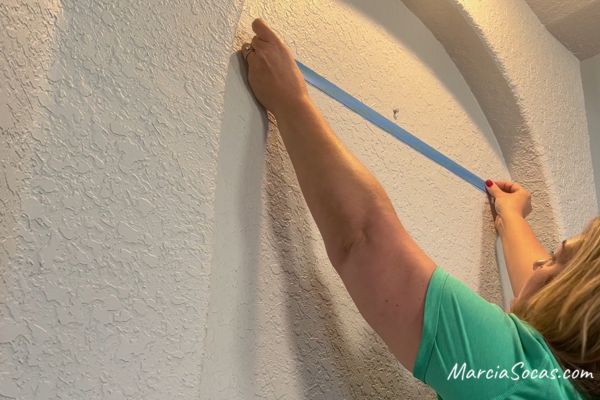
Step 5: Mark the Wall
Using a pencil, mark the wall through the holes in the tape where the hooks on the back of the picture frame will go.
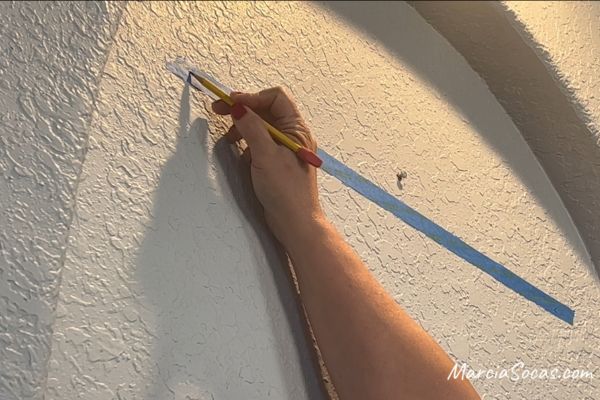
Step 6: Remove the Tape
Carefully remove the tape from the wall, making sure not to disturb the pencil marks.
Step 7: Install the Nails/Screws
Using the pencil marks as a guide, install the nails or screws on the wall.
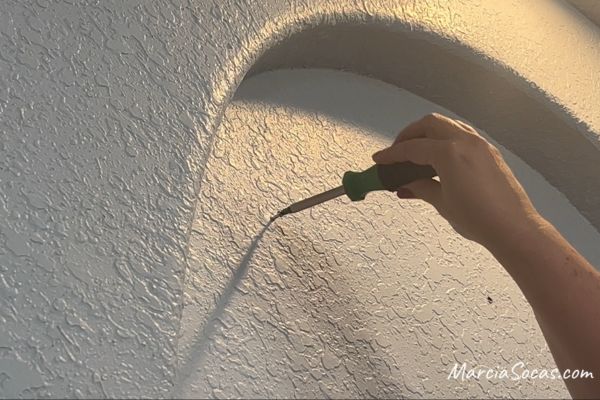
Step 8: Hang the Picture
Hang the picture, isn’t that easy?!
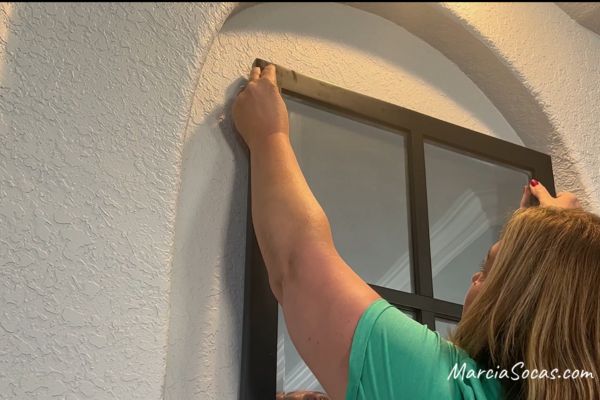
I hope this picture hanging shortcut was helpful to you!