
If you’ve never heard of screen molding you’re going to love how just a few pieces of this inexpensive material and some paint can transform your room. The project requires only minimal diy skills, low cost (under $50!), and not a lot of time (weekend project time!).
Throughout my site I provide affiliate links to products that I hope will help you with your DIY project supplies. As an Amazon Associate, I earn from qualifying purchases. This means that I may receive a small commission if you use these links to purchase products, but it does not change your price in any way.
My goal with Picture Frame Wall Molding
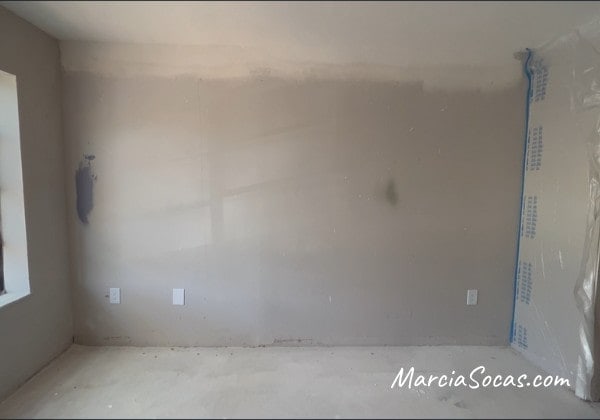
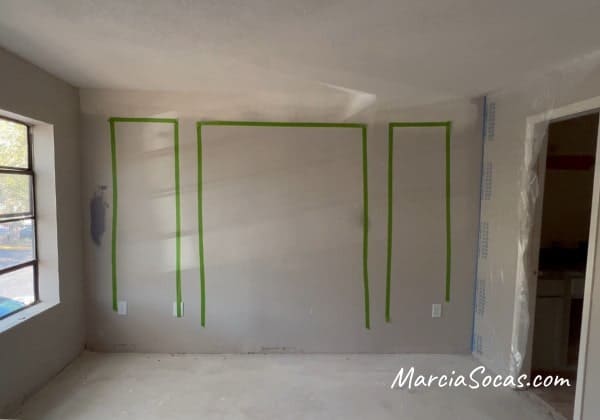
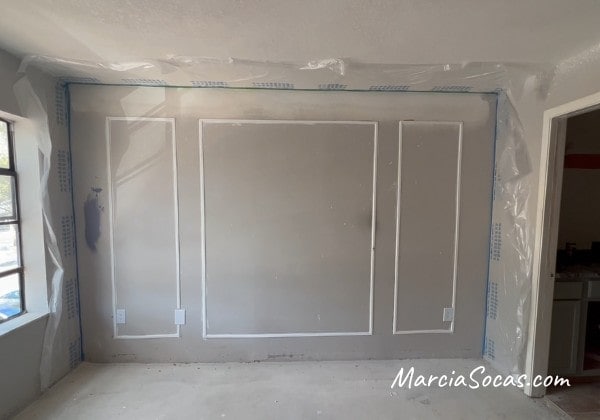
I wanted to update this condo master bedroom on a budget, and in one day. I love the way picture frame moldings look. The first thing I did was to tape off a general idea of where the molding would go and what the picture frame boxes would look like.
Queen size beds are 60 inches wide and king size beds are 76 inches wide I set up the width and location of my molding with this in mind so that a queen bed would sit at the edges of the center molding and a king bed would sit at the edges of the two outer frames.
It’s a good idea for you to break out your tape measure and measure your bed and frame prior to working on your diy wall molding, so that the decorative molding provides the visual interest you want behind your bed. (Of course, if you’re creating your diy wall molding in a different room, like your living room or dining room, you’d see how the wall treatment fits in with the feel of your entire room.)
My Design Plan:
Here’s a diagram of my design plan.
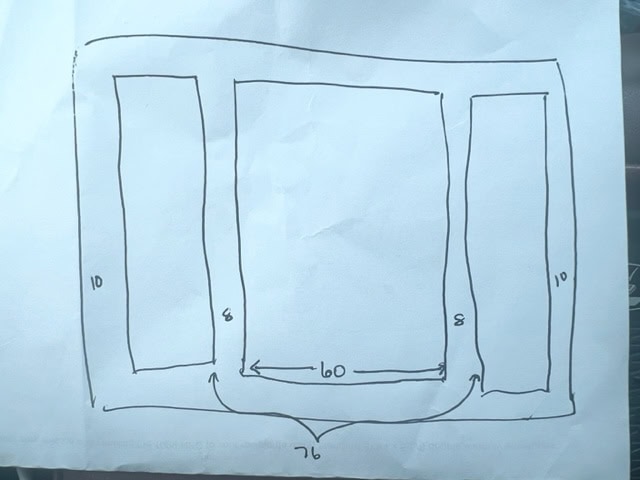
Measure from the bottom of any existing crown molding to the top of the baseboards when planning out your trim moulding.
You’ll add your trim molding and create the number of boxes that work for you depending on the width of your wall. A small room might work well with tall but narrow wall boxes for example. Or, you may want to create different shapes or a pattern using the molding. It’s really personal preference.
Picture frame moulding provides a more traditional vibe, whereas using wall molding in a different pattern can provide a more modern home look.
Getting to work on my wall molding cuts
I wanted mitered corners so I set the saw at a 45 degree angle and started cutting my pieces. The cut lengths corresponded to the measurements I had planned out.
When I cut the corresponding pieces like the two sides or the top and bottom I stacked the pieces together so that their sizes were truly identical. I can never get the precise measurements to come out exactly 100% the same when I cut them separately, but by stacking them, it worked great for me.
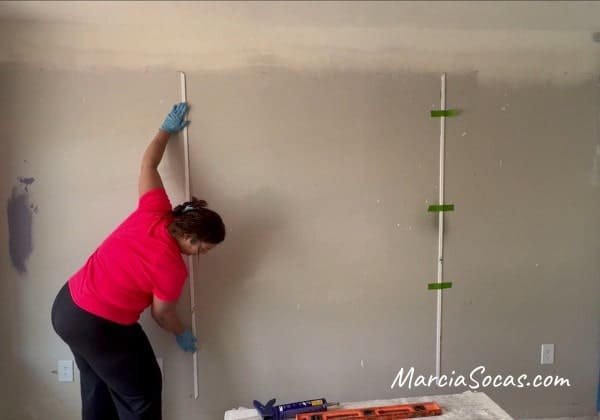
Attaching the picture frame molding
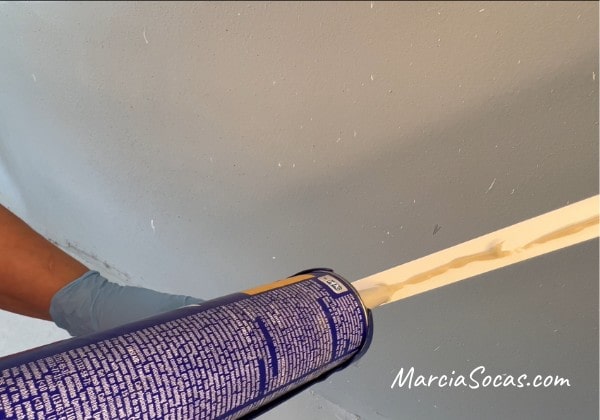
I had marked the wall with a pencil where my pieces needed to go, so the next step was to apply my adhesive on the backside and attach it to the wall using a level to make sure that everything was straight. Since the screen molding trim piece is quite lightweight and thin, I could easily hold it in place permanently using the construction adhesive. You can use liquid nails or gorilla glue, for example. It was nice not to have to use a nail gun and avoid filling any nail holes.
Note: if you use thicker wall moulding and you decide that you do feel more comfortable securing it with a nail gun, I would recommend using a pin nailer rather than a brad nailer as this will result in smaller nail holes.
I would recommend not adding too much adhesive so that it doesn’t get all over the wall when you end up pushing the molding onto the wall itself. A little bit all along the trim piece is perfect.
Placing the wall molding pieces
I added my vertical pieces first, and then my horizontal pieces. I made sure to use a level so that everything was nice and straight.
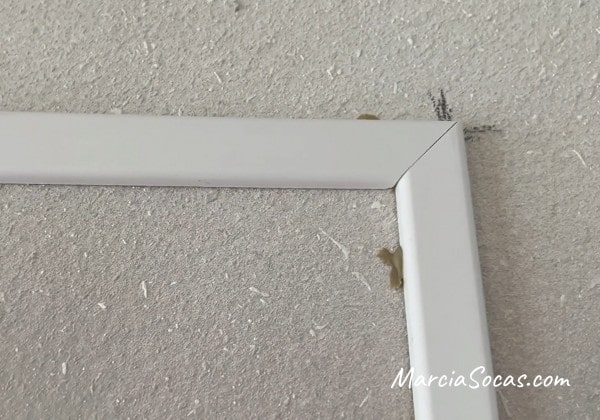
Look at these corner pieces! I don’t have any corner gaps, and I’m thrilled! Of course, if you do have some gaps in your trim work, we will take care of those below. It’s easy.
Tape it in place while it dries. Mine really didn’t take a long time to dry at all, just a few hours and I was ready to go.
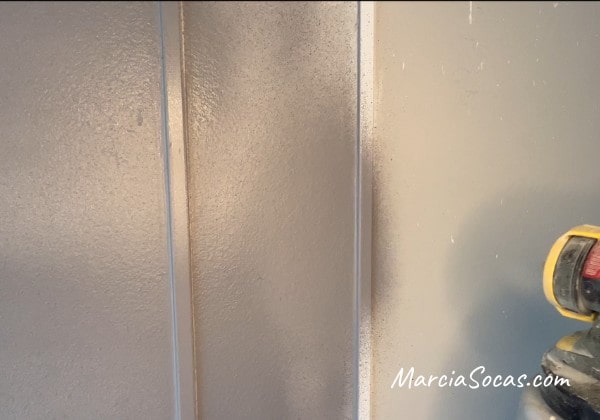
I did have a spot where I had to go around an outlet. In this area I just made straight cuts at the top and bottom of the outlet area.
I also made sure that my mitered corners were as tight as possible and they really did go together very well and any small gap was filled with some caulking in the next step
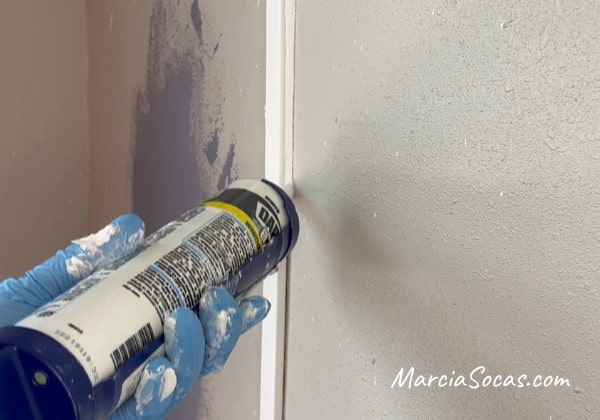
Caulking Covers up any gaps
I started caulking the places where the molding met the wall to cover up that small gap and give it a professional finish. Make sure you use paintable caulk. I caulked it on the inside and outside of all of the picture frame sections. Here’s where you’d also fill in any little gaps in your trim project. Sometimes the caulking goes on perfectly smoothly but sometimes it just doesn’t– either way all I did was run my finger along the area to smooth down the caulking and then I also made sure that there was no accumulation of caulking on the surface of the molding or on the wall so that everything would be smooth when I painted it.
Painting
Once I had the molding in place, it was ready for paint. As for the paint color, I had several colors with me because I was working on several renovation projects in this condo. I let my daughter work with me and mix some of the paint colors to create her favorite look. We ended up with this dark gray with a bit of purple undertone but since we mixed it ourselves I don’t actually have a paint name that I can share. I used the Wagner paint sprayer that I had received from another project, and I was able to get this wall painted incredibly fast as a result I was also able to get the paint into the edges and corners really well.
I went over it with two coats to make sure that it was nice and deep and dark the way I wanted it to look in this room I also replaced the flooring and added nice big baseboards.
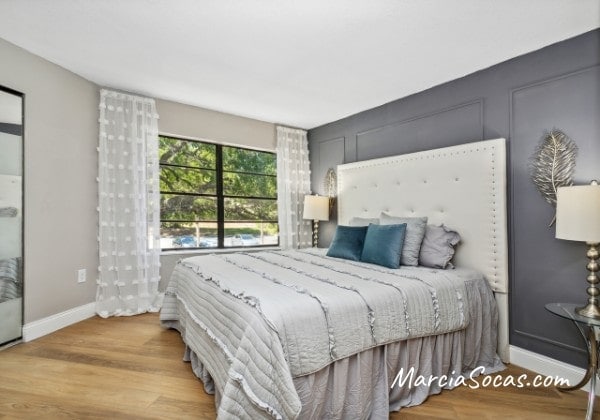
And here’s the result. My new picture frame DIY wall molding project is done!
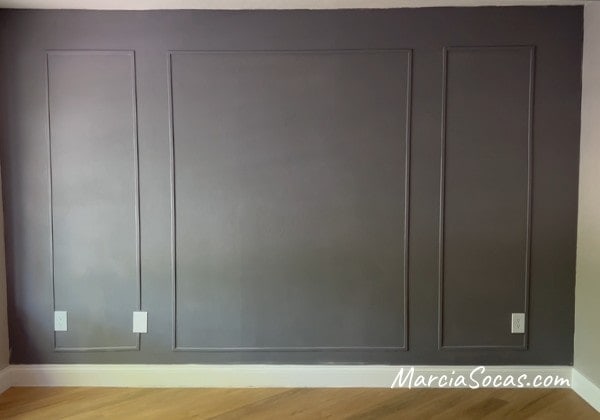
I love the way the furniture sits in relation to the picture frame molding, and I love the way the accent wall makes the room look. It gives it a classic style and elegance (but in a really affordable way).

Most of all, I love that it did it myself and that it cost under $50. I hope that this inspired you to create an accent wall of your own that’s easy.
Now that you know how easy diy wall molding is, I hope you’ll create a beautiful feature wall in your own home.
These decorative wall molding projects are often seen in a dining room as well, and provide a touch of elegance and classic look to the entire wall.
Sometimes I’ve seen the molding in white, with the wall itself in a slightly darker color. Another great way to use this technique is when you have a room with chair rail molding, you can add picture molding below the chair rail. I did something similar when I redid this bathroom for around $500, you won’t believe how amazing it turned out.
Want to see other DIY wall molding and accent wall projects?
Nothing changes the feel of a room quite like architechtural details added through the use of wall trim.
I created a board and batten accent wall that you can see in this tutorial.