
Bathroom walls might not be the place you first think of as a great option for flooring, but take a look at this project and I hope you’ll agree that this was a great way to use leftover material and modernize a space. Below is a step-by-step guide how to install vinyl plank flooring on walls.
This Condo
I was updating this small condo bathroom and wanted to give this wall behind the toilet a feature, without spending money.

We’d recently changed the flooring and I had one box of luxury vinyl plank flooring left over, and I thought it could make a creative and easy accent wall. If you need to buy a box of flooring, you can find it for under $50.
Throughout my site I provide affiliate links to products that I hope will help you with your DIY project supplies. As an Amazon Associate, I earn from qualifying purchases. This means that I may receive a small commission if you use these links to purchase products, but it does not change your price in any way.
Prep Work
I took my tape measure and measured. The width of the wall was a little wider than the size of a full plank. The vinyl plank measurement for the width of the planks was 36”. The great thing about the size of this wall is that I didn’t have to make any complicated cuts. As a matter of fact, I didn’t have to make any cuts at all!
So, I knew I’d need to add trim pieces at the edges to make up for the open space. The trim pieces would also help cover up the edges of the flooring and finish it off nicely. Even though there were no cut edges, the vinyl flooring products still do have an edge to them and so when using it on walls you’ll always get the best finished look and best results if you finish it with trim at the edges.
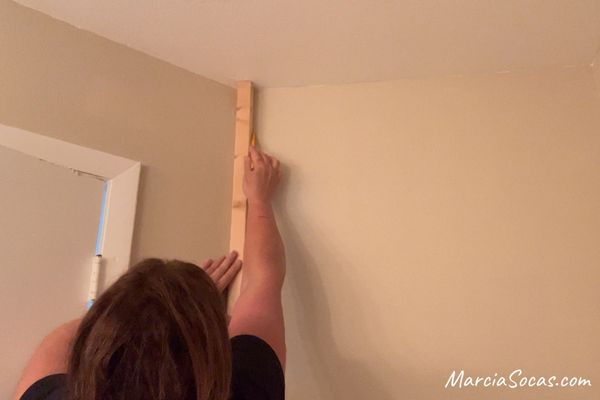
I took a piece of wood and used it to draw a straight line down the left side wall so that I could easily mark where the planks needed to be. Then I drew a second line with the same spacing from the right wall. This first step provided me with a guide line to work with. Now, if you wanted to get more fancy, and you had the right tools, you could snap a chalk line as your guide line, but really I was fine with my piece of wood and pencil. No need to make things unnecessarily complicated.
An Aside
Speaking of tools, when installing new plank flooring over an entire floor, you’d use a rubber mallet, flat pry bar, and tapping block. Your installation process would be different when installing luxury vinyl flooring or any floating floor on the floor of a room. I have installed several vinyl plank floors in recent years and if you’re looking to do that, it’s a good idea to check out the tutorial I have here on installing luxury vinyl plank floor coverings.
How to Install Vinyl Plank Flooring on Walls
Now, back to this particular wall installation… Since we’re just working on the wall we don’t need all the traditional tools. This project provides much greater ease of installation and is perfect for the first time user.
I started with the first plank at the top of the wall.
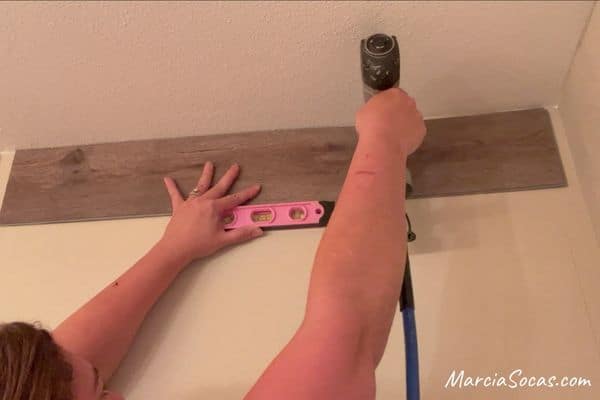
I made sure it was level. It was important not to just push it up to the ceiling because sometimes that isn’t perfectly straight and its better to make sure your plank is level. You can always go back and fill in any gap left at the top with trim if necessary.
The reason that I started at the top was that I figured that if I had any issues with the end of the installation, like needing to cut the width of a plank at the end, then that would be done at the bottom of the wall, where the toilet would help cover any imperfections.
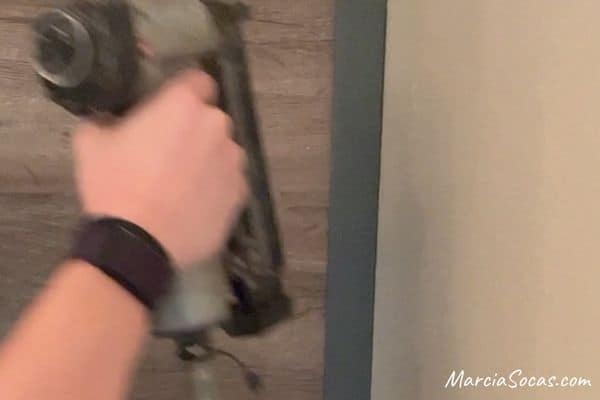
It was easy to secure the planks using the nail gun. You might prefer using small amounts of contact adhesive or construction glue. And that’s ok. For me, I just really like using the nail gun instead. However, if you are using a peel and stick vinyl plank, then that comes with a suitable adhesive attached already and would make for easy installation and last a long time.
The Click and Lock system
The luxury vinyl plank pieces use a click and lock system for installation. This is the easiest type of vinyl plank for me to use. I install it quite a bit on renovations, taking up the old flooring and adding new flooring quickly and easily.
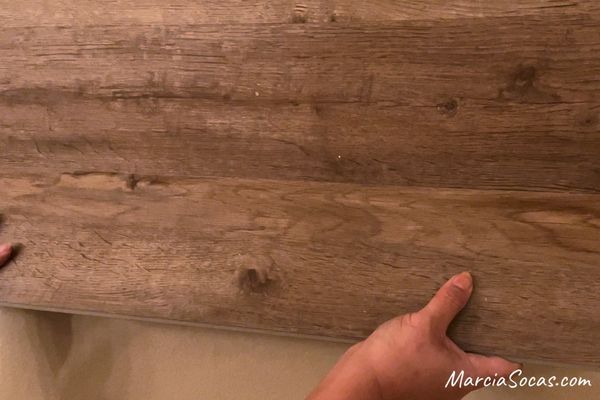
The way the luxury vinyl planks fit together is that they have a tongue side that fits right in place with the groove side. So, I just had to make sure that the tongue side of the piece was facing down. This allowed me to attach the next piece, the second row or, really, just the second plank since I was just using individual planks down the wall rather than a row of pieces.
I inserted the piece at a 45-degree angle and then laid it flat. You can feel when the pieces line up and snap together. Running your hand along the seam should feel perfectly smooth. I continued attaching pieces and securing them with the nail gun for the next row and all down the wall.
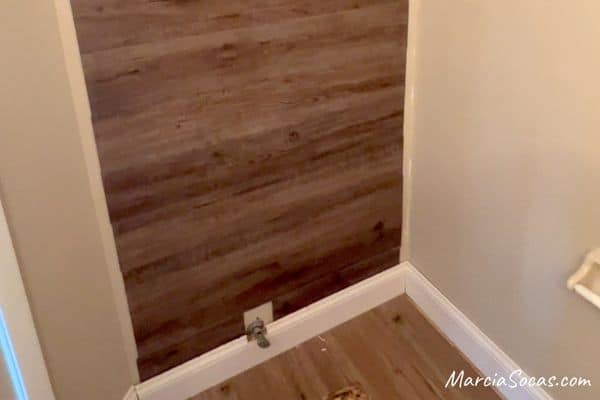
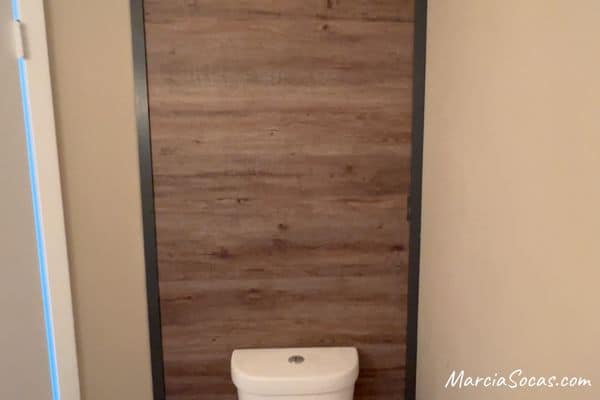
At the bottom, I cut the last plank so that it wouldn’t interfere with the water line and installed this final plank. The wall was looking great, but I needed to work on the trim pieces at the end.
Covering the Edges
I measured the trim molding piece and cut it to size. It was white, but I wanted to make the bathroom look more rustic industrial, and so I used some leftover black paint, painted the trim, and attached it onto the edges.
By the way, when I added the trim, it turned out that the paint was not totally dry. So, I got some paint on the vinyl plank. This may happen to you as well, so it’s good to know that it’s really easy to clean the vinyl plank at the end. You can use goof off or even scrape the paint off with your finger nail.
It looked great, but needed to be more functional.
Decorative Touches on my LVP Wall
Since there were leftover materials lying around in this condo renovation, I was able to easily find a leftover piece of wood that was in good shape.
This was a 1×4 piece. If you don’t have a leftover wood piece and need to buy this, it would cost under $5. I painted these real wood pieces the same color as the trim pieces.
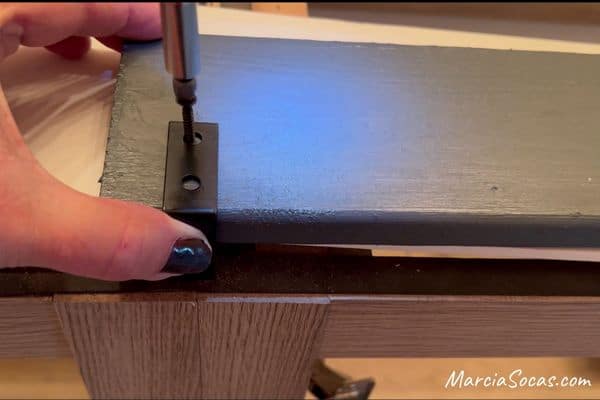
I bought some black L brackets and attached them to the 1×4 pieces. Then I set these where I wanted on the wall, made sure they were level, and attached them. It wasn’t difficult screwing into the vinyl plank and to the wall. I didn’t plan on putting anything heavy on these shelves. If you do, then you may want to make sure that you’re drilling into a stud. The two shelves looked great. Now I added some decorative touches and small items that I wanted in the bathroom.

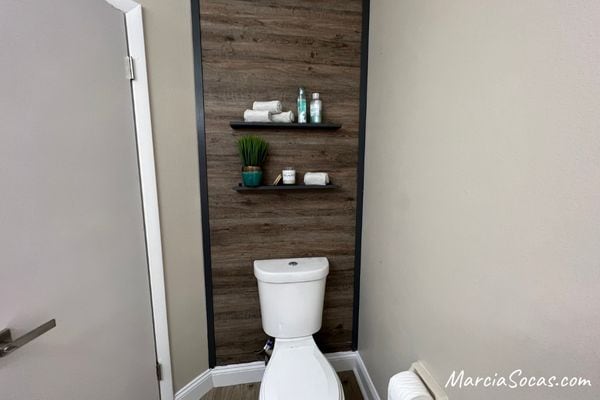
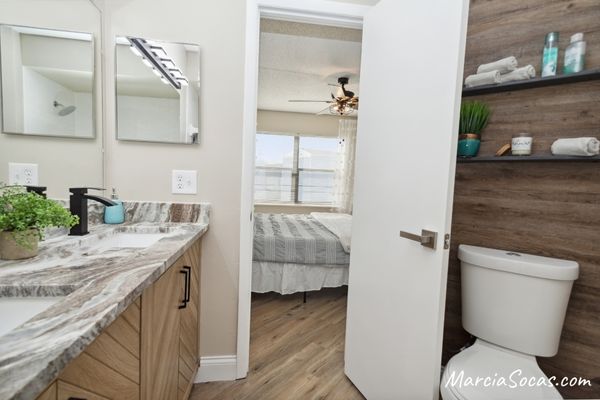
The Final Result of my Vinyl Plank Flooring on Walls – DIY
And here’s the final result! The cost to me was less than $10. This is because I had the box of flooring and the wood for the shelves that I could use. But even if you buy all of the materials, the cost would be around $75. It’s an easy, low cost, one day project with big impact.
Here’s a link to the vinyl flooring planks that I used from Home Depot.
Other accent wall locations:
I’ve seen some beautiful living room accent walls created with vinyl plank flooring. I also saw a home once that had vinyl plank flooring above the dining room ceiling. They looked amazing.
I haven’t seen vinyl plank on kitchen walls yet, but if you take that type of project on, I hope you’ll send a photo. I’d love to post it here!
If you love your existing flooring and don’t want to change it, projects like this one where you use vinyl plank flooring or peel and stick flooring for covering walls or even a ceiling provide another way for you to express yourself and design a room that you love.
I hope you enjoyed the how to install vinyl plank flooring on walls tutorial and remember, you can download a 1 page summary sheet to keep for future use here.