

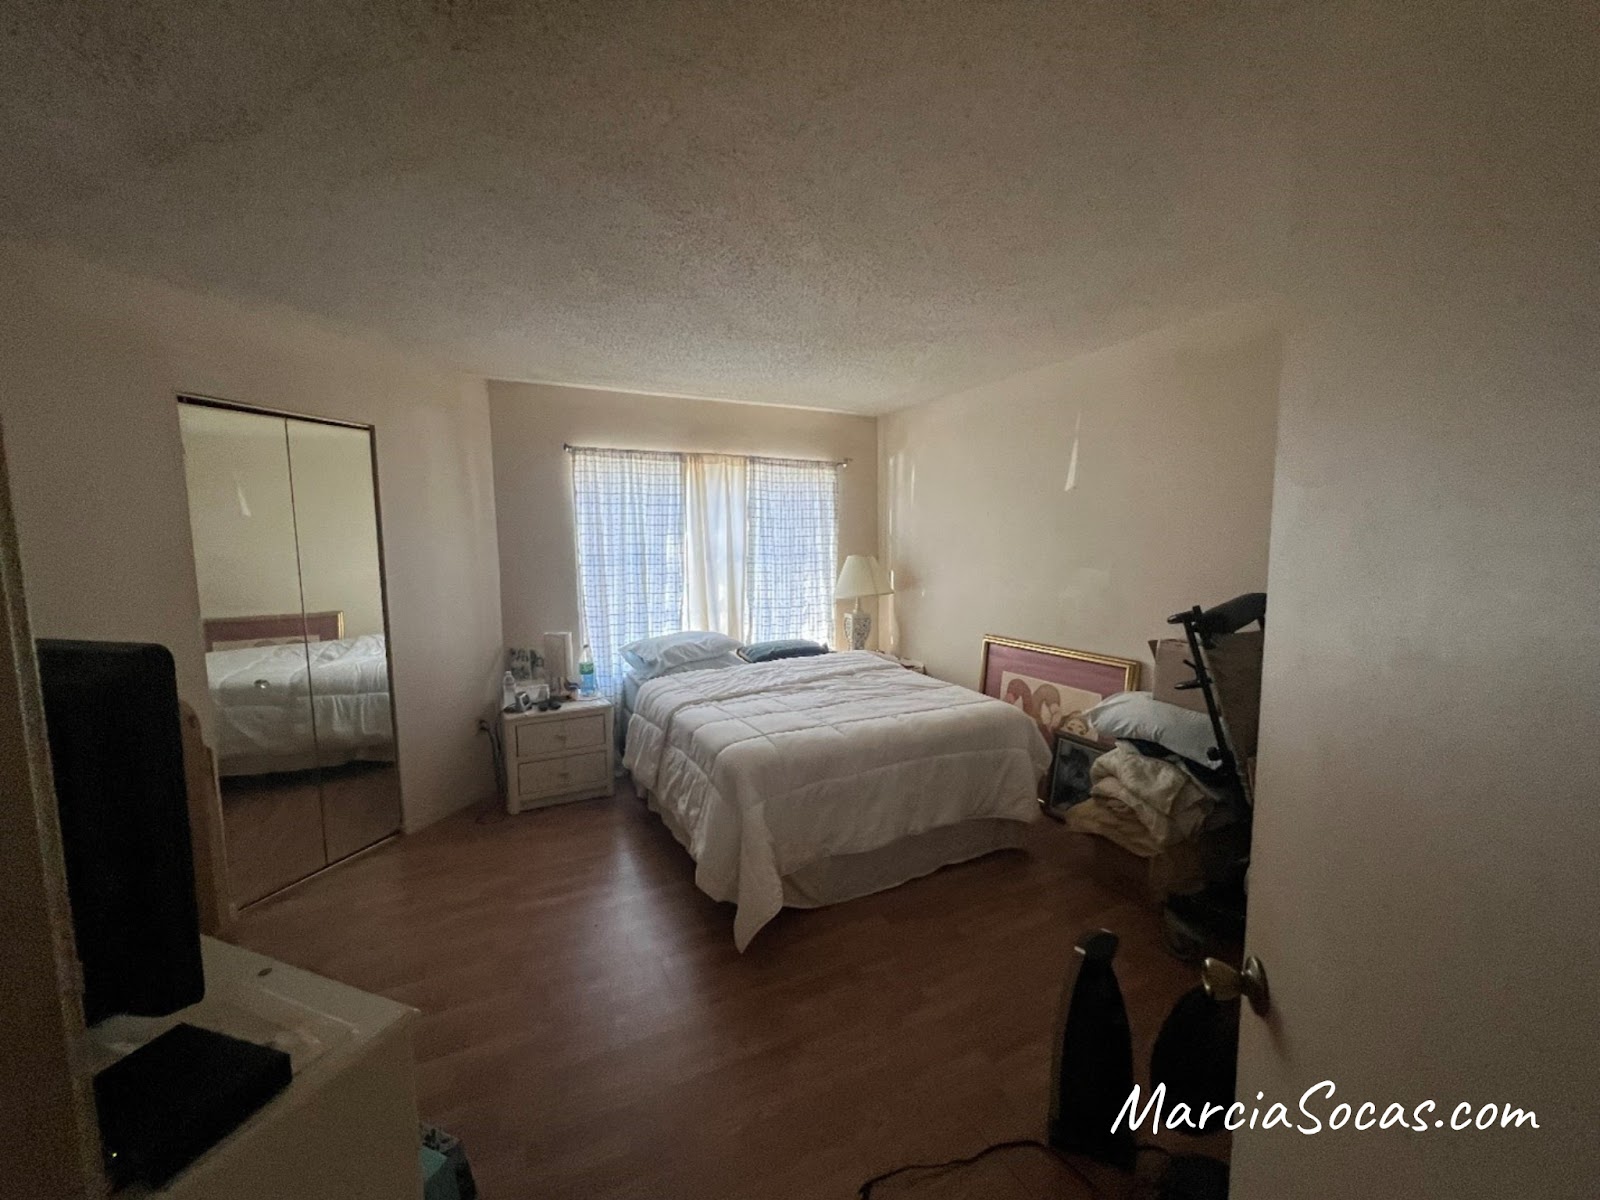
I really wanted to update this condo bedroom and make it look modern and luxurious. It had the older style laminate flooring which was coming up at the seams and it creaked and cracked a bit when walking on it in certain spots.
Throughout my site I provide affiliate links to products that I hope will help you with your DIY project supplies. As an Amazon Associate, I earn from qualifying purchases. This means that I may receive a small commission if you use these links to purchase products, but it does not change your price in any way.
This was part of a condo flip that involved many cost-saving DIY projects. You can view them all at marciasocas.com. This luxury vinyl plank project and the associated post were sponsored by Malibu Wide Plank Flooring. The opinions expressed are completely my own and are based on the results I achieved with the products used.
Below is a video and also a Step by Step with photos
Video of Project Start to Finish:
Step by Step
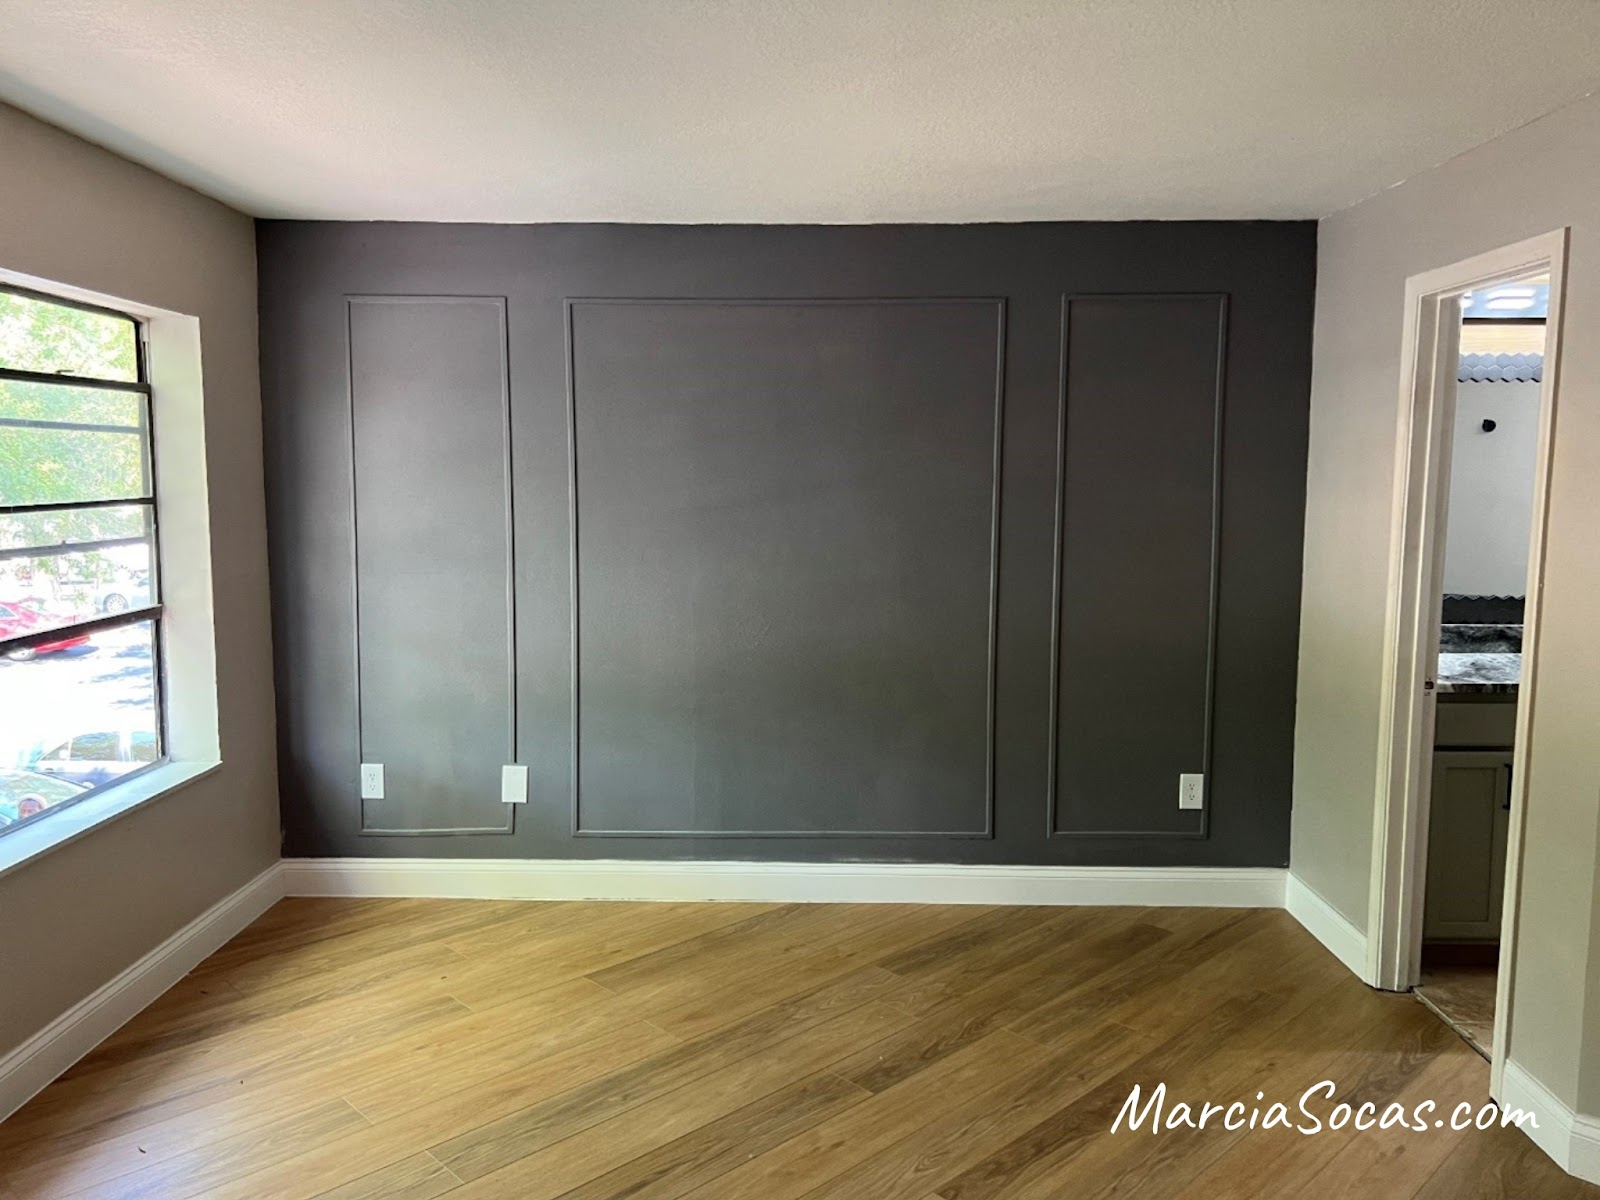
Here’s where I was starting before doing anything at all:
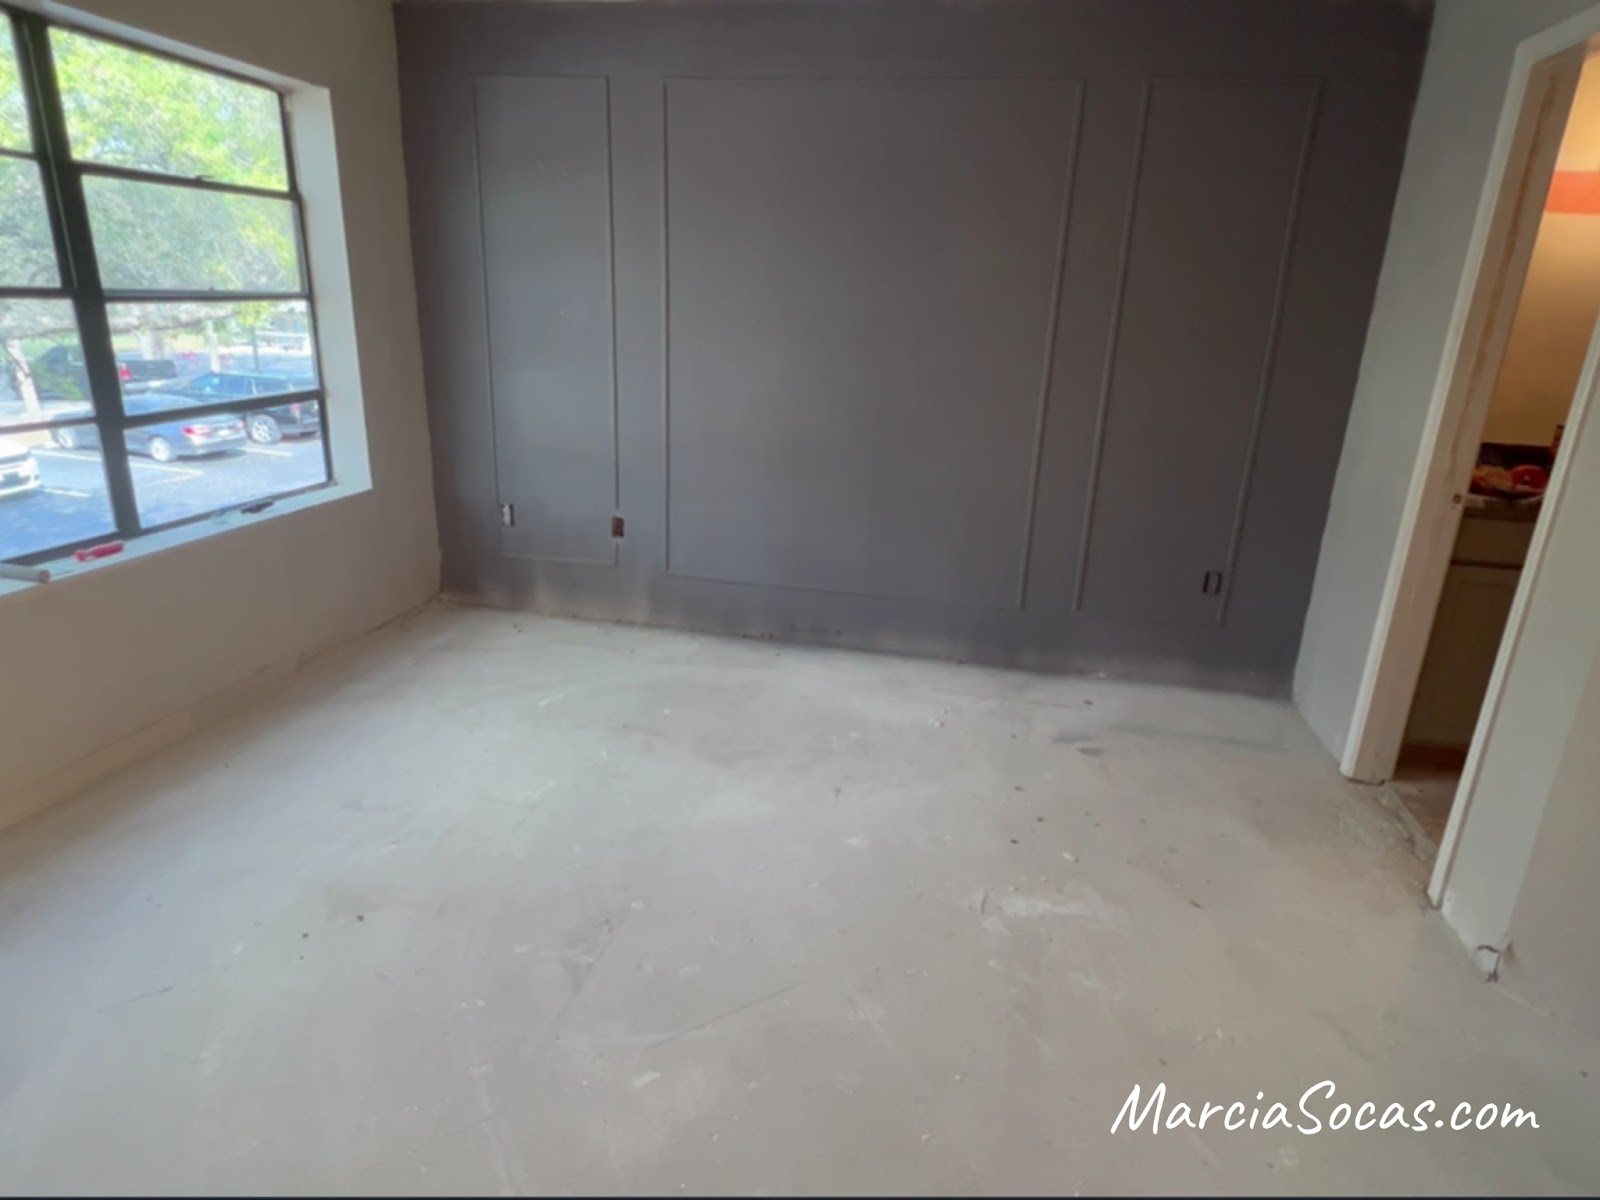
I took up the old flooring, created an accent wall, painted, and then got to work on the floors.
I received Malibu Wide Plank flooring in French Oak Alturas for this project.
I have used vinyl plank flooring before because it’s great for DIY projects and easy to install, durable, waterproof, and scratchproof. but this was the first time that I used pieces that were this size. These pieces were over 7” wide and were 5 ft long, and I couldn’t wait to install them and minimize the time I had to spend cutting!
Step 1: Prep Work
When I received the flooring, I allowed it to sit in the condo for a couple of days so that it could acclimate to my condo’s temperature and humidity. In the meantime, I prepared the room for the installation.
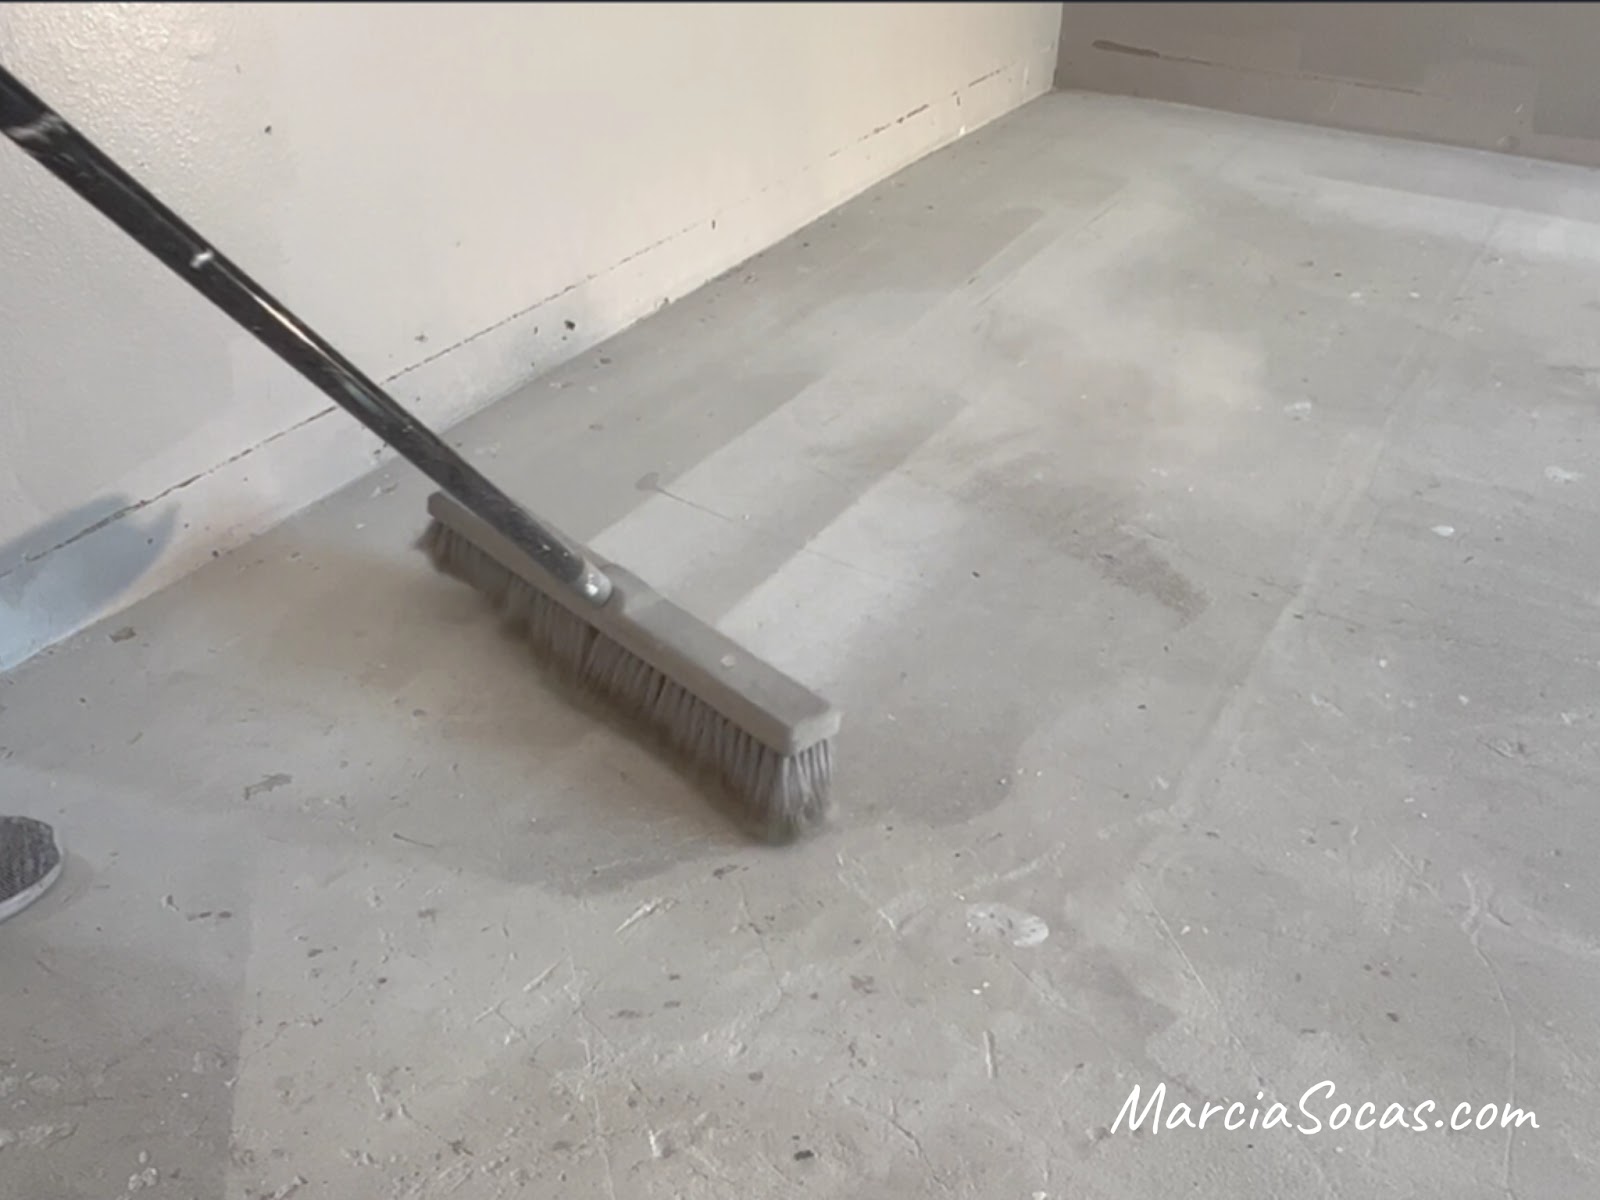
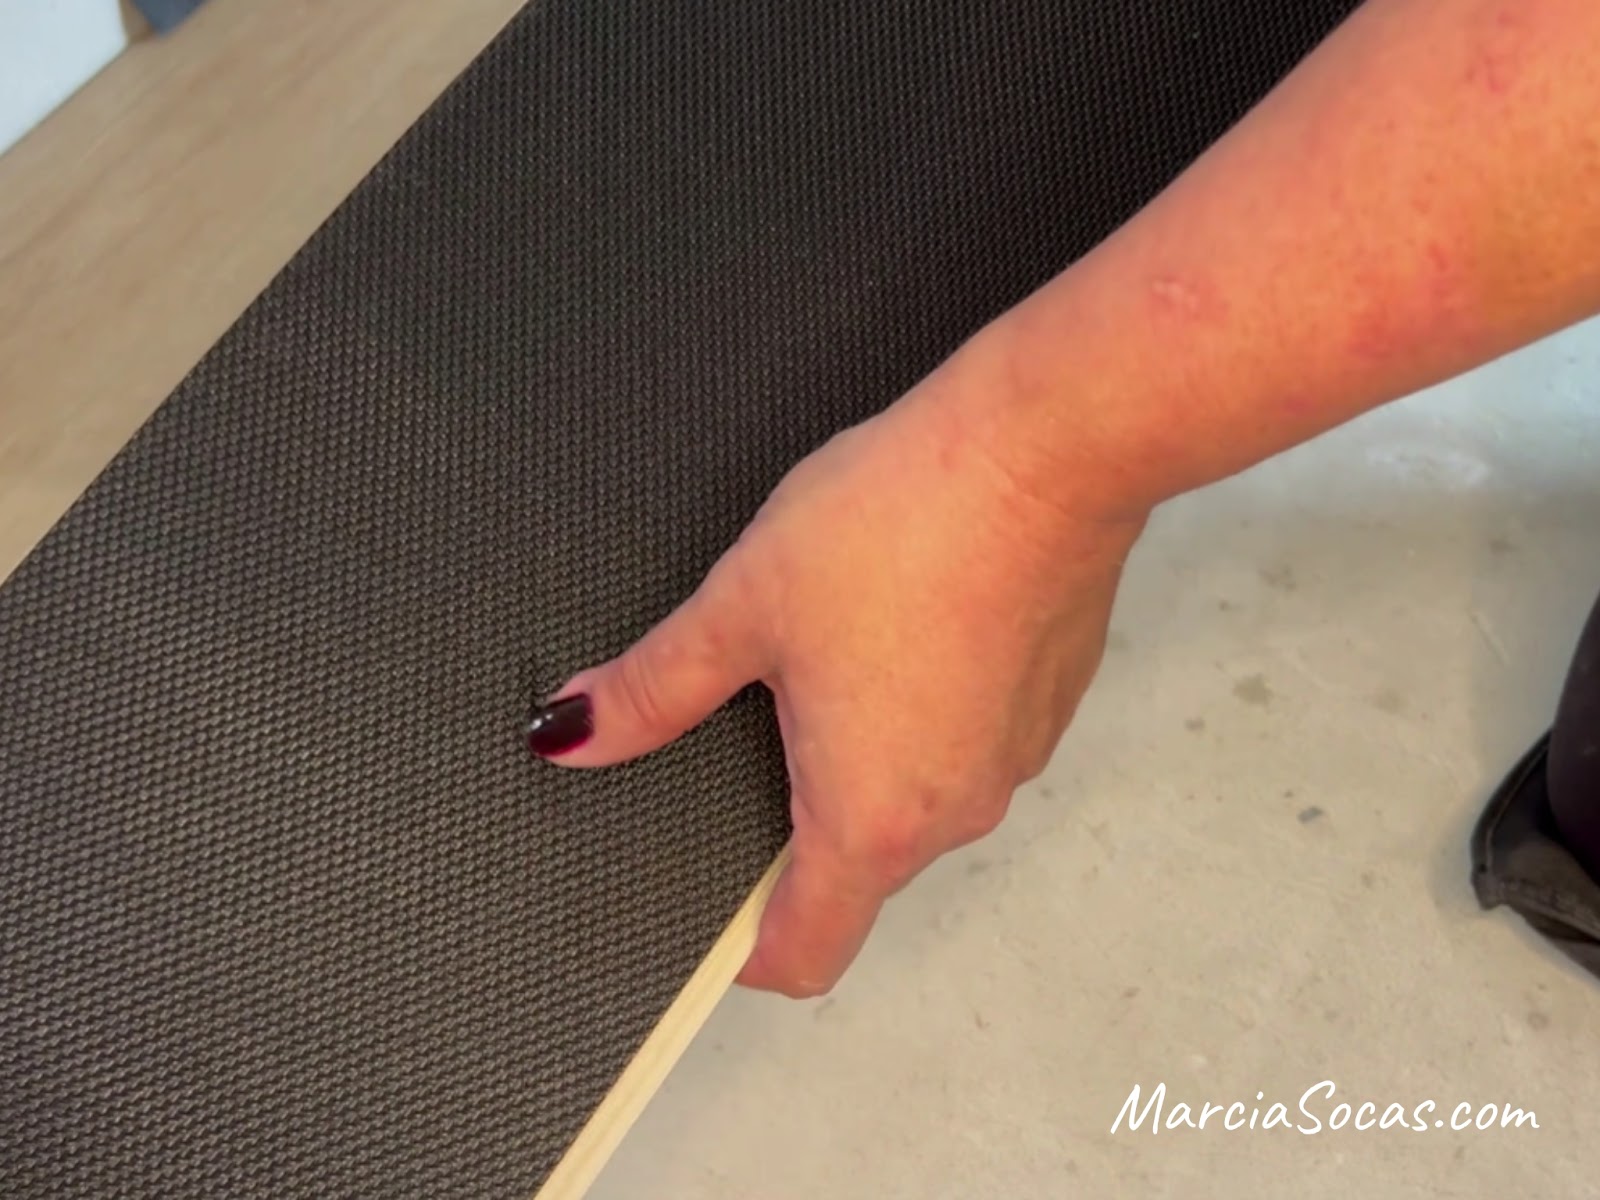
I had already removed the prior flooring, and, fortunately, I didn’t need to do much else other than sweep and remove the years of dust that had accumulated in this room. I didn’t have to worry about installing any underlayment or anything like we used to with the old laminate-style floating floors. These planks already had underlayment attached.
Step 2: Install the First Row
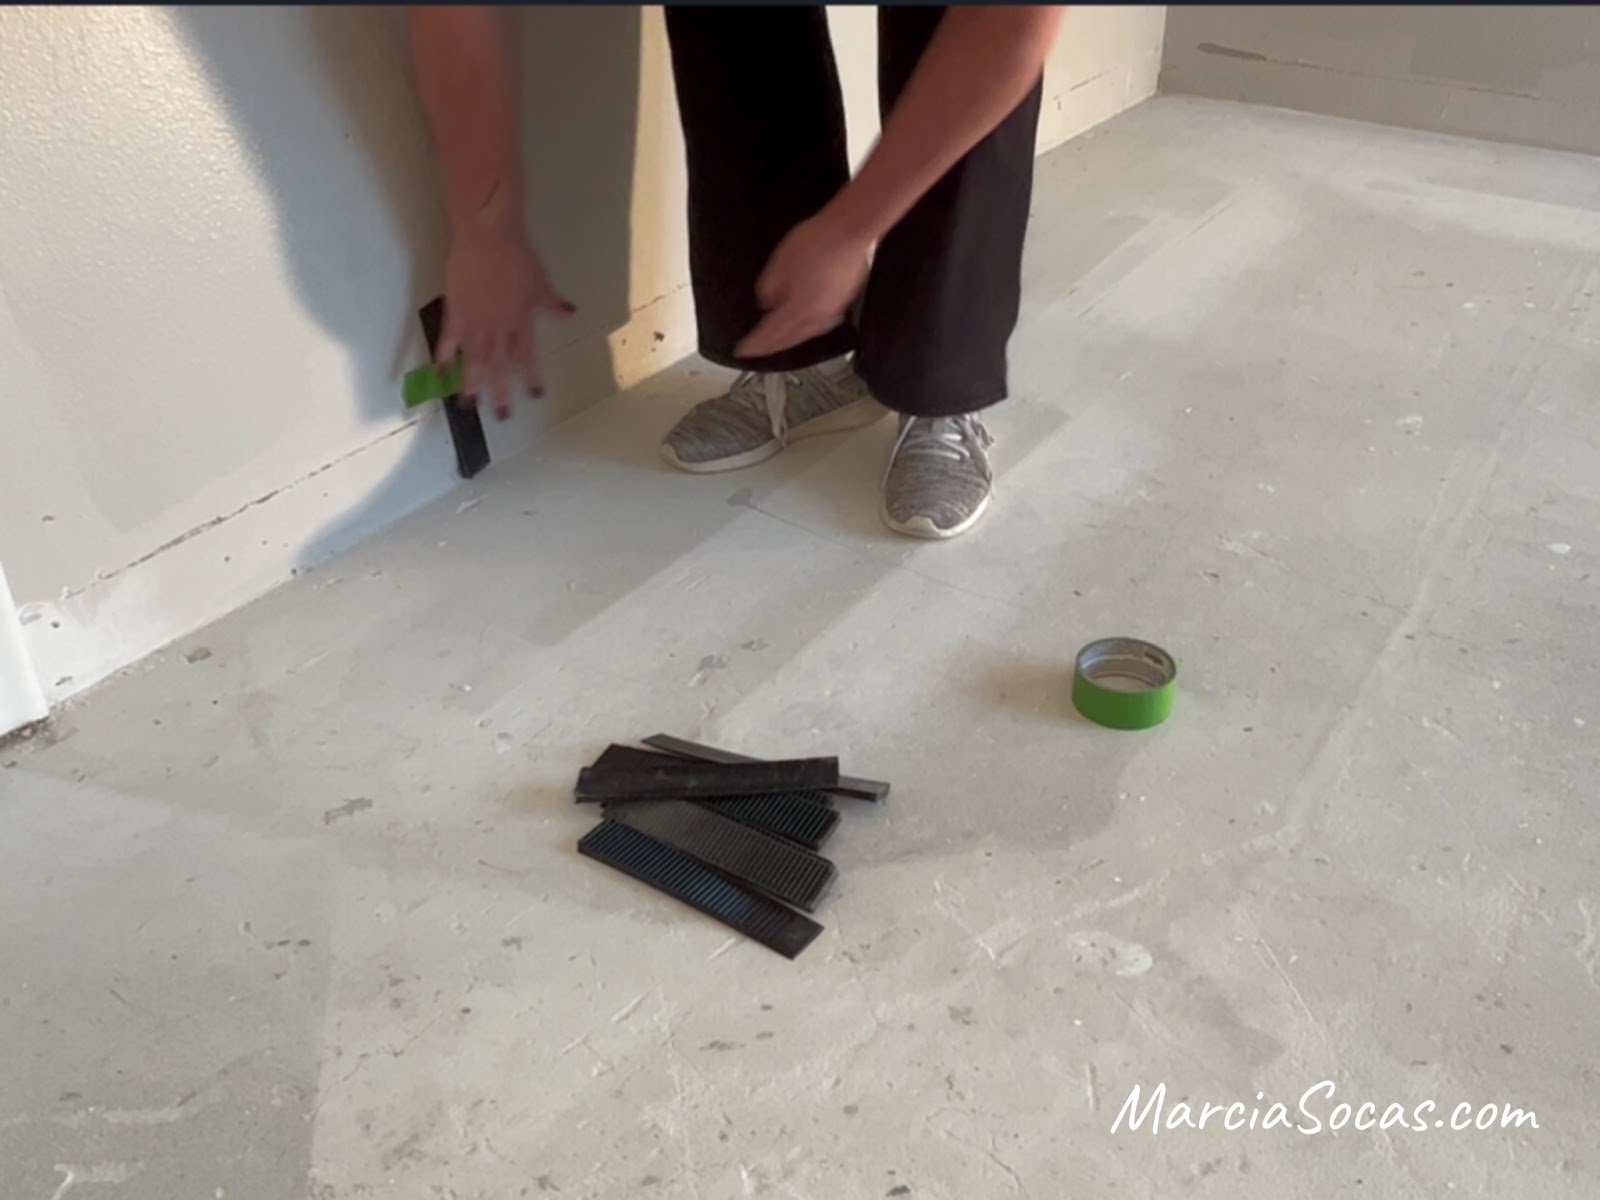
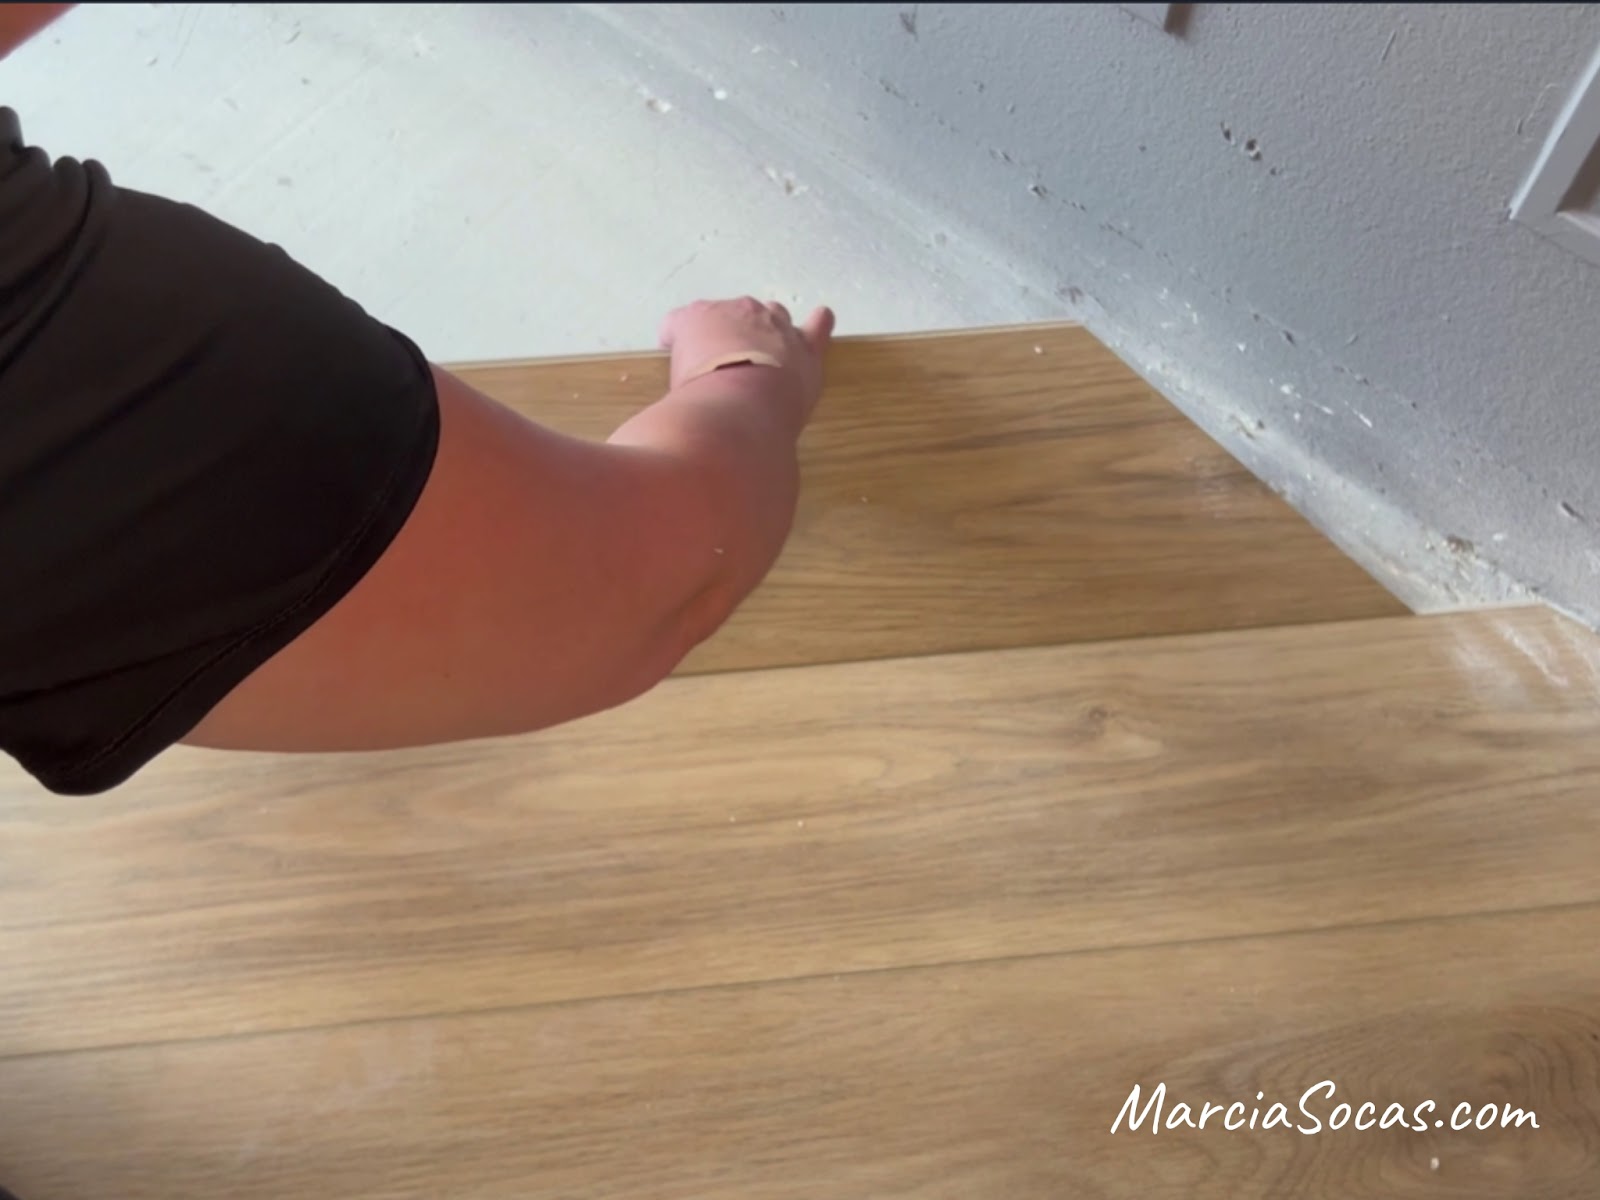
Before getting started, I taped some spacers along the wall. Don’t worry, these spaces will get covered by baseboard (or quarter round) at the end and you won’t see it. I made sure to maintain a space of approx. ¼” around all of the edges.
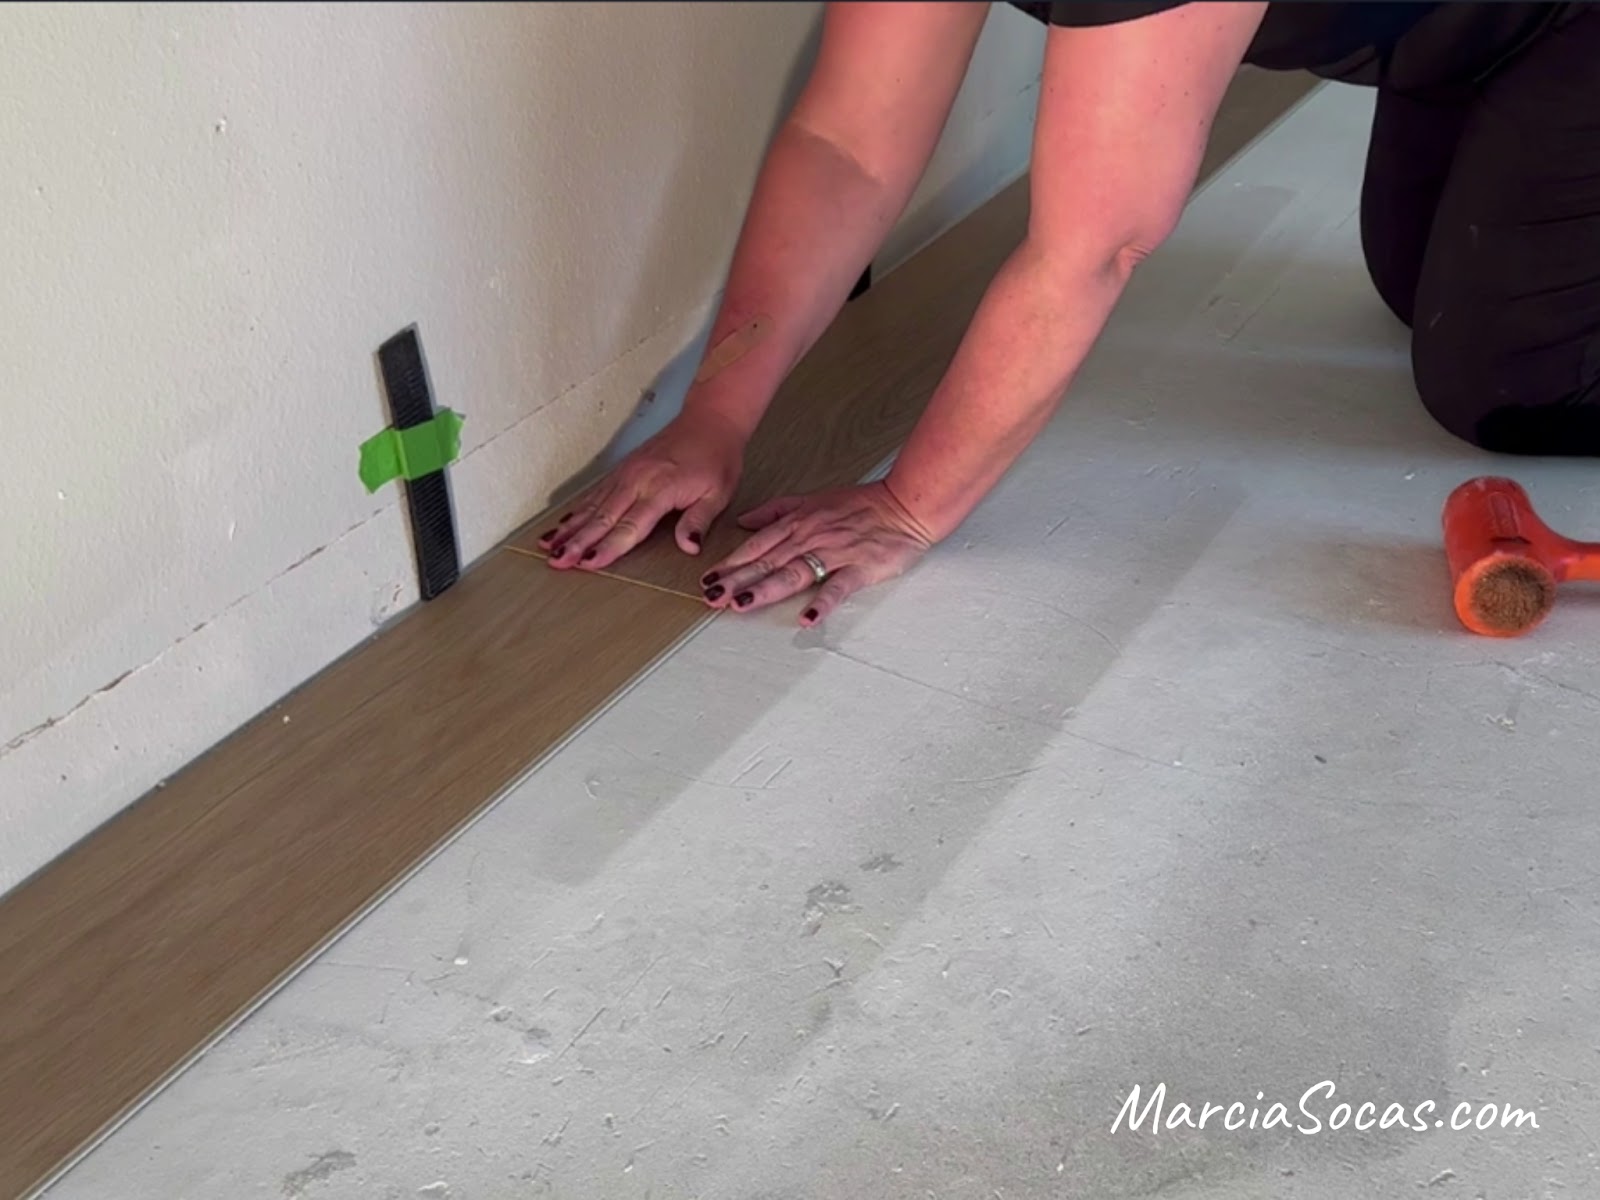
I started placing my first row of planks, from the left side of the wall, with the groove side facing me. This is the way you need to orient the planks so that you can click and lock them into place in the subsequent steps.
Step 3: Install the Remaining Rows
After the first row is installed, I was able to start the remaining rows. I started each row with a varying length plank to stagger the seams and create a more natural look. I also used planks from different boxes while I was working. This way I could make sure any color variations were distributed throughout the room and that way it looked more natural.
Here’s my favorite part of this click and lock flooring. The tongue of one piece fits so smoothly into the groove of the preceding plank. Here’s a closeup so you can see what I mean:
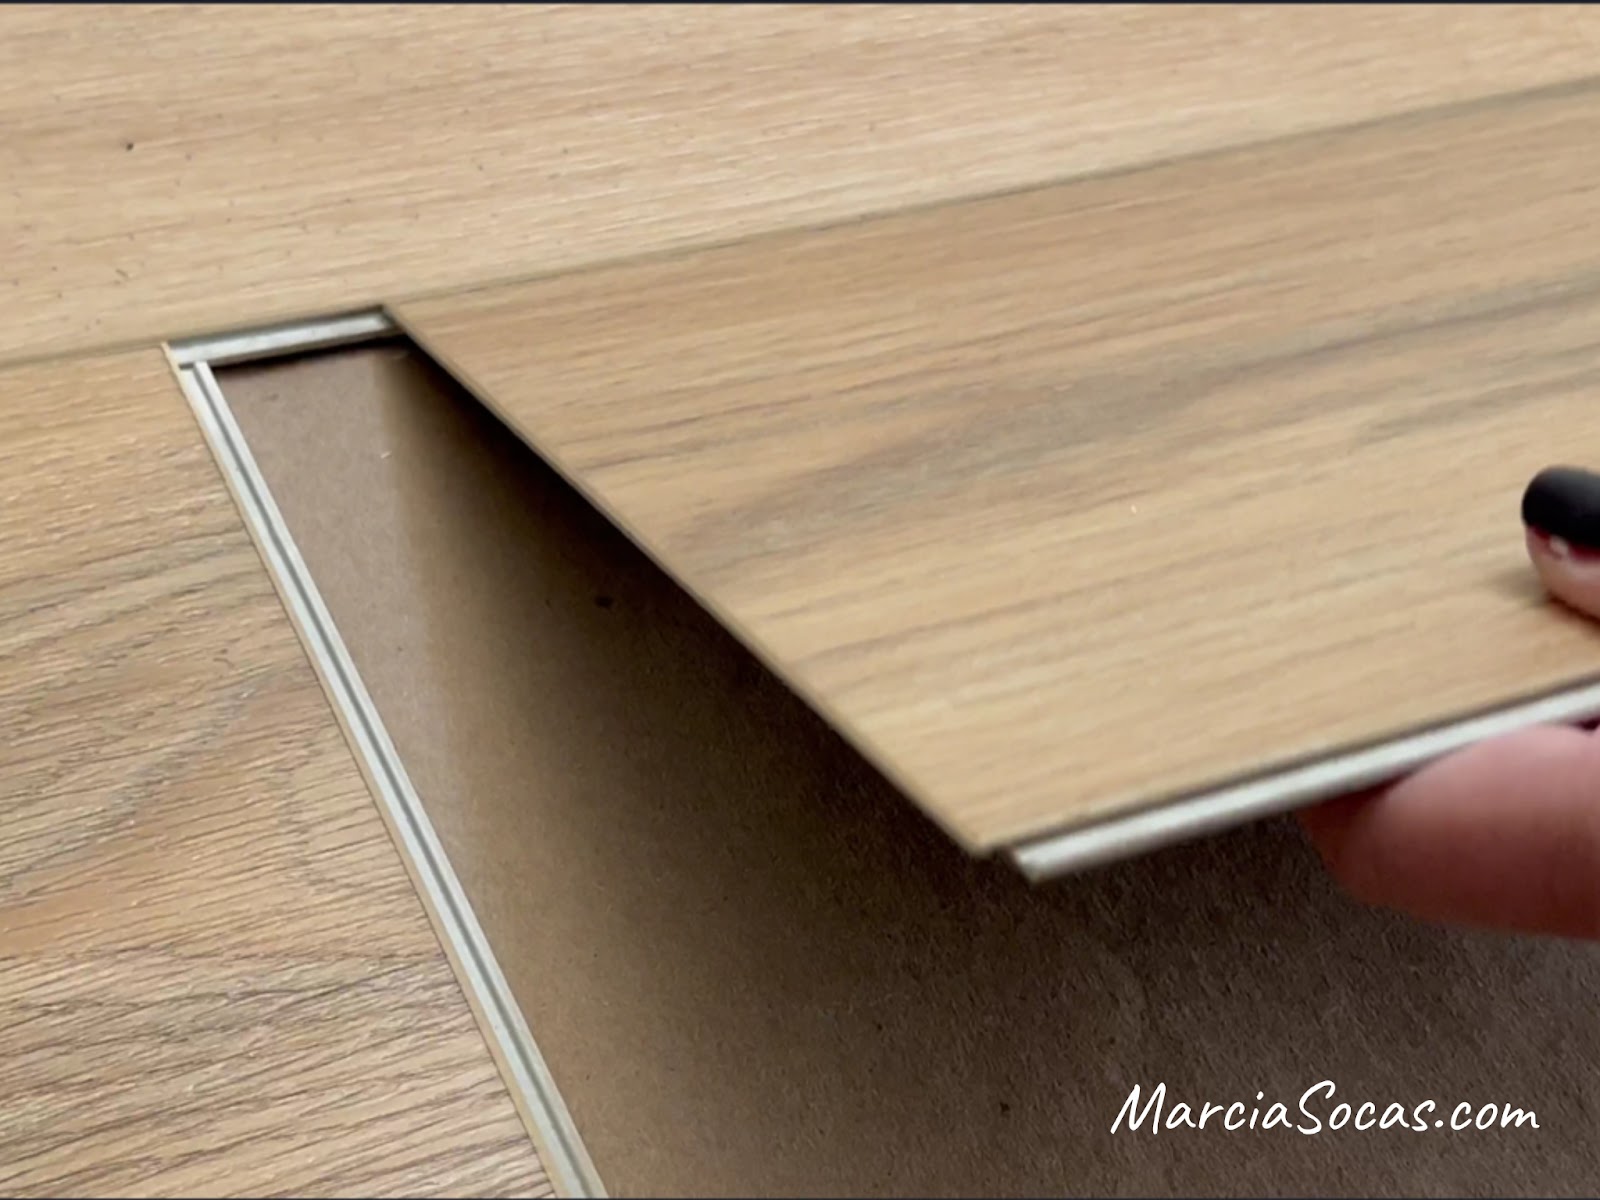
I put in the long side of the plank holding it at a bit of an angle (around 45 degrees). This way it fits right into the groove. You can kind of slide it back and forth and move it into place to attach it to the plank on your left side.

For me, the most important part here is to try to apply even pressure as I’m placing the plank in place. That way the tongue and groove are perfectly lined up. Then I slide it to the left side, and lower it into the groove there.
I can tell pretty easily when I have the plank properly in the groove and when I don’t.
When I don’t have it in place, it doesn’t sit flat and I have to check and make sure that I have it in the groove properly. But when I do have it placed correctly it just lays flat so perfectly!
Using the tongue and groove along the long end of the plank is easy and it really doesn’t take a rough hand or pounding it into place. The only place I do use the rubber mallet is when it comes to the short side pieces. The flooring does lock in place but the rubber mallet helps me make sure that it’s really in there as securely as I’d like. It just took a light tap for me and this way I made sure everything was connected tightly.

Step 4: Cut the flooring
When I got to the end of the row, I flipped over the next piece, marked the space where I needed to cut the plank to the proper length, and cut it right there. The floor is rigid and strong but also cuts really easily so I didn’t have to get up and down a hundred times to make cuts on the straight walls.
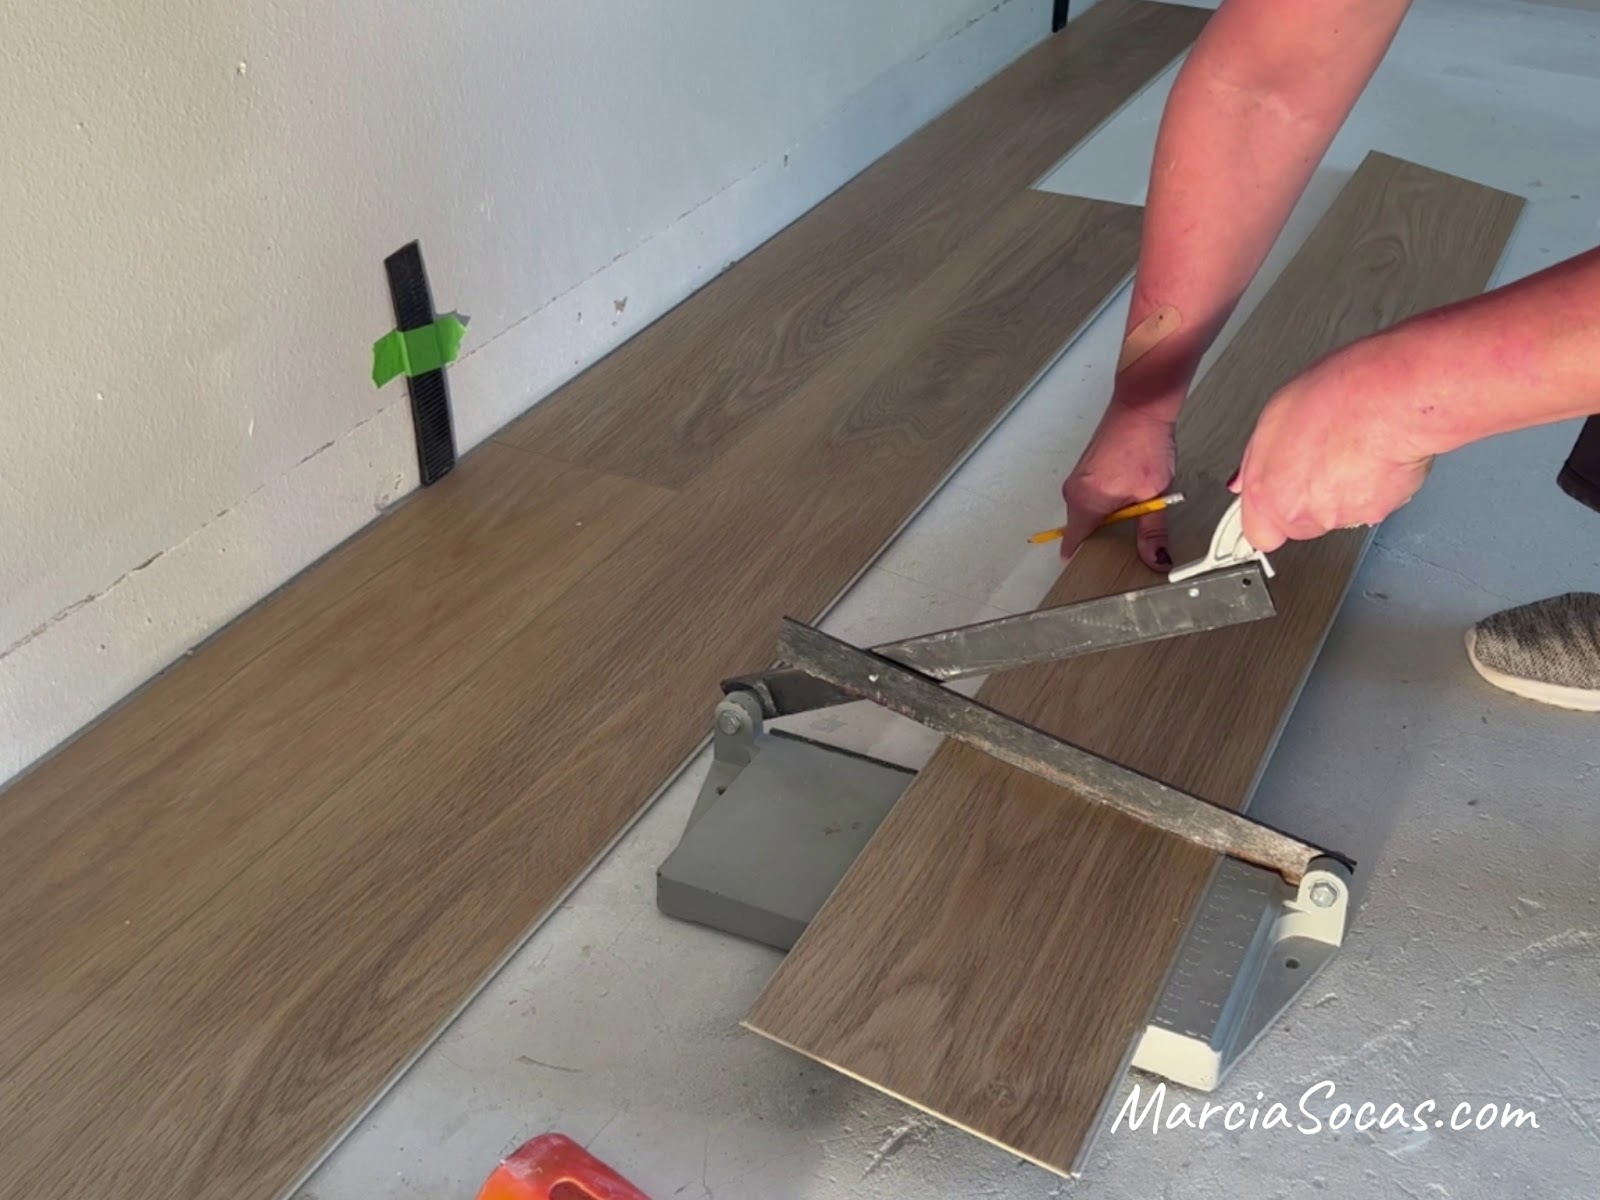
In this particular room, the walls were not all straight, there are a few angles in this room. So, there was a part of the room that needed diagonal cuts. This was easier than I originally anticipated. I just marked the boards at an angle, cut them, and they fit perfectly.
Step 5: Install Trim and Baseboards
I added nice high 5 ¼” baseboards to cover the gaps along the walls and to make the room look elegant. (If I’d had baseboards already in place, I would have just attached quarter-round molding or base shoe molding to the baseboards to create a finished look.)
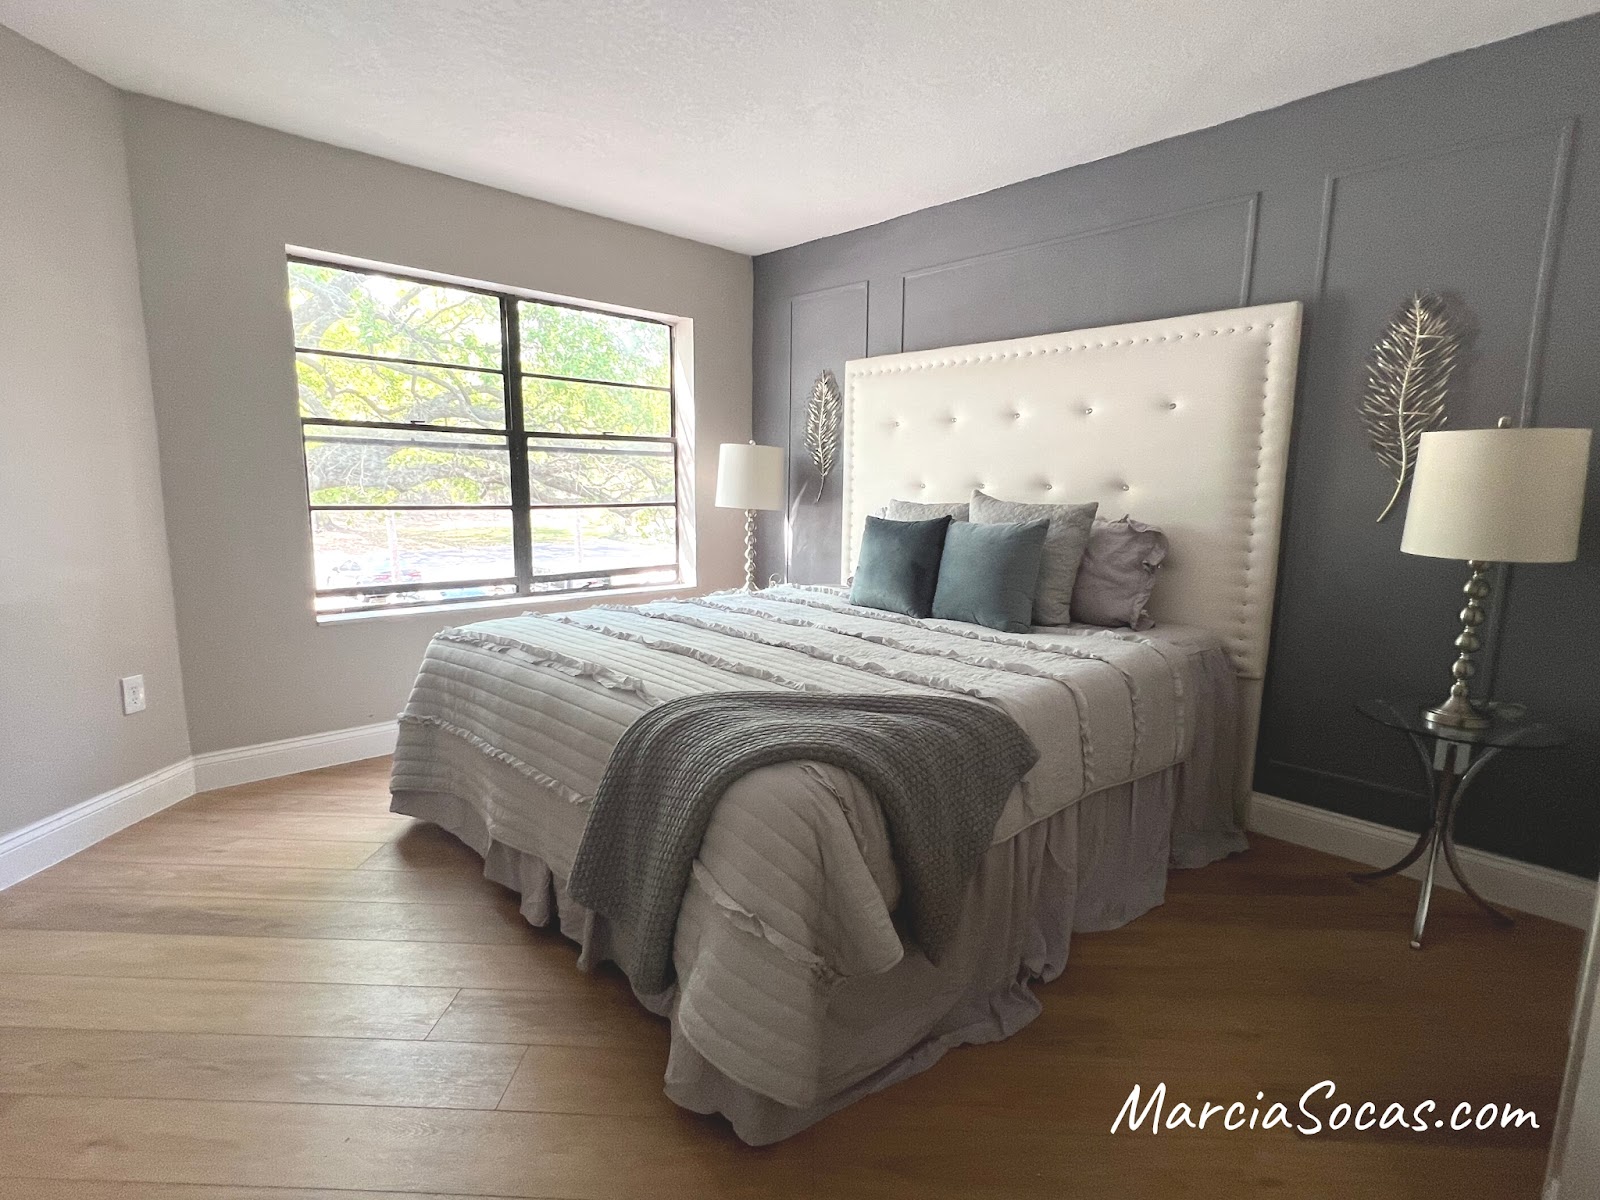
Step 6: Furnish and Enjoy!
I love the way the flooring looks like real wood. This color, French Oak, goes perfectly with both the bright white baseboards and the dark accent wall.
And here it is once the room is furnished, it really changed quite a bit!
The installation was easy, and the plank length made for a fast installation. Also, the flooring felt good and was quiet. Typically, the problem I’ve had with other floating floor systems like the old laminate style is that it feels hollow underneath, and over time it creaks and cracks. This flooring, I imagine because of the underlayment, feels much better underfoot.
I hope you’ll give it a try, it really is something you can do yourself and that truly changes the look and feel of a room.