

DIY Slat Wall
I’ve been seeing cool slat walls all over social media, and in model homes, and I wanted to try my hand at creating a slat accent wall in this small condo bedroom.
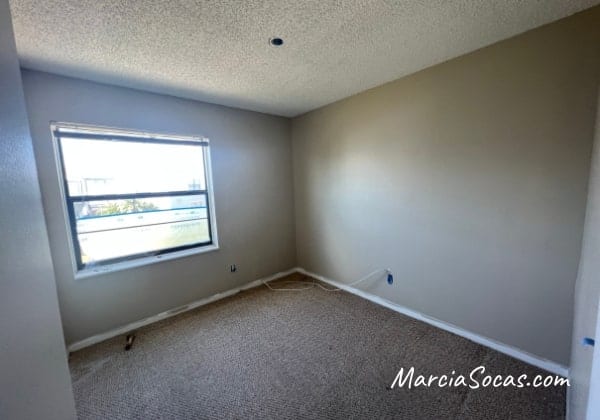
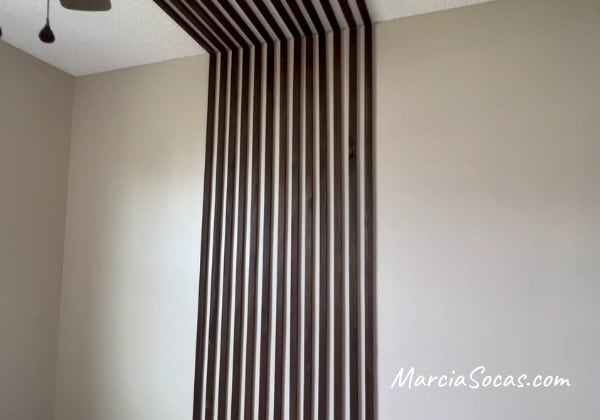
This is the bedroom that I was starting with. It was a smaller space and I thought a feature wall would work well and that vertical slats would bring the eye up rather than just focus on how small this room really is.
So, I headed down to Home Depot and picked up some 1 x 2s for my wood slats, an espresso stain, and a cloth to apply the stain with. I also purchased a box of LED strand lights from Amazon, so that I could make my slat wall unique.
The total cost of materials was under $100.
Throughout my site I provide affiliate links to products that I hope will help you with your DIY project supplies. As an Amazon Associate, I earn from qualifying purchases. This means that I may receive a small commission if you use these links to purchase products, but it does not change your price in any way.
The type of wood:
There are actually various types of wood and you’ll need to choose the best option for you. The cheapest is the common board, which is actually what I used. It was the right wood for my project and gave me the finished product that I liked.
However, you can choose to use pine board for your wood slat accent wall and it’ll be less rough. It’s up to you if you want to spend the additional cost for a higher grade material. It does give more of a smooth finish so it may be worth the extra cost for you.
I wouldn’t use mdf boards personally though. They’re great for board and batten walls but I like the depth and feel of the 1×2 wide slats.
The best thing about a DIY wood slat wall, or any DIY project really, is that you can choose the materials that work best for you. So feel free to use a different color stain, different wood boards, or bold colors on the wall behind your vertical wood slat wall. Whatever works for you!
Getting started:
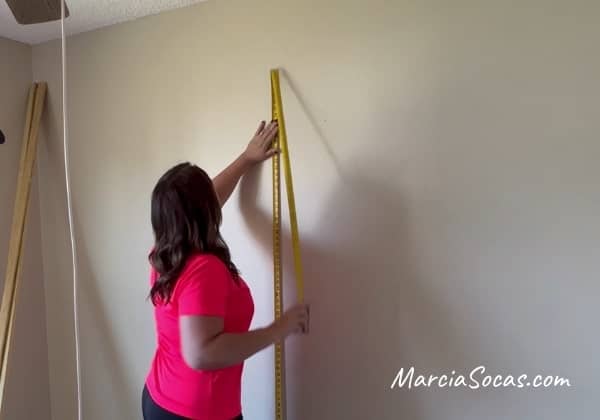
When I got back to the condo, the first thing I did was to measure my wall and cut the wood down to size. You’ll want a precise measurement if you’re going to the ceiling like I did.
Here’s a video of the process, but the full tutorial is below.
Specifically, I measured from the baseboard to the ceiling.
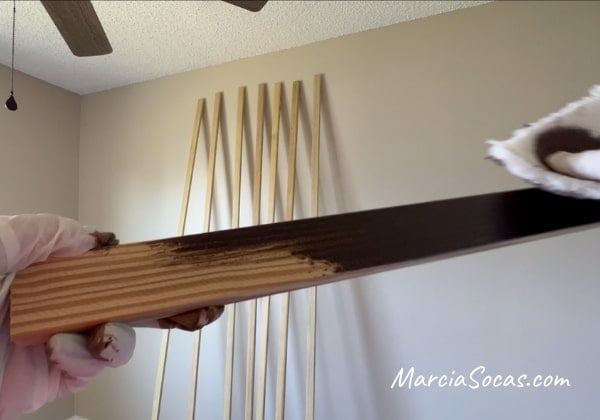
I stained the wood. The staining process was really easy wearing gloves and using the damp cloth with stainer on it, and I loved the dark color. Make sure to get the sides of the slats! I let the pieces dry and then I was ready to start. Alternatively, if you want to paint your individual slats rather than stain them, you can certainly do so with a paint brush or even quicker with a paint sprayer.
The First Wood Slat
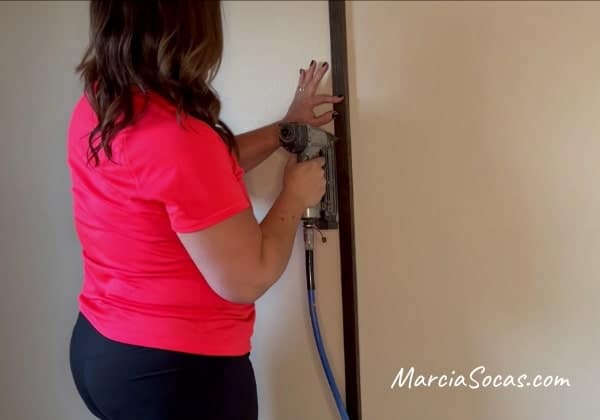
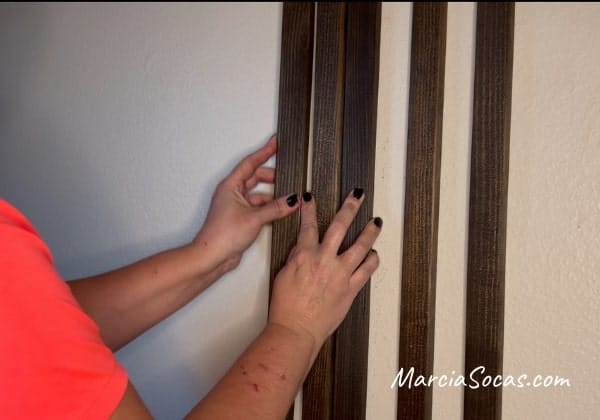
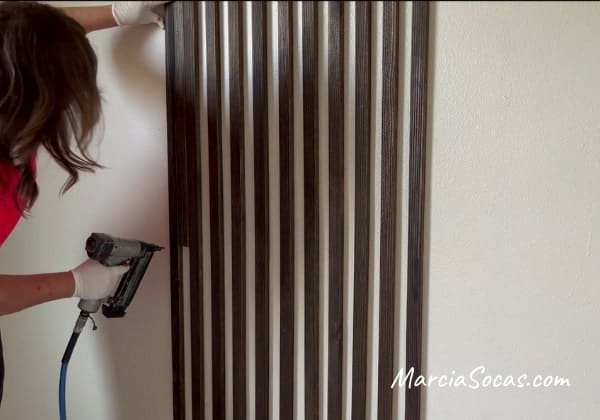
I made sure the first piece was plumb. I recently learned that vertical measurements are plumb, whereas horizontal ones are level. So, I made sure the first piece was plumb and then I used a nail gun to attach it to the wall.
Some tutorials that I’ve seen online advocate for using liquid nails rather than the brad nailer or finish nails, but I just don’t like how permanent construction adhesive is. It can really tear up the drywall if you choose to remove your DIY slat wall project in the future and create another design on your wall space.
Some people choose to use a natural wood over a darkly painted wall (some paint the wall black; sage greens are another popular option I see a lot), but I felt like, for me, I wanted to keep the paint color uniform in my room and use darker wood pieces for my slats.
What about nail holes?
The holes were really tiny and, really, you couldn’t even see them. However, the most correct way to finish the project would be to add a little wood filler and then sand it down with medium grit sandpaper. I didn’t, just because I didn’t want to change the color of my stain to a lighter wood color by sandpapering it.
Spacing
Once I had the first board in place, I used another 1×2 piece as a spacer next to the first slat and then secured the next slat. This was a great way to make sure that the whole process had even spacing. Using the 1×2 as a spacer made the job quick and easy. It really didn’t take much time at all.
I secured all of my vertical boards in place. I used 13 of them for the wall, and then I used 2 more 10 ft pieces, cut down to my desired size, for the ceiling.
The Ceiling, yes or no?
Many slat walls end at the top of the wall, but I’d seen a few that extended onto the ceiling and liked the way they looked. Plus, I had to hide a fan wire because this room doesn’t have any electrical wiring for the fan light in the ceiling and the slats helped me do that.
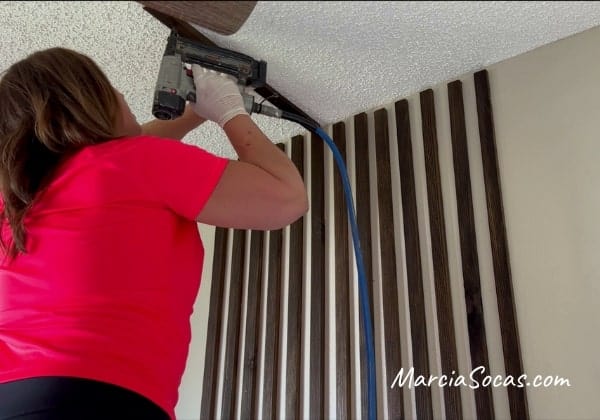
I secured the pieces on the ceiling. I abutted them against each other but these could certainly be miter cut for a more seamless finish if desired. If you wanted to miter cut them, you’d just cut them at a 45 degree angle and fit them together.
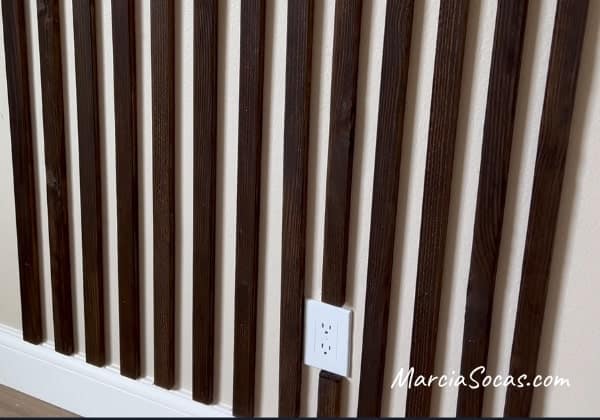
I also cut the slat boards so as not to obstruct the outlet. I left some room to make sure that the wood wouldn’t interfere with anything bulky that needed to be plugged in. This would also apply if you had light switches in the way of your wooden slats in your project, or if you have light fixtures on the wall (like sconces).
Adding Light!
The slat wall was looking good, but I wanted to make it more unique by adding light.
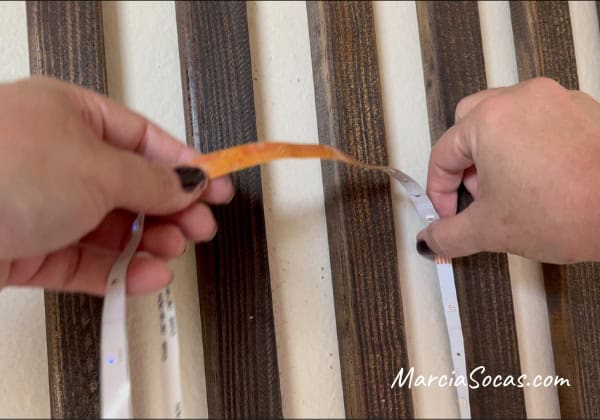
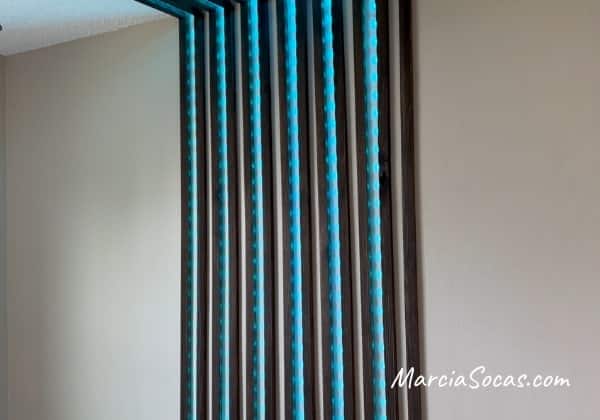
I used LED strip lights with a remote control. These were really easy to use because they have an adhesive backing and could be stuck directly to the wood. I removed the backing and stuck them along the wall and also up onto the ceiling pieces. I choose to run the lights in alternate lines, but of course any pattern can be used depending on personal preference.
Turning it on for the first time was exciting! The lights change color with the remote, and my favorite was the cool blue light.
I added a few more things to the room, including shelves in a matching color, curtains, and a bed.
I love the uniqueness that the slats and lights gave to the room. It’s great to think about different ways to install this, for example I could have used more pieces and fit the width of the bed. Alternatively this could be built just behind night stands as accents. Or, it could be run along the entire width of the wall, I think doing the whole wall would look amazing. Its really a flexible type of project that can be modified to fit your space.
I love the modern look that this easy diy project gave to my small room. Here’s a final look, I really am a big fan of wood slats and loved the full process and result.