Tablecloth DIY: I decided to make my own tablecloth, and it was much easier than I expected.
Below is my 15 minute diy tablecloth tutorial. I found it to be the easiest way to get the look and size that I needed for my outdoor dining table. The 4th of July was coming up, and I thought a white tablecloth would be a little too plain, but couldn’t find the style or size I needed at the store.
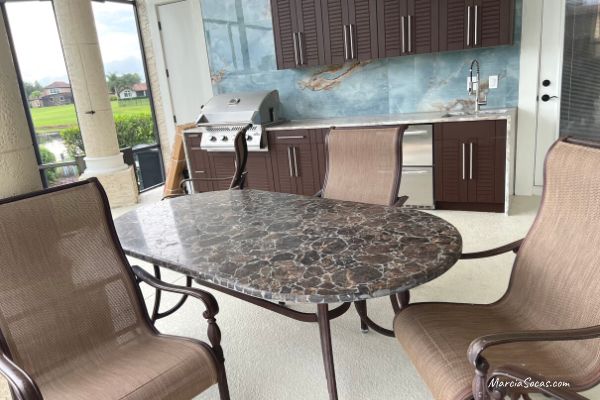
My Starting Point
I also have an oversized dining room table, and in the future this tablecloth DIY tutorial will help me there since finding a table cloth large enough for that table size at a reasonable price and in the patterns and styles that I like has been difficult.
This tutorial is for a rectangular tablecloth. The material is from Joann Fabrics.
Throughout my site I provide affiliate links to products that I hope will help you with your DIY project supplies. As an Amazon Associate, I earn from qualifying purchases. This means that I may receive a small commission if you use these links to purchase products, but it does not change your price in any way.
Select Your Fabric
If you can’t find the look you want with fabric from your favorite fabric store, feel free to look at the fabrics that I love from Amazon. There’s so much fabric to choose from, you can create a different table top look for every occasion.
Here are fabrics for:
Patriotic Tablecloth
Easter Tablecloth
Christmas Tablecloth
Thanksgiving Tablecloth
Summery Tablecloth
Measure Your Table
The first thing you’ll need to do is measure your table size.
My table was 41″ wide and 81″ long.
Actually, my table was somewhat oval, but I just used the longest edge of the table for my measurement.
Add the Drop Length
You also need to add in your drop length. This is the length you’d like for your tablecloth to drop over the sides of the table. For some occasions, you may want your DIY tablecloth to go almost to the floor. This would give a nice formal look. To measure for that, you’d measure the height of the table leg and subtract an inch or two so your DIY tablecloth doesn’t touch the floor.
For my tablecloth DIY, I was decorating for a backyard party and I only wanted the tablecloth to hang over the table by 12″ or so. This length provided a practical solution for me to get the look I wanted for my party without having to buy yards and yards of fabric.
Here are the calculations for a rectangular tablecloth with my table dimensions:
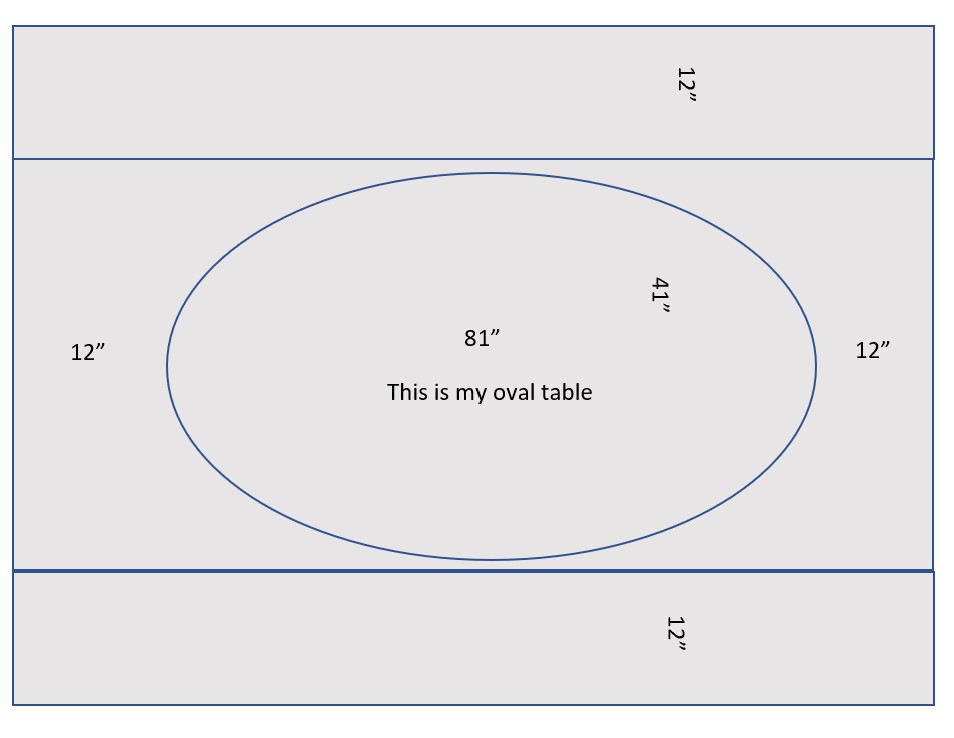
Add the table length, plus the amount of drop length for each side, plus the seam allowance.
So, for my table the length was:
12″ drop + 81″ table top + 12″ drop, but don’t forget you have to add a seam allowance! I added one inch on each side (2″ total). So my final table top length calculation came to 12+81+12+2=107″. That makes the material 3 yards in length.
Now the Width
As for the width, you’ll notice that there are different fabric widths depending on the fabric you choose. My fabric width was 44″. That essentially covered the center part of the table perfectly. But I had to add the drops on the sides, so that was going to take more fabric.
I would need to add two strips to each side. By the way, the fabric is added at the drops rather than just running a seam down the middle because it looks better, and you end up with a flat surface by keeping the tabletop section unseamed.
I had to add two sections of 12″ x 107″ to complete the DIY tablecloth. In order to get this length, I had to buy an additional 3 yards of fabric for the drops.
I needed a total of 6 yards of fabric. I can often find this on sale for $5 per yard or less, which means I’m spending $30 on a totally custom tablecloth DIY. You’ll calculate the fabric yardage you’ll need for the size of your table based on your size..
Using Leftover Fabric:
If you have excess fabric, save it for use with other projects such as:
Creating cloth napkin rings with the extra fabric
Sewing pillows with the fabric
Make a matching scrunchie to wear at your event
Create a zippered pouch
Sewing coordinating napkins
Use it as a trim piece along dish towels to match your event theme
Sew matching party pot holders
Create a unique wall decor for your event
Getting Started with your DIY Tablecloth
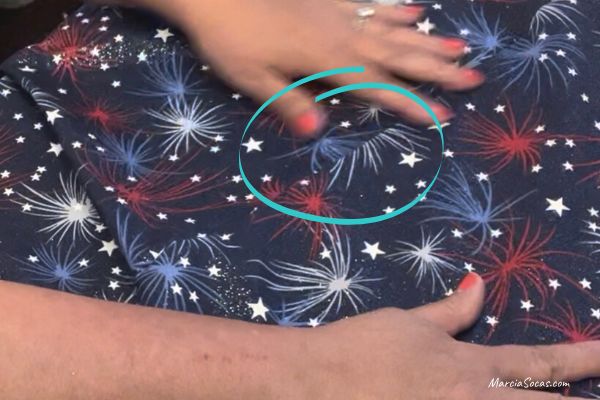
The fabric I used was a cotton fabric from Joann’s. It had the print on just one side, so there was definitely a top of the tablecloth side (the “right” side) and a plain underside (the “wrong” side). My fabric was used on an outdoor table, but it was under a covered patio. If you’re creating outdoor tablecloths, you may want to use a more sturdy or waterproof fabric for your table cover.
Use your straight edge (I love this large transparent ruler) and rotary cutter to cut your fabric. Without them, I wouldn’t be able to cut a truly straight line.
Take the side panel and pin it to your main length of the tablecloth. Line up edges of the fabric with the right sides together.

Make sure you straight pin the right sides together along the cut edge.
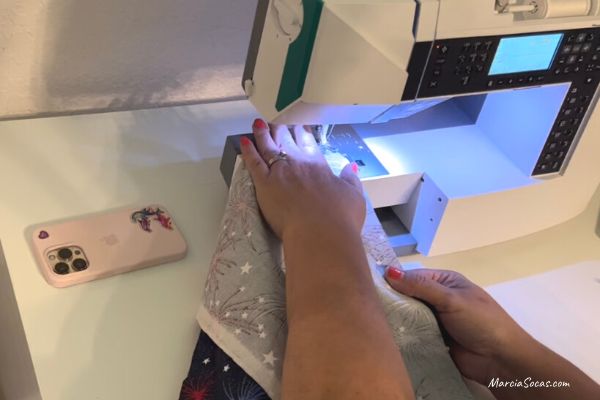
Start Sewing The Drops to the Center Piece of your Tablecloth
Next step, head over to your sewing machine and straight stitch the panels of fabric to the main section. The wrong side of the fabric will be facing you. Sew all along the length of the fabric. You’ll do this for the long edge of both sides of your center piece.
Trim the Excess
You’ll end up with fabric bunching up under the seam unless you do something about it. Many tutorials recommend that you iron the seam open for it to lay flat. But, as you’ll see below, I hate ironing. Do I don’t do it that way. I simply trim the excess fabric to the right of the stitching. Just be careful not to cut the straight stitch at all.

Hem the Edges
Now, at the outside edges of the side pieces, you’ll still have a raw edge. Finish this off using a double folded hem.
Traditionally, in order to double fold the hem, you fold up sides of the fabrics to the hem width of your choice, iron it, then fold it again and iron it again.
But, I hate ironing, and it takes me a long time.
So I created a little “tool” to cheat my way out of ironing. You can use this trick if you’d like to. It really saves me time.
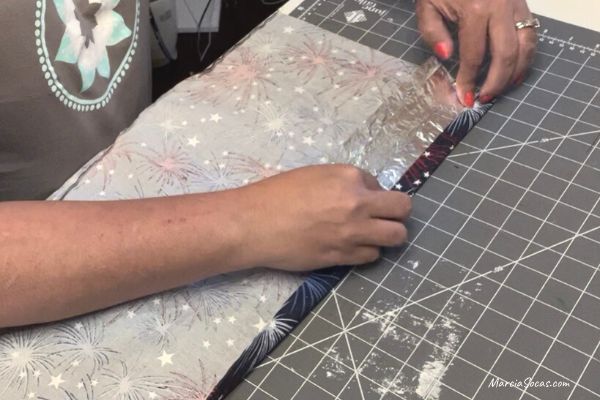
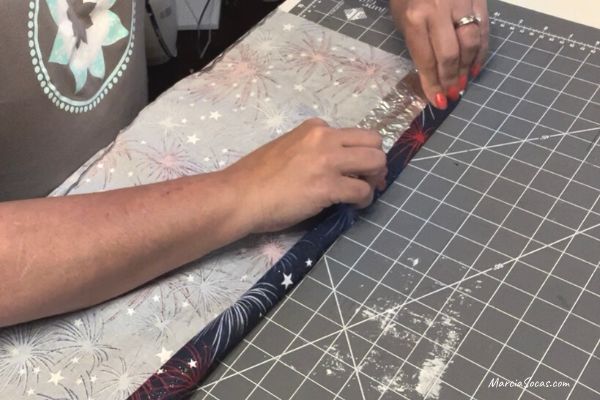
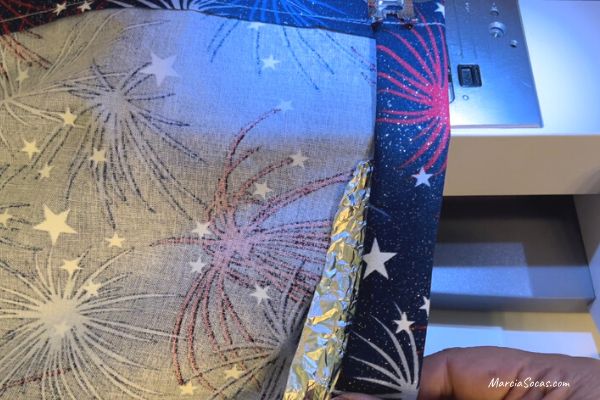
My hem hack
I use aluminum foil folded upon itself several times to make it somewhat sturdy. Then I set the hem width I’d like, I fold the fabric over it, and then fold it again. I slide my diy hem folder down along the fabric as I sew.
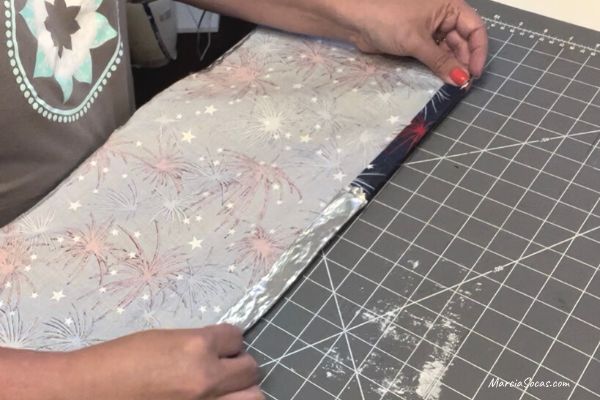
Again, this may not be the way a real seamstress would recommend, but the good news is that it definitely works for me in creating a simple hem that is double folded and professional looking. And using the aluminum foil and folding it to the size I want is the perfect way for me to get the right size hem that I’d like. Sometimes wonderful ideas come from saving time and effort. But again, feel free to use the more traditional method of folding, ironing, folding, and ironing again. It does come out beautifully that way too of course.
Sew down your hem
The Corners
There are some amazing tutorials that exist on how to create mitered corners.
For my use, I did not feel it necessary to create a perfectly cornered tablecloth. You can take a look and see if this simpler approach works for you. It worked for me because the folded layers of fabric were not too thick at all and just folding and sewing down the corner went a long way toward saving time and keeping it simple.
I just sewed my double hem all the way down to the edge, and I double hemmed the other side and reinforced the corner stitch. Super simple and fast.

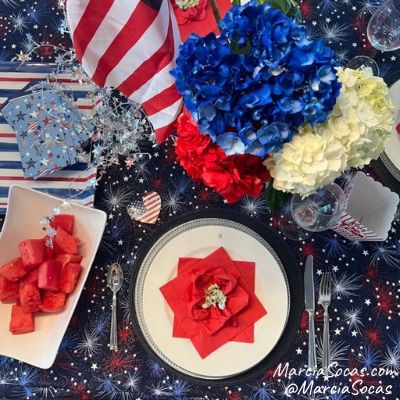
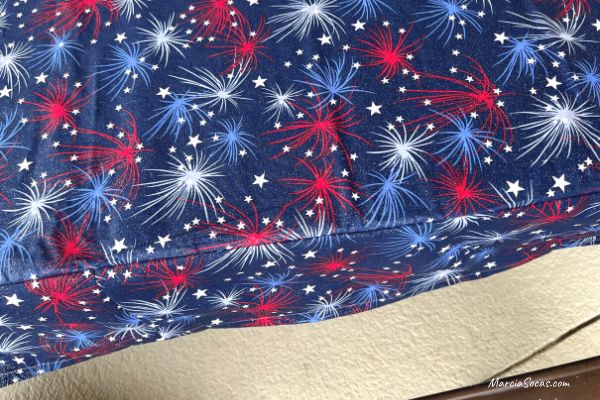
The Result
Here’s how the tablecloth DIY turned out for me.

Notice how nicely the drops sit off of the table. It looks custom made for my table! Really, I just got lucky that my table is 41″ width and the fabric was 44″ width and by the time I seamed it all together it sat really nicely.
View other Projects
I hope this tablecloth diy helps you create a great new tablecloth for your special occasions or just for everyday use.
Please check out my site for additional diy projects or sign up for my monthly newsletter with tutorials and home decor info.
I love to put together easy projects and find great ideas for decorating and personalizing your home without spending a fortune.