
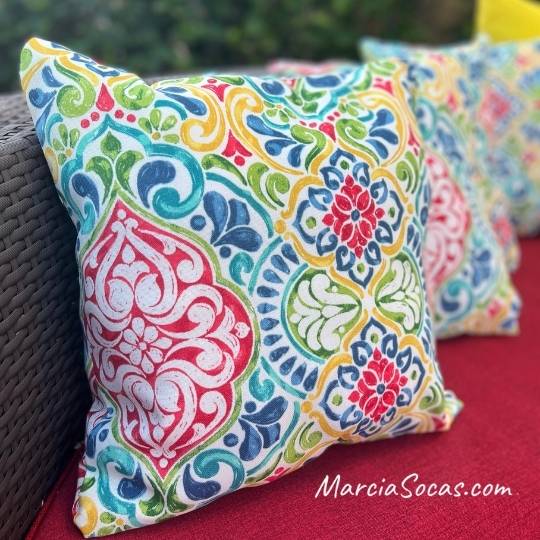
Today I’m showing you a quick sewing tutorial for dressing up your patio and getting it ready for summer. Last week I made these pillows to update my existing pillow set out on my porch. These DIY throw pillows are the easiest way to update your porch or patio area. You can sew summer outdoor pillows in under 15 minutes.
This tutorial is for a stuffed pillow, but you can also use it with a pillow form. Just get your pillow form dimensions and add a 1/2 inch on each side when you measure your fabric. That’ll give you enough seam allowance to create the cover for the pillow inserts.
If you’d like to download the free pillow pattern tutorial, please click here to go to my resource library. You’ll find a printable download there with instructions. In the resource library you’ll also find other sewing projects and DIY projects for the home.
The outdoor pillows are quick and easy to make! You can choose a different fabric depending on the season of the year and keep your outdoor area looking stylish with your diy pillows. This basic pillow is a great way to personalize your home decor. I’ll provide affiliate links where possible to help you find the supplies easier. As an Amazon Associate, I earn from qualifying purchases.
Also, if you’d like to view other outdoor decor projects and summer sewing tutorials, aside from just learning how to sew summer outdoor pillows, here are some other DIY tutorials I’ve put together:
Sew a Beach Bag
Outdoor Patio Wall Idea
Beach Themed Bedroom
Outdoor Accent Wall
Summer Kitchen Backsplash
I’m always looking for affordable ways to implement a cute design or cute accent into my house decor. Creating decorative pillows are an easy way to have fun with an easy sewing project that also gives your guests a little pop of insight into your decor personality. I don’t know about you, but I love finding a simple sewing project that I can take on and create in under 1/2 hour!
Here’s the video tutorial. Step by step tutorial instructions are below the video.
Sew Summer Outdoor Pillows, Step by Step:
Cut your outdoor fabric.
You can get this from your favorite fabric stores or take a look at the Summer Outdoor Fabrics I found on Amazon. This tutorial will show you how to create a square pillow because it is really an easy project if we keep it simple and square. This makes for a great first time sewing project because you can use just one yard of fabric (or less) to try it out. Also, if you enjoy making the decorative throw pillows, you can decide to use create them for your living room, sofa, bed or anywhere else new throw pillows could make an impact in your home.
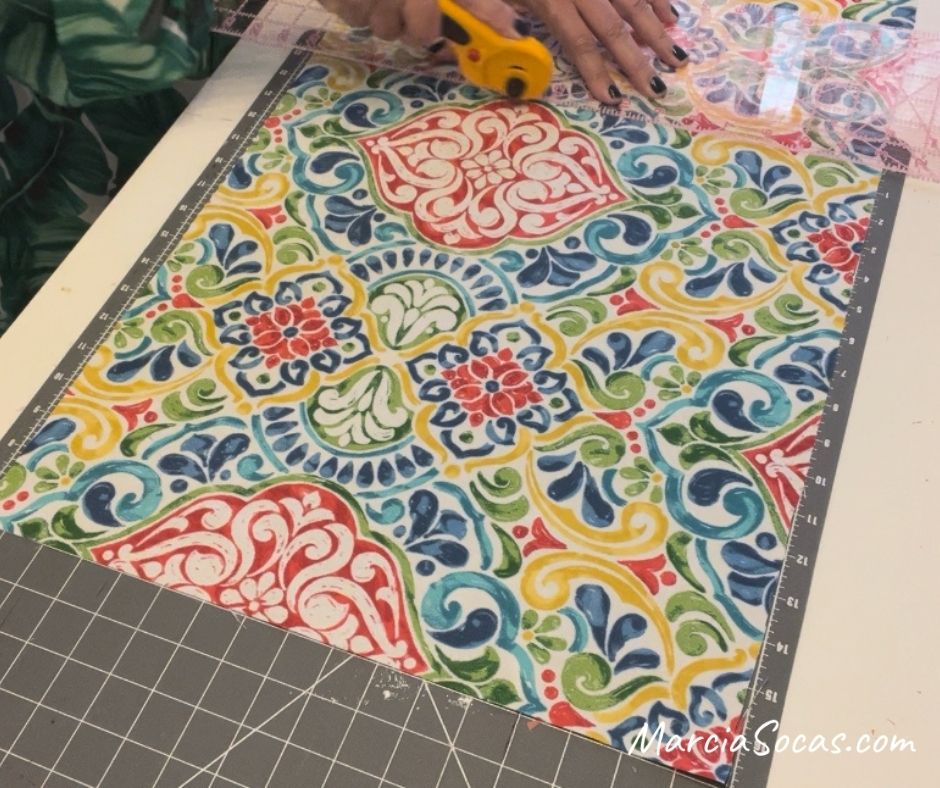
I recommend outdoor fabric because it will last longer in the sun, and because it’s water resistant. I cut mine 17” x 17”, although I think I would go slightly bigger the next time. (Like 22” x 22” for my outdoor sofa). I used rotary cutters to cut my piece of fabric. These scissors have proven to be a quick and effective way for me to cut fabric. I place a ruler along the fabric piece and then run the rotary cutter alongside it, which allows me to cut in straight lines every time. Cutting on a cutting mat protects my craft table work surface. I cut several squares of fabric when starting my own pillows (so that I wouldn’t need to keep returning to the cutting table). You can view the supplies below:
*Note: this is the perfect time to add any embroidery or Cricut iron on sayings (aka motivational pillow quotes) to the front piece of your pillow. This added step is a clever way to add even more of your own creative ideas or personalization. A monogram can look great on the front of the pillow.
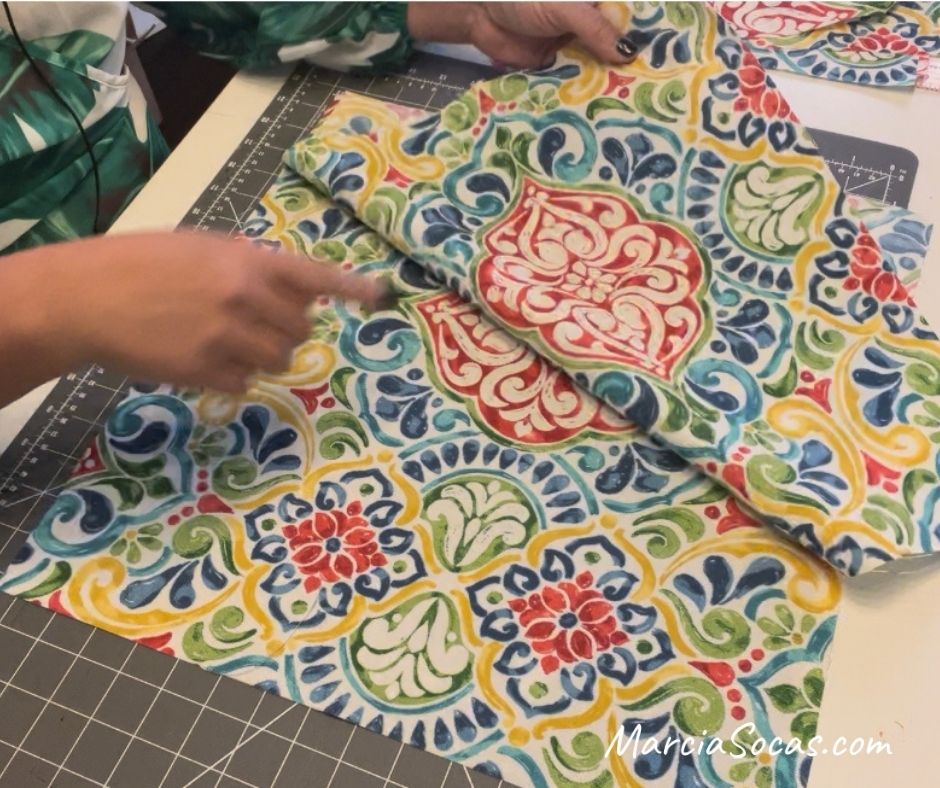
Place your front and back pieces of fabric together.
You can choose to have your front and back piece mirror each other, but I let mine come together in a random pattern. If your fabric contains horizontal lines or vertical lines, you may want to be more intentional with how you line up the front and back of the pillow pieces. Floral pattern fabric or a pattern design like on the fabric I’m using would be easier to piece together randomly.
Place two pieces together, right sides in. Be sure to place the pretty sides (right side) of your material facing each other. (You’ll turn this “inside out” later).
Pin in place.
Sew down the length of 3 sides of the pillow:
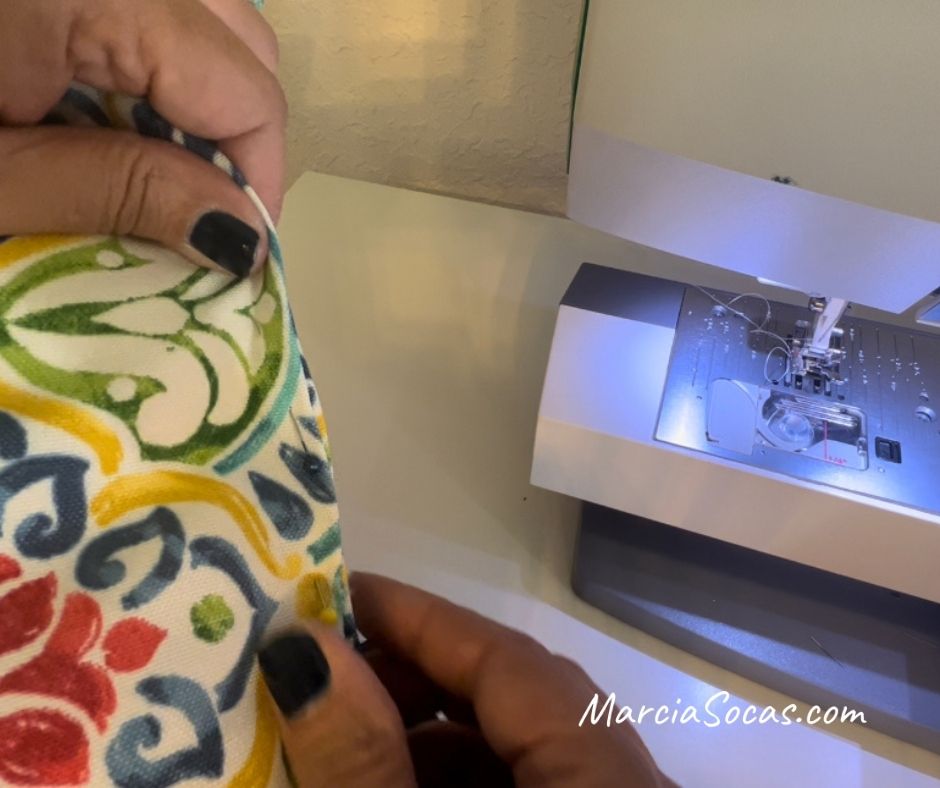
Head over to your sewing machine and start sewing down along one end.
Sew all the way to the edge of the fabric.
Then turn it and sew all the way from the edge of the fabric again.
When you see all the way to the edges, your corners will look like this.
Repeat this along 3 sides of your pillow.
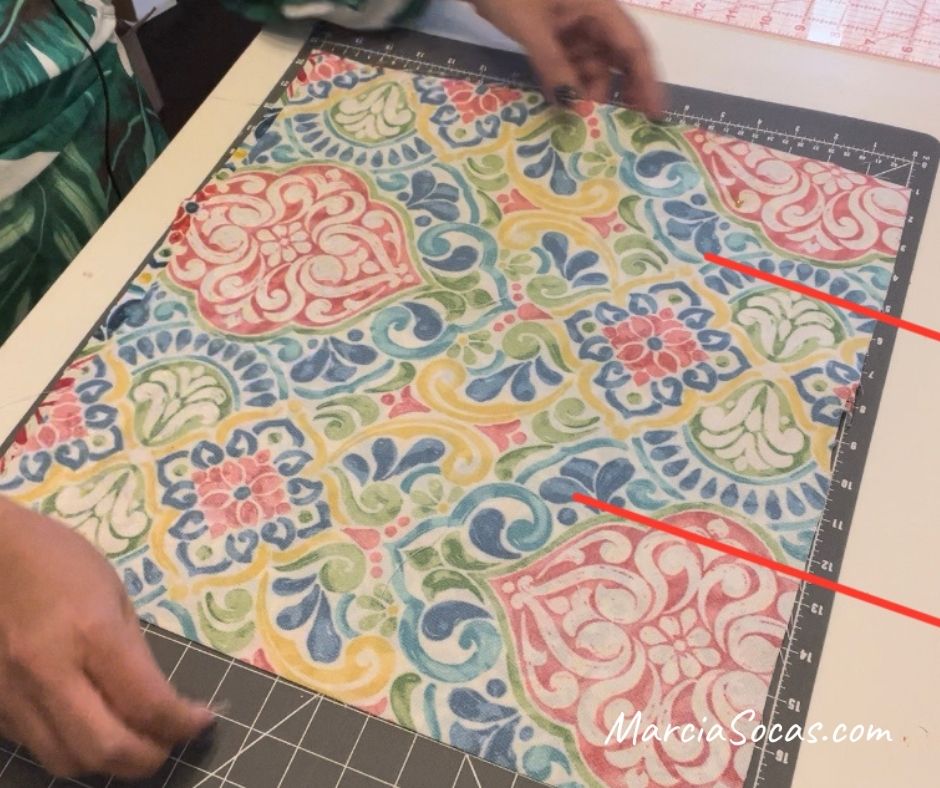
Leave an opening on the 4th side:
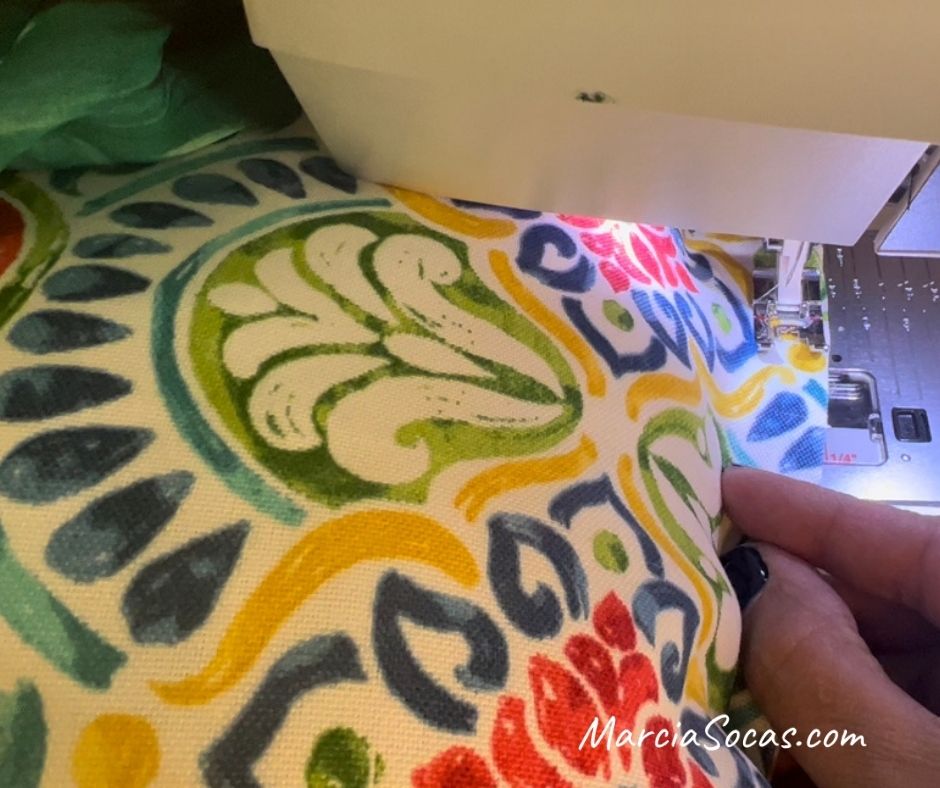
When it comes to your 4th side, see down 1/3 of the way, then leave a gap (opening), and then down the final 1/3 of the way. (I’ve placed red lines on the photo to show what I mean)
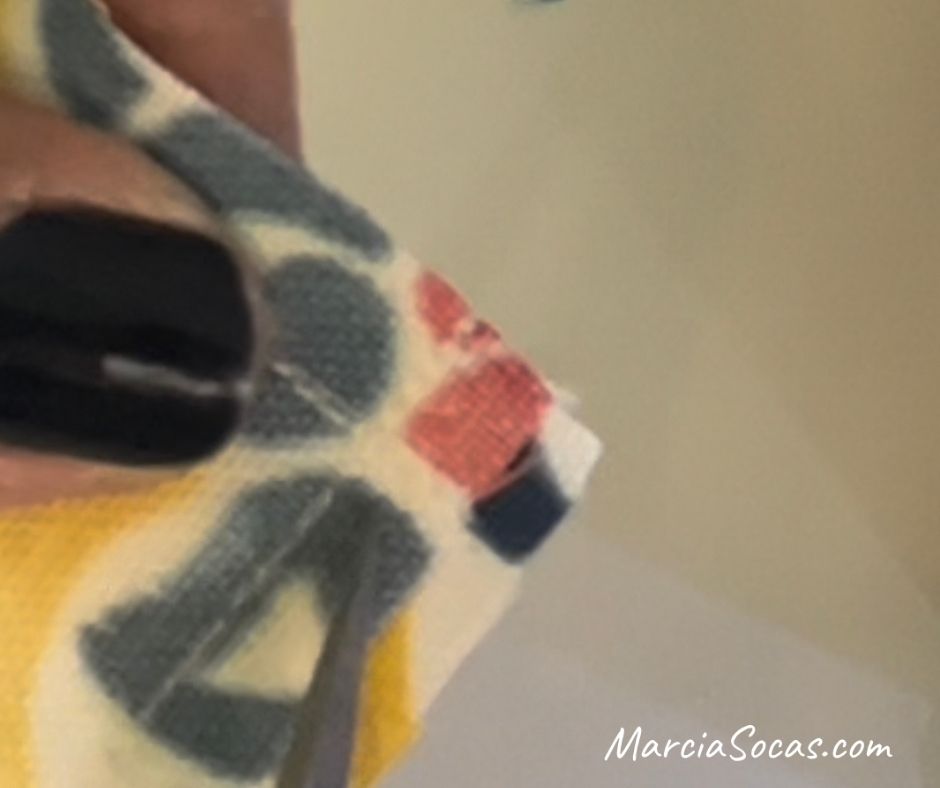
Remove your project from the sewing machine and clip the corners like this. (Don’t clip over the spot where the stitching crosses so you don’t create a hole in your corner).
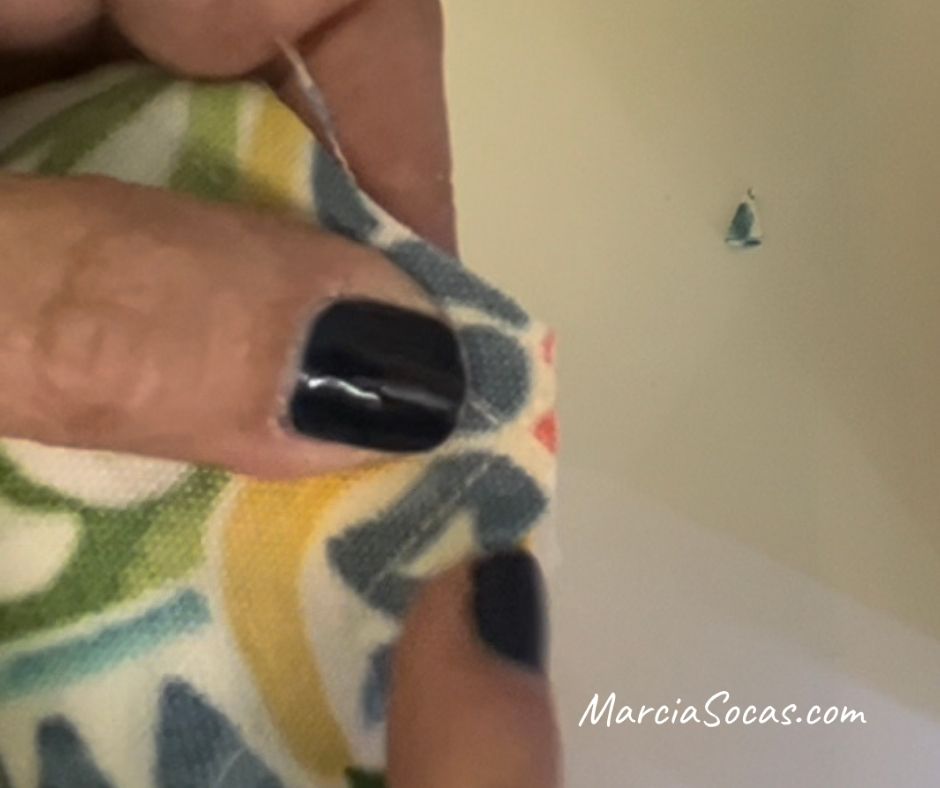
Remove any pins you still have in the fabric.
Turn It Inside Out
Then reach your hand into the opening you left on the 4th side. Pull the material inside out.
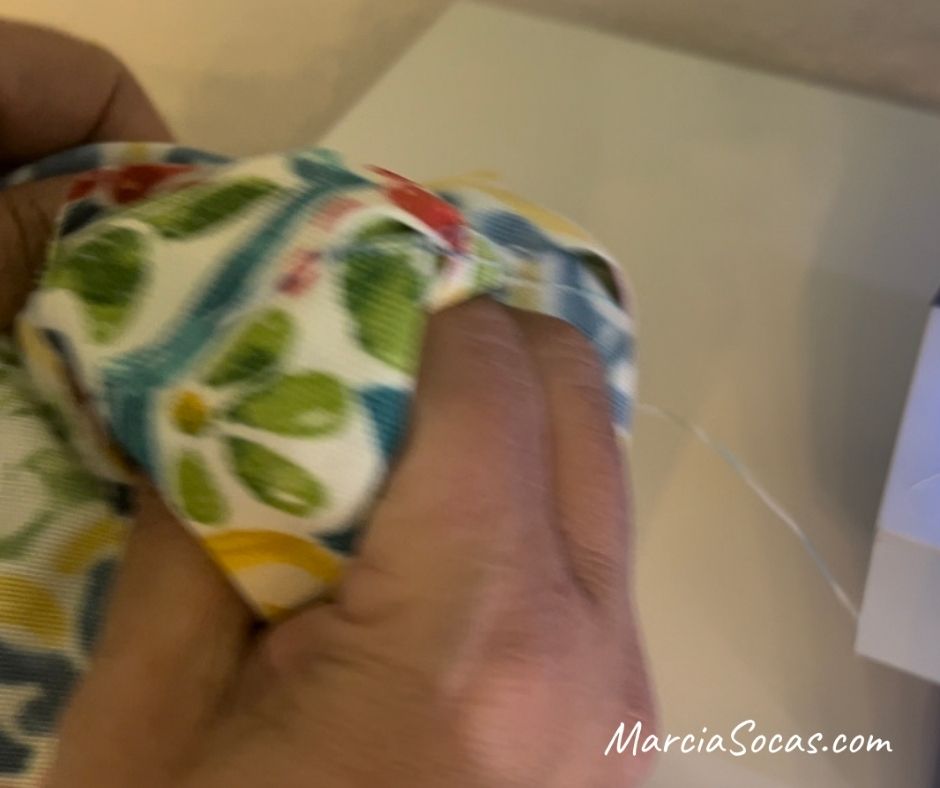
Once you turn it inside out, you’ll have the pretty side of the fabric facing out and you’ll still have this opening in the fabric that you’re using now to stuff your pillow. Make sure to poke out your corners with your finger so that they look nice and finished.
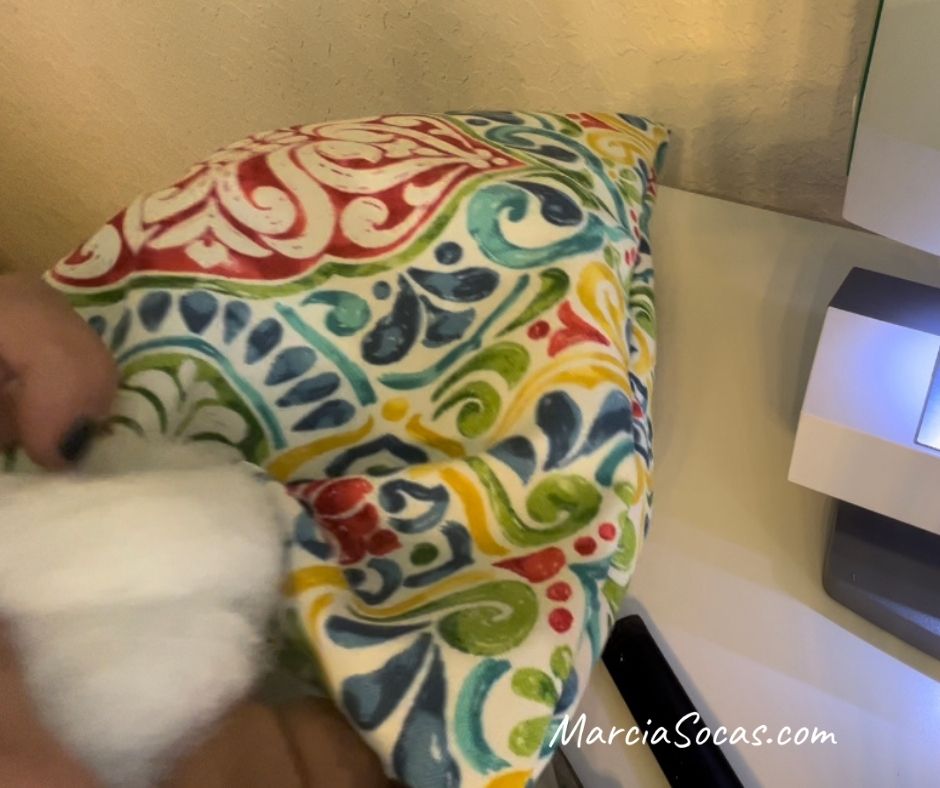
Stuff It
Insert the stuffing. Stuff until it’s as full and firm as you’d like.
Fold the opening in so that the fabric folds in and gives you a finished edge look. (Take a look at the video if it’s more helpful).

Pin it closed and head to your sewing machine once more.
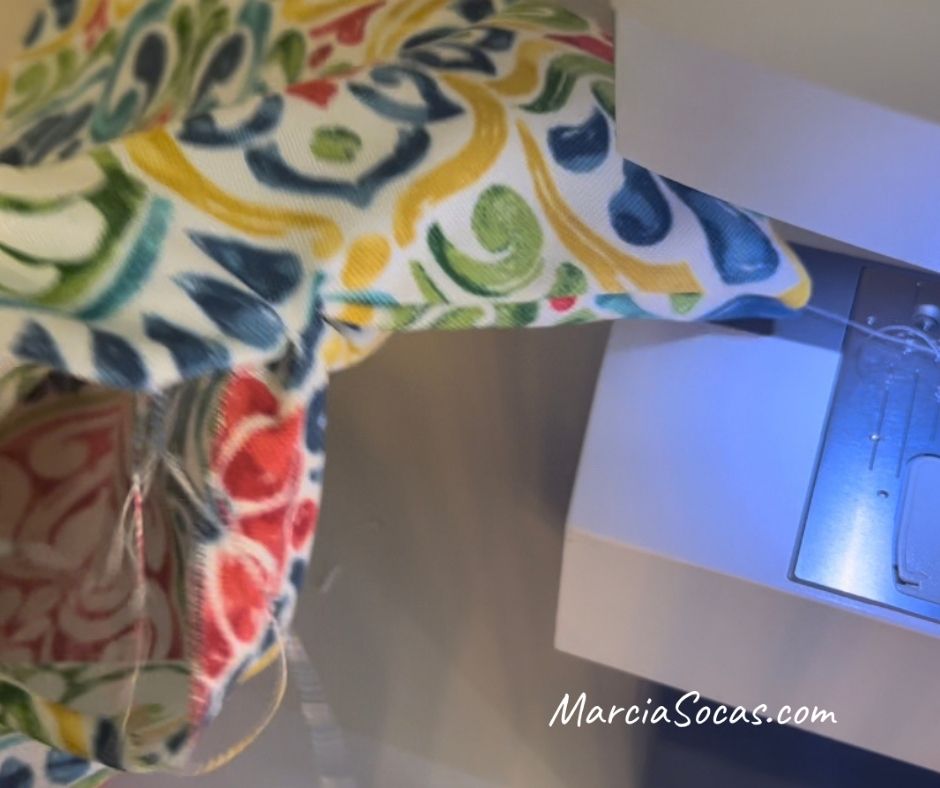
Sew the Opening Closed
Sew this area closed. You’ll just run a top stitch along the edge. Cut any hanging threads and your pillow is complete!
Make more and enjoy! You can now sew summer outdoor pillows or outdoor pillows for any season or occasion!

Click here to Download the 1 Page Tutorial Sheet from the Resource Library
I hope you have fun making your own throw pillows. I am sure that they will make your patio or room look amazing and that they’re a great addition to your home.
Summary of Summer Throw Pillows Steps:
- Cut fabric to size (approx 20″ x 20″ for example).
- Place right sides together
- Sew 3 sides together
- For the 4th side, sew it 1/3 way down, leave a space (1/3), and then sew down the bottom 1/3rd
- Pull the fabric inside out, so that the right side is now out
- Insert the stuffing
- Sew the opening closed with a top stitch
Remember:
- Outdoor fabric is best for outdoor throw pillows
- You can use pillow form inserts and create these as throw pillow covers. Just insert the pillow form before you sew the 4th side closed on your summer pillow.
- Adding decor or personalization to the front piece of your pillow before sewing is a great way to create pillows for special occasions
Here’s a pinnable link to save to your Pinterest Boards