
Large DIY Beach Bag.
I originally created this Beachy Bag just to use as an accessory when staging a Summery Styled Porch I put together when helping my son with his First Condo Flip last year.
But I fell in love with the cute bag and use it all the time now and thought I’d put together a tutorial in case you’d like to make one too! This works for a DIY large beach bag, a DIY pool bag, or a tote bag.
I love home renovation, crafts, and decor (who doesn’t love an amazing themed room?!). Please feel free to view my projects and home flipping throughout the site and connect with me on Instagram @marciasocas
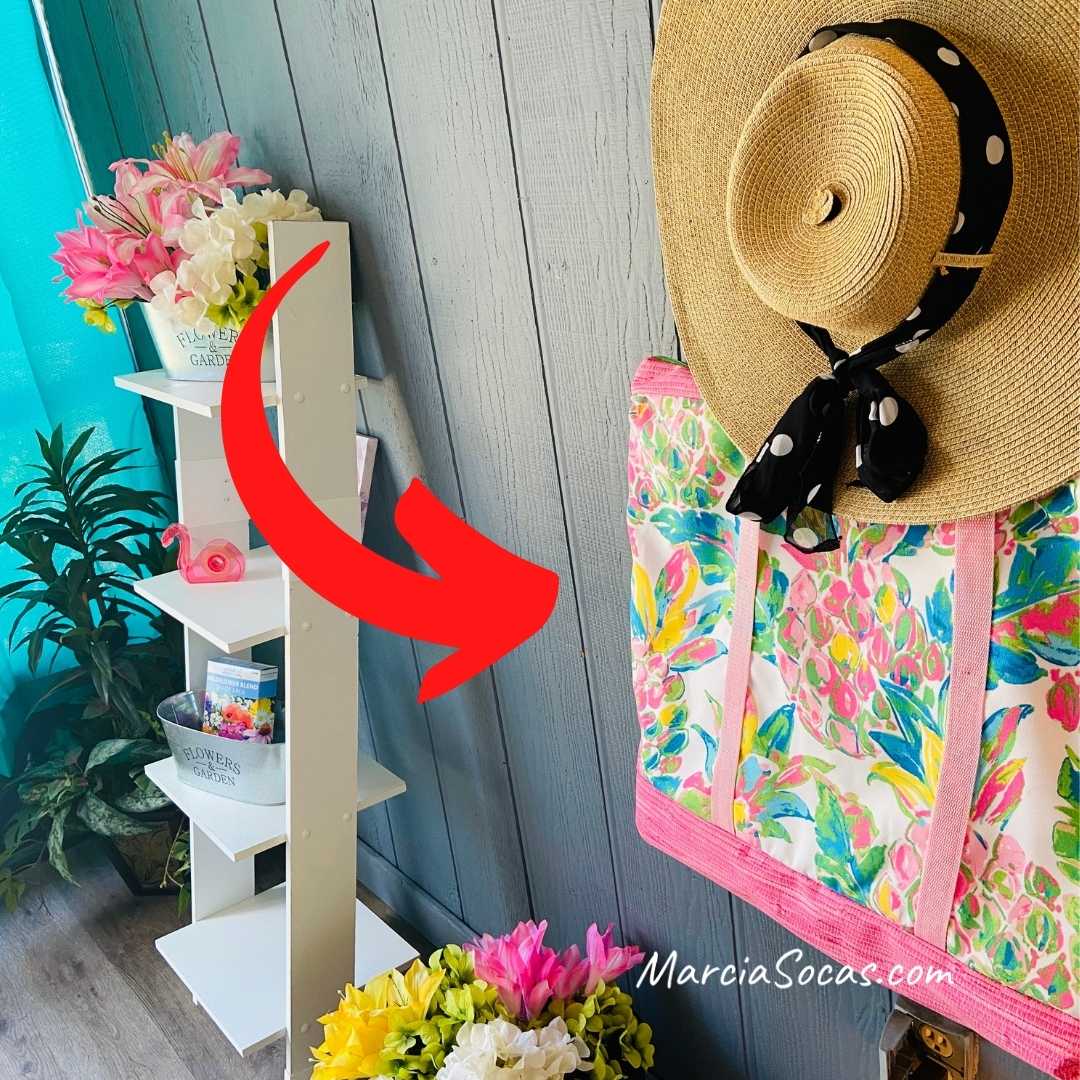
Here’s the bag hanging on the porch of my son’s condo flip — he was 19 and home from college and it was so much fun helping him learn to flip a property and he let me have fun staging it, so I created a Spring inspired porch with some bright material and the sewing machine.

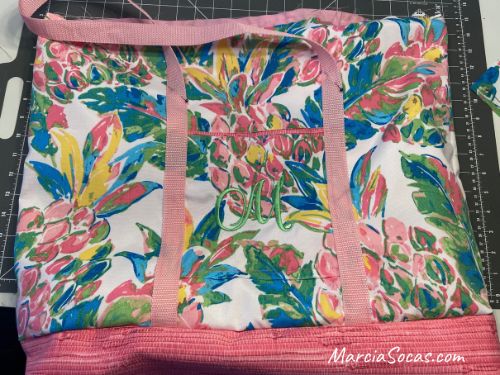
Here is my DIY beach bag, packed and ready to head out on a beach visit!
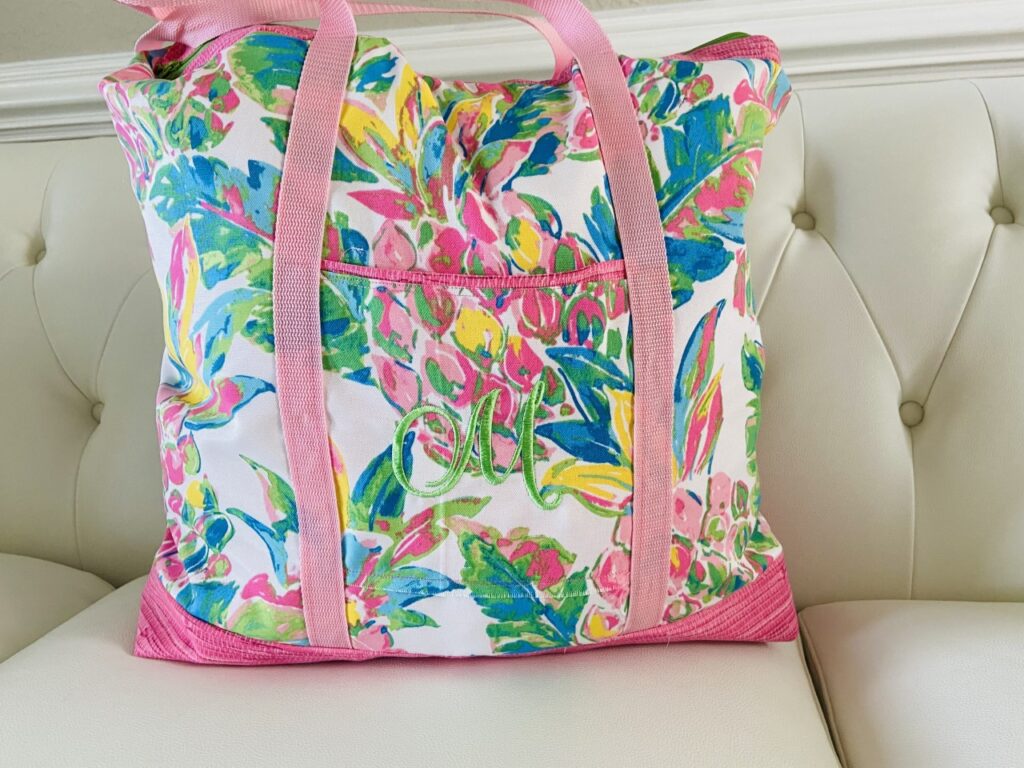
Learn how to sew one of your own below. Please note that what I made is a large bag, and you can adapt the size when you make your own beach tote bag. In the size that I made, there’s so much room! You can fit more than one beach towel, a change of clothes, water bottles, your sunscreen, magazines, and toys.
My site contains affiliate links. An an Amazon Associate, I earn from qualifying purchases.
Let’s Get Started!
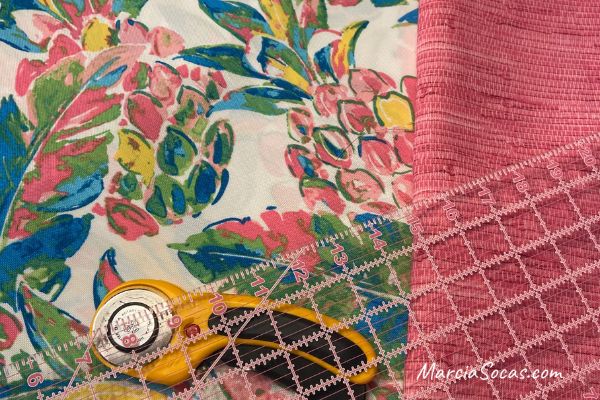
Gather your favorite outdoor fabrics and bright colors. I love this pink multicolored pineapple pattern for the main outer fabric. It’s bright and tropical and has just the feel I want in my bag.
By the way, I use outdoor fabric for mine. It’s heavier weight and it holds up well to the sun and water. Pair your bag fabric with an accent color, I choose the pink color you see above. Get your sewing machine, scissors, and ruler. Here are some step by step instructions for your DIY tote bag.
Cut your fabrics.
Here’s what you’ll need to replicate the big bag I made:
- Main fabric for bag, 2 pieces cut 22″ wide x 16″ high
(*Make sure the “center” of your fabric piece has a part of the pattern you’d like centered on your bag)
- Accent fabric for bottom of bag, 2 pieces cut 27″ x 10″
- Interfacing to give stiffness to the bottom of your bag, 1 piece 27″ x 10″
- Main fabric for pocket, 1 piece 8″ x 8″
(*When you cut this fabric piece for your pocket, keep in mind that you’ll want it to line up with the fabric pattern on the main part of your bag)
- Accent fabric for pocket, 1 piece 8″ x 8″
- Straps of your choosing, length cut to your liking
Here are the basic steps I took:
Beach Bag Bottom
My first step was to put together the bottom of the bag. (These are the 27″ x 10″ pieces.) I used two pieces of fabric with some relatively stiff interfacing in between them because I wanted my flat bottom tote bag to be a bit stiff and sturdy.
To do this, place one piece of fabric face down, then on top of that add your interfacing, and on top of that add your fabric face up. This way the “pretty side” of the fabric is on both sides of your layers of fabric (your interfacing “sandwich” so to speak).
Take your interfacing sandwich and either pin it (like I did), iron it (if you have iron on fusible interfacing), or if you feel more comfortable go ahead and just stitch a straight line all around it (if you have sew in interfacing) to hold it in place.
I chose to just pin it for now.
Once you have this piece ready, set the whole thing aside, you won’t need it until later.
An Outside Pocket on your DIY Beach Bag
Optional: Personalizing your Pocket
Personalize your pocket. (This little pocket is a great way to use up leftover fabric pieces from other projects if you have them in a color that goes with your main fabric choice.)
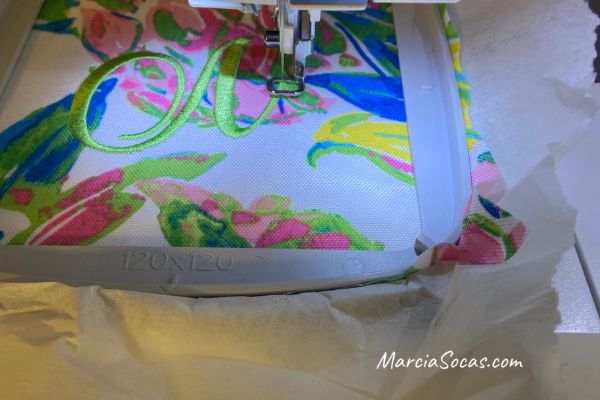
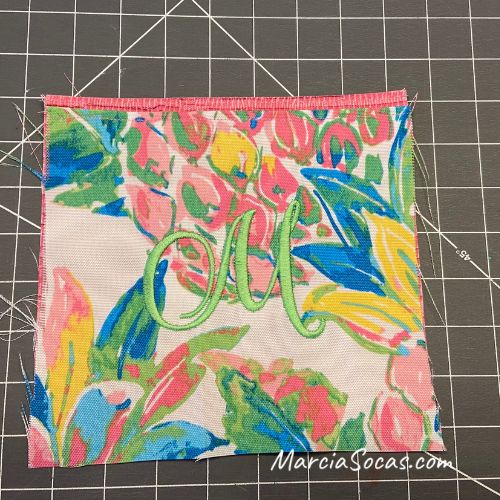
If you’d like to, you can personalize your pocket now with a monogram or any other symbol or logo if you have an embroidery machine or a Cricut machine.
Here I am monogramming my pocket with an embroidery machine.
Preparing the Look of your DIY Beach Bag Pocket
I’d like for my pocket to have a little bit of the accent color along the top. This identifies the area as a pocket on the front of the bag once the bag is finished, I think it looks really cute, and just having this little decorative edge gives me a little more of a buffer when it comes to lining up my pattern on the finished bag. The accent trim breaks your visual attention just enough to make the pattern matching up process a bit easier.
TIP: You can see that I cut both pieces about the same size. What I learned in doing this project is that you should actually cut the back accent piece 1 inch longer than the front pattern piece. I’ll explain why as we go along through the next two photos.
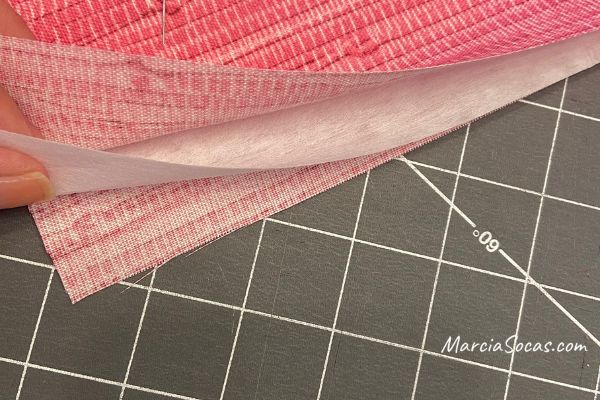
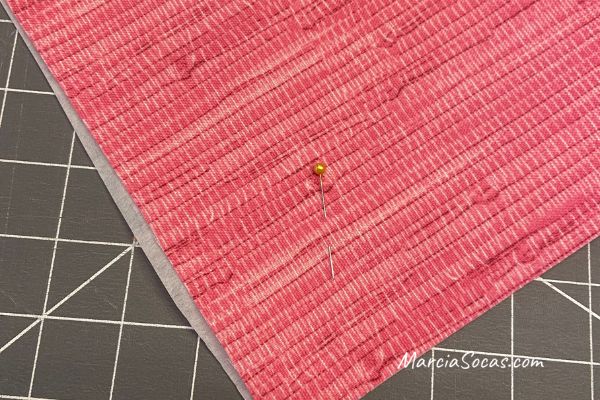
Fold over the accent piece and iron it if you’d like to. This will give the top part of it a finished smooth edge. (I ironed it and gave it a quick stich across)
TIP: I would fold this over 1/2 in
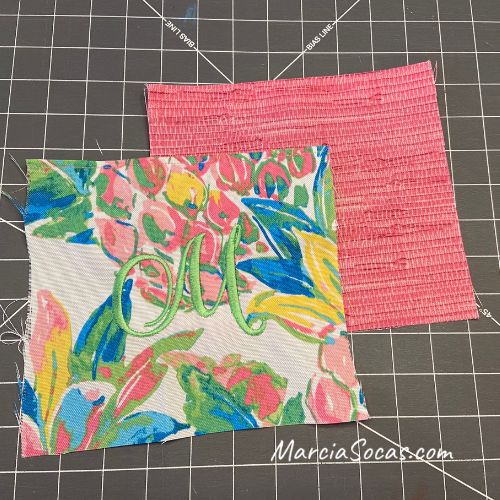
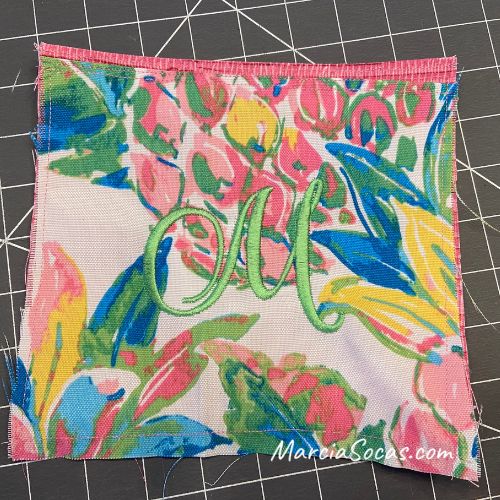
Here you can see the accent piece placed behind the monogrammed pocket fabric. It’s placed higher so that the accent color will be visible.
TIP: Here is where you can see the importance of cutting that back piece about an inch longer than the front piece. You’ve folded over 1/2 inch and now you raise it about 1/2 inch and your bottom edges should line up.
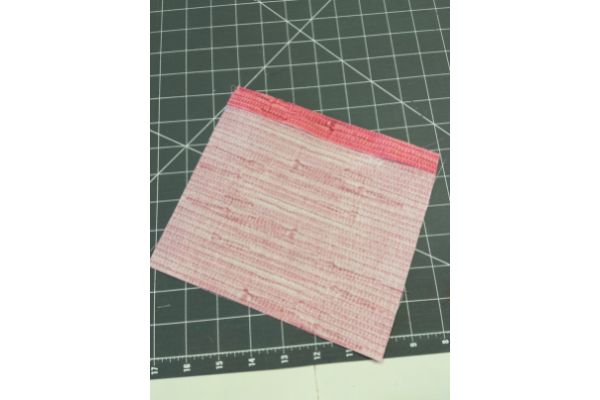
Here it is with the pink accent and my main fabric sewn together. If you zoom in you can see where it was simply straight stitched all around and then I cut off the loose threads with my scissors.
Attaching the Pocket to the Body of the Beach Bag
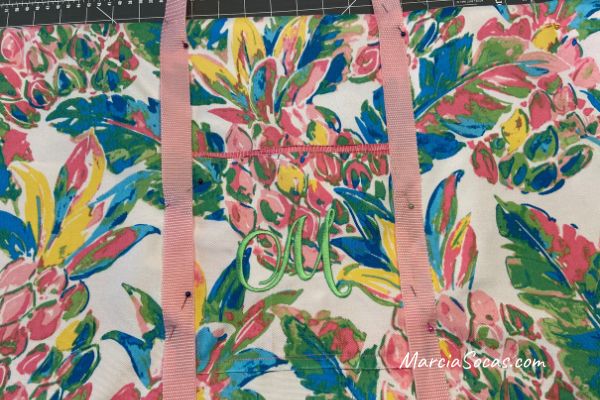
Lay your pocket piece onto your body piece and line up the pattern to your liking. I was so happy with the way this pattern lined up. I wanted the outside of the bag to look like the beach bag pattern continued uninterrupted throughout.
You can stitch the sides and bottom of your pocket onto the front of your bag if you’d like to at this point.
Plan your straps.
This is where it’s a matter of personal preference, depending on how long you’d like your beach tote bag handles to be. You can make your beach bag shoulder strap long if you want your beach bag to be more of a shoulder bag. Make sure you don’t twist the bag’s handle when you’re laying it into place. By the way, you can use different material for your beach bag straps if you’d like–you can create rope handles or a leather strap if you’d like to personalize your bag further.
Let your straps hang just about 1/2″ below your bag fabric (better photo of this is coming up showing how the end of the strap on each side peeks out of the bottom).
Stitch the straps in place, and make sure you cover up the sides of your pocket. You’ll stitch the pocket into place under the straps, so make sure the pocket is under each strap piece. You’ll be sewing over it when you stitch the strap in place.
I sewed up from the bottom of the bag, to the top of the pocket area, and then back down again.
The handles will still be loose hanging at the top of the bag so just keep those pinned in place.
Piecing on the Bottom to your Beach Bag
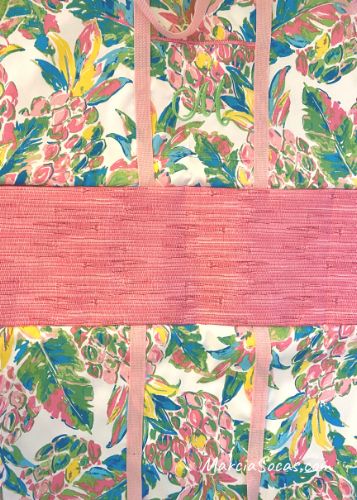
Now, lay your bottom piece from back in step one onto the front of your bag.
This is how it should look now. You have the front part of your bag facing up, with the pocket and straps pinned in place. Your accent fabric with interfacing sandwich is laid over and secured. The bottom part of the straps are peeking out from underneath because now we’re going to sew across the bottom and these straps will be secured at the bottom.
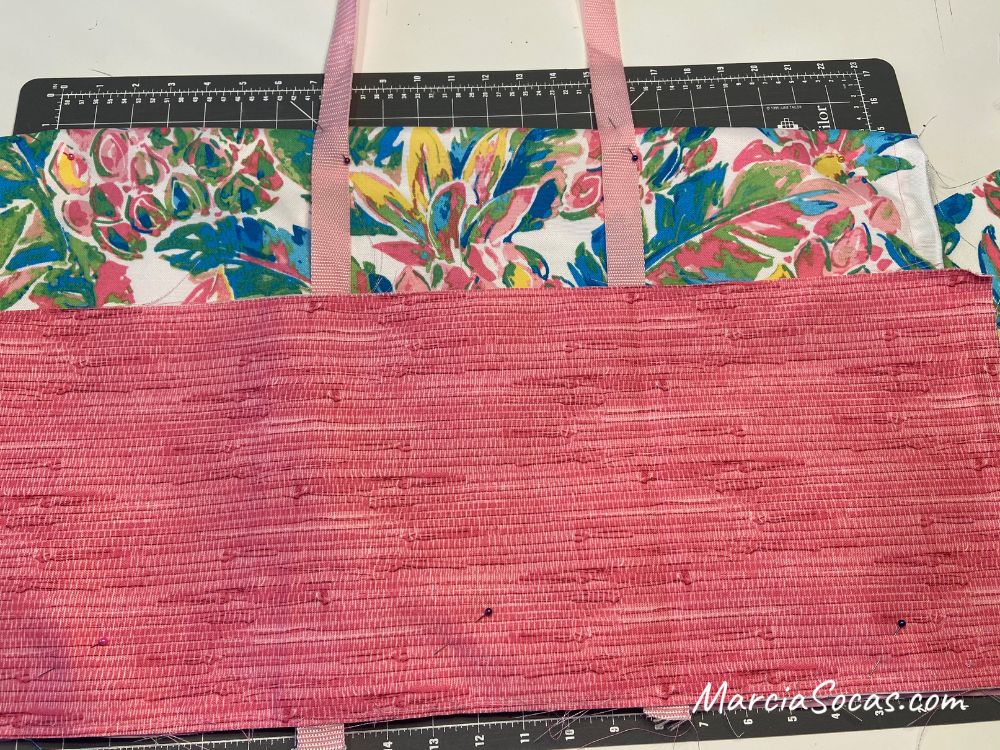
(notice how the top part of the handles are still pinned and not stitched in place)
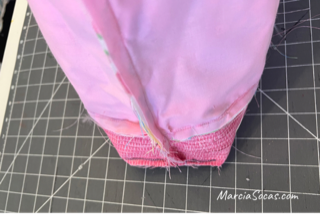
Once you stitch across the bottom and then open it up, you get a nice looking edge something like this.
You’ll do the same on the other side of your bag, so that you’ll end up with the front of your bag and the back of your bag body pieces sewn to the bottom piece like this.
Ok, true confession… Here’s a photo a little more zoomed out. It shows that I am absolutely not perfect when it comes to getting these fabrics perfectly straight. So don’t worry if you aren’t either!
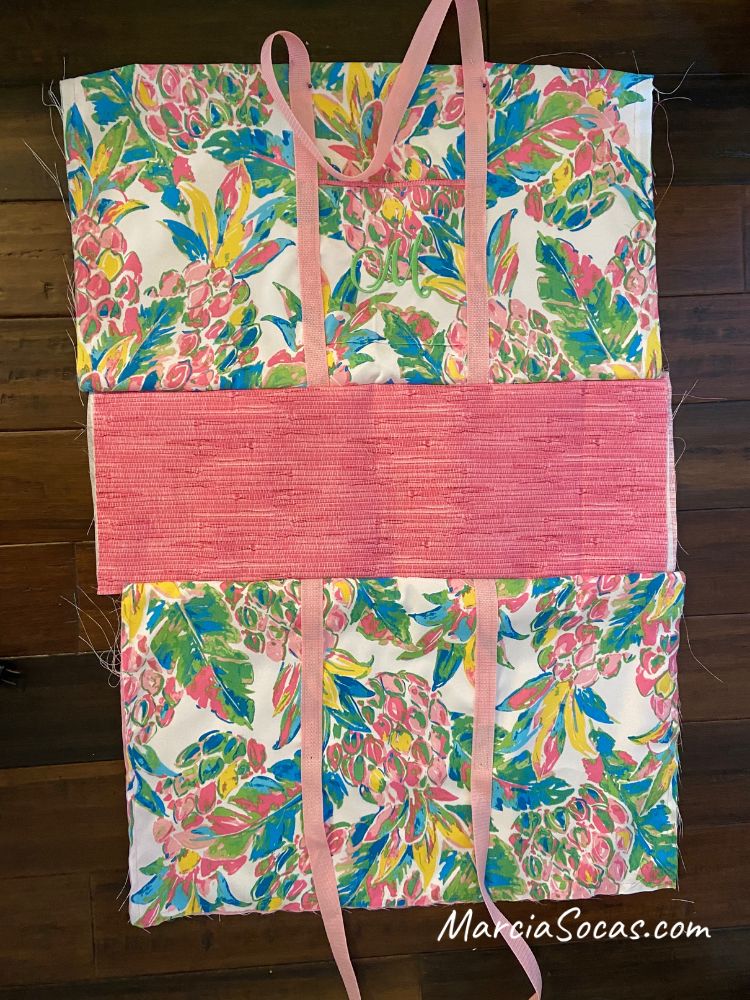
Concentrate on making sure your straps line up and then you can trim the sides of your bag a bit to square it off if you need to in the next step.
Stitching up the Sides of your DIY Beach Bag
Fold your bag together so that the “wrong sides” are out (right sides together). Make sure the bottom piece of your bag is folded in the center so that both front and back sides are even. It’ll look like this. In this photo the bottom of my bag is toward the top of the picture:
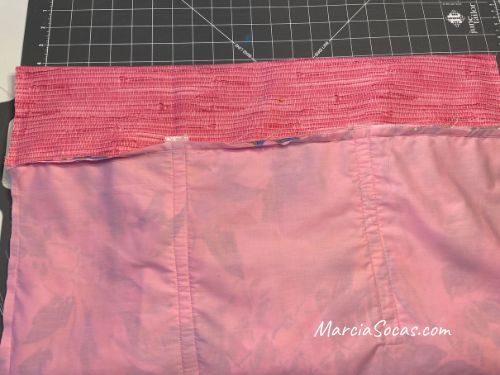
(Now you can trim the side seams a little if you need to get it a little more squared off and even.)
Stitch up the sides of the bag all the way from the bottom to the top.
At this time, you can fold over the top of your bag and run a straight stitch all along the outside (the top edge of your bag) and stitch the handles into place as you sew around the opening of the bag. This finishes your bag as an open bag.
I’m working on a separate tutorial for adding a zipper to the top of the bag so sign up for my monthly email with DIY crafts, house flipping info, and home decor ideas if you’d like to see that when I get it uploaded in a few weeks.
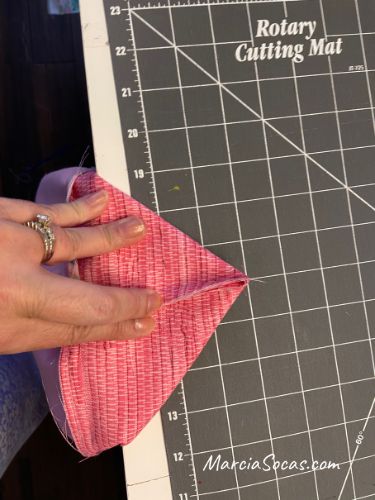
Creating the Flat Bottom to your DIY Beach Bag
Now to finish the bottom. Fold down the bottom corner of the inside of your bag. Then you’ll stitch across it, approximately 1″ down from the tip of the triangle.
Once it’s stitched, you’ll cut off the section above the stitching. This will provide for a squared off bottom to your bag.
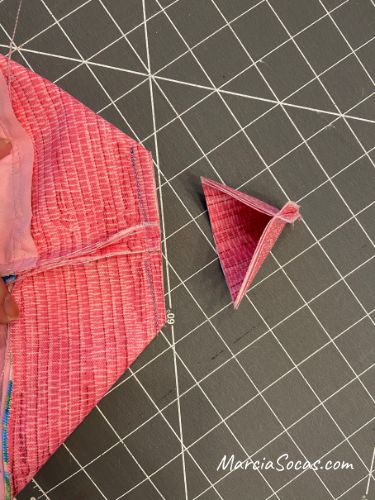
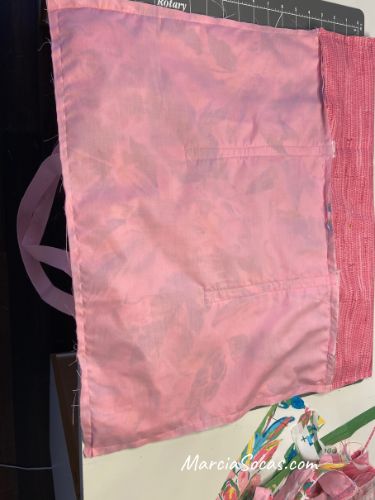
I realize it’s kind of hard to understand how that corner stitch and cut comes together so here’s a photo showing what it looks like when cut. It gives a squared off finish to the bottom corners. It looks great when the bag is finished and turned right side out. I love the square bottom on this large tote bag.
Trim the threads. Turn it inside out, and it should look something like this.
How’d you do?
I hope this beachy tote bag tutorial was helpful. It was a great project for me. You can adapt it so many ways, not just create beach bags. You can make the dimensions smaller and create a grocery tote bag. This bag is unlined but you could add liner fabric and make it a lined bag.
Here’s a pinnable link in case you’d like to save this beach bag flat bottom tote tutorial to your Pinterest board for later.
Good luck with your new bag. Let me know if anything is unclear so that I can edit and make this a great tutorial. I know how much free sewing tutorials have helped me, and I’d like to do the same for others. If you do make your own beach bags, I hope you’ll leave a comment and photo so that we can see the different colors and different fabrics in your perfect bag.