
How to paint cabinets white
Recently, I wanted to renovate this 1980s condo kitchen.
The kitchen cabinet painting project and the associated post were sponsored by Wagner. The opinions expressed are completely my own and are based on the results I achieved with the products used.
Throughout my site I provide affiliate links to products that I hope will help you with your DIY project supplies. As an Amazon Associate, I earn from qualifying purchases. This means that I may receive a small commission if you use these links to purchase products, but it does not change your price in any way.
Click here for the kitchen update Supply list on Amazon.
View this project as a Video below (click here to jump to the Video)
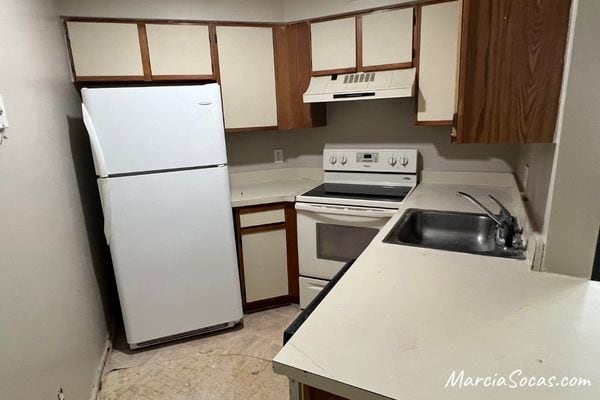
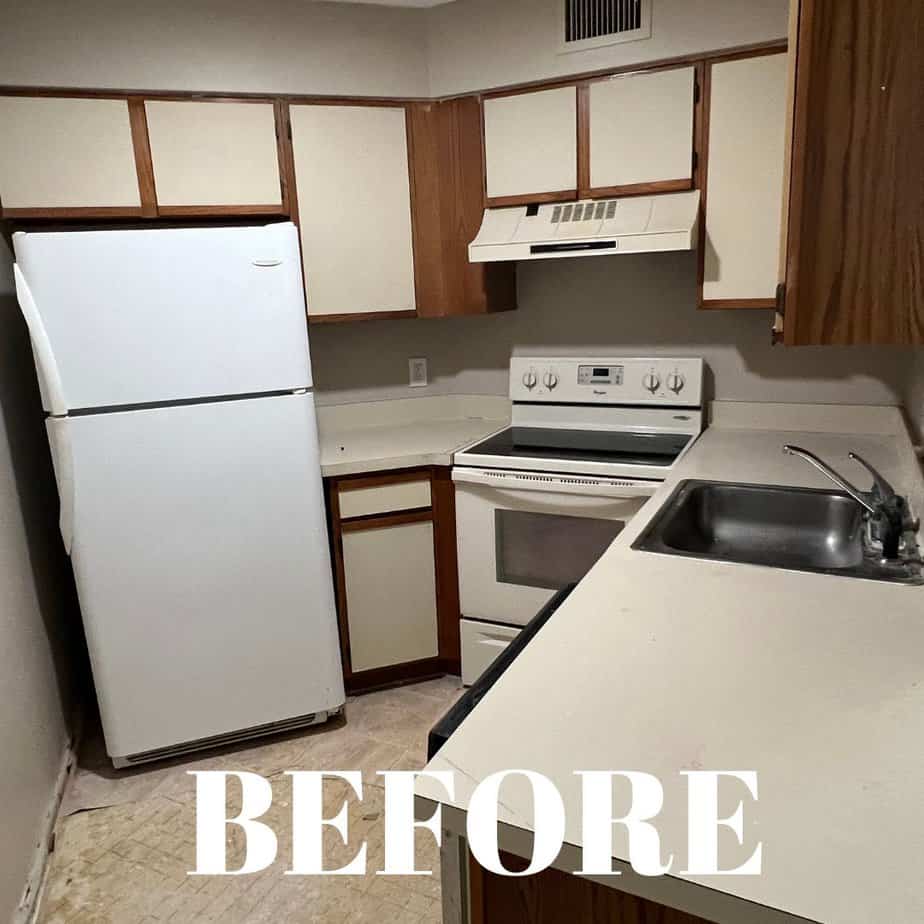
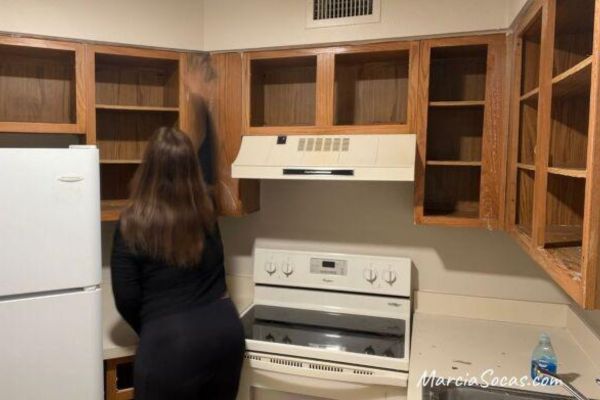
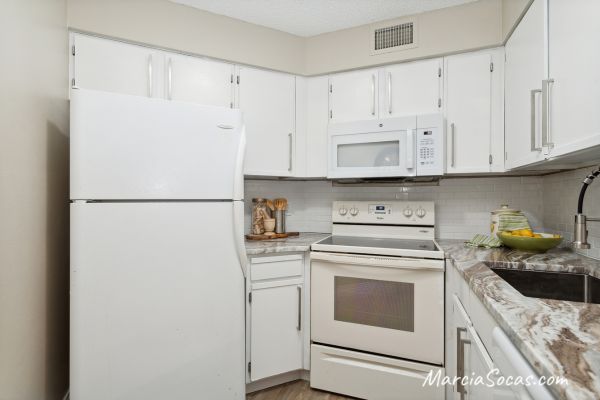
Here’s my kitchen’s starting point.
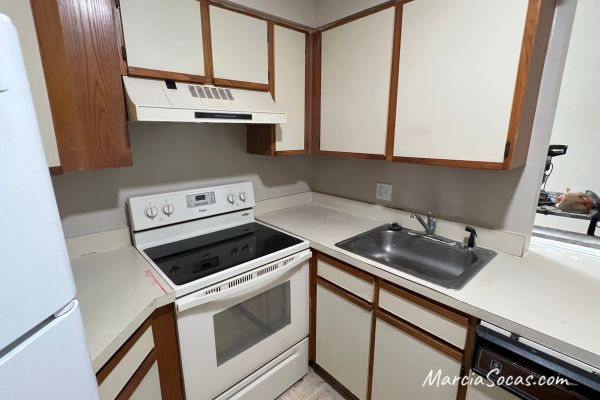
Here’s another view. You can see the cabinet fronts aren’t wood, but the cabinet boxes do have an oak wood grain. They’re kind of like a lightly textured laminate. I wasn’t sure if this type of cabinet would paint well, but I wanted to try it and save a lot of money and time rather than redo all of the cabinetry.
These are the steps I took in updating this kitchen with painted white cabinets:
Step-by-Step Instructions, how to paint cabinets white:
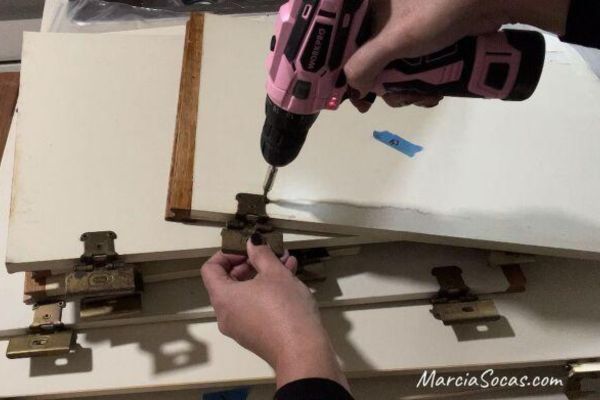
Step 1:
Remove doors from cabinets. Remove old hinges and label doors (Here’s the best way to stay organized with this step. I labeled the doors with that small piece of painter’s tape you see stuck to the door) so that you’ll know where each door goes when it’s time to re-mount them at the end.
Step 2:
Clean the cabinet boxes and also the door fronts. I used cleanser/degreaser and also a deglosser and made sure they were as clean as I could possibly get them. When you’re done cleaning, you can use a tack cloth to wipe away any dust from your clean cabinet doors. This makes a huge difference in getting the best result and a smooth finish.
Step 3:
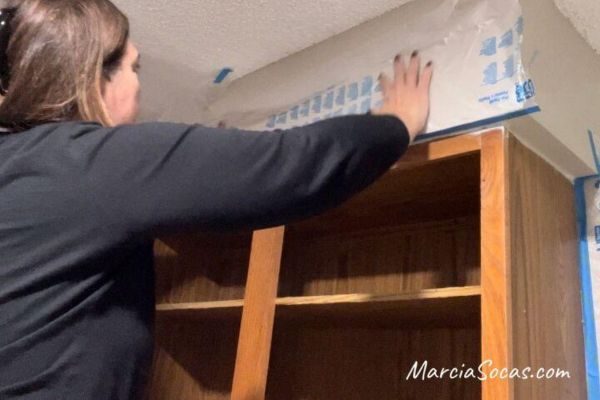
Prep the area. I taped off the area around the cabinet boxes to avoid any overspray getting onto the walls.
By the way, I loved using this tape with attached plastic. It made the prep work super quick and was an easy way to cover everything the way professional painters do.
It’s a good idea to also place a drop cloth on your floor. I didn’t need to since I was changing out the flooring as well, but it’s an important step in protecting your home and avoiding the extra work of cleaning up paint later.
Step 4:
Set up the paint sprayer. Wagner supplied me with the Flexio 3500 paint sprayer, and I used the detail spray nozzle for use on the cabinets. I set the flow to maximum, which provides for really smooth and even coverage.
I filled the reservoir cup, screwed it on, and I was ready to go. First I tested the sprayer on a test sheet and played with the nozzle a bit. You can adjust it to provide a more horizontal spray, or a more vertical one, depending on your use.
The paint I used was bright white cabinet paint (oil-enriched enamel) and the cost was approximately $52.
The oil-enriched enamel was the perfect type of paint for my cabinets. I have painted oak cabinets (that post is here), and these particular cabinets in this diy project were more of a laminated feeling on the cabinet surface. With this material, I did not sand the surface at all. It would have damaged the door fronts.
While the oil enriched enamel was great for me, and I didn’t need to apply any primer coats, you may want to research the right paint for the best results with your cabinet type. You may want to test the paint in an inconspicuous area if you aren’t sure how your new paint will look.

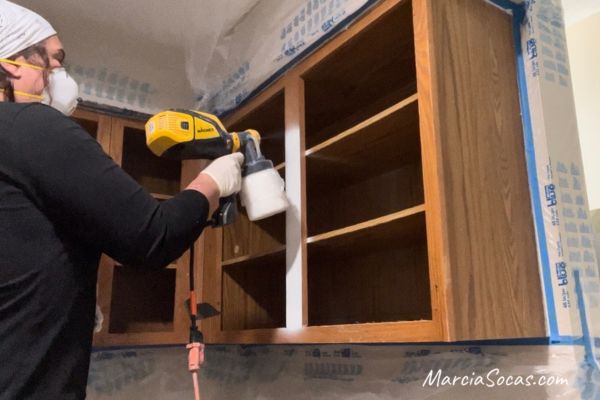
Step 5:
Spray the cabinet boxes. Spraying was of course the most fun and quickest part of the project. The great thing was that I could immediately see the difference and, of course, there were no brush strokes since I was using the sprayer. The sprayer was light enough for me to use easily, and I was able to reach into the cabinets and get all of the surfaces coated. I painted the cabinet frames really quickly, and the white paint was a good choice for making the kitchen look bright and clean. The next step was adding a second coat of paint. I sprayed the boxes twice since I only applied a light coating each time.
Step 6:
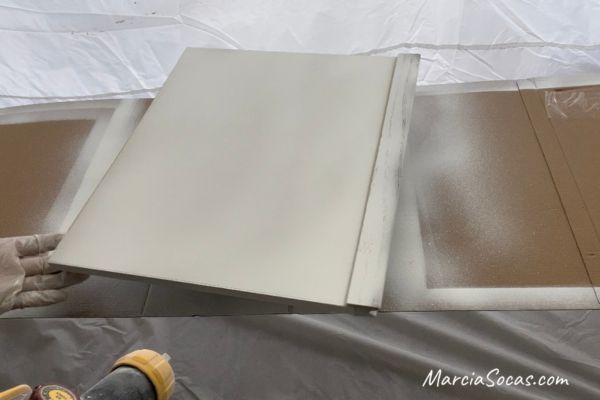
Spray the cabinet doors. I used a protective shelter set up in the condo to paint the cabinet doors inside without having to take the cabinet doors up and down the stairs to paint them outside. The shelter protected the condo from paint. It also protected the doors from getting any dust or anything else on them while they were drying. It was also nice to spray paint the doors on flat surfaces.
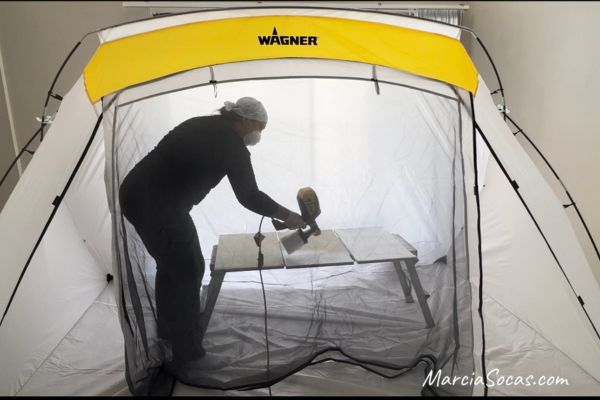
I used the turntable to spray some of the doors. I turned the doors and got the sides covered evenly. Also, the turntable helped me to get the paint sprayed above and below the wood piece on the door front really evenly. I applied 3 light coats of paint onto the doors.
I am happy to report that the surface took the paint even better than I expected. This was my first time painting this type of lightly rough laminate, and I was worried about it and very pleasantly surprised with the result.
Step 7:
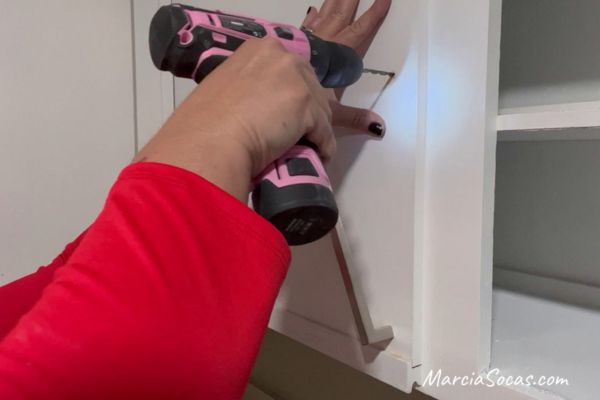
Re-mount the doors and any hardware. I purchased new hinges ($30) and also added some large pulls ($40) that I really liked and that I thought helped modernize the look of the kitchen.
New hardware really goes a long way and makes a huge impact on the look of your kitchen.
Results:
I wanted to provide a close-up view of the cabinet door so you can zoom in and really see how smoothly they turned out. There are no brush marks since I used the sprayer, and it really gave me a perfect paint job. I love this white kitchen; the fresh coat of paint was really vital in updating this dark kitchen.
Other updates:
There are other updates that I made to the kitchen that I should point out. We saved a lot of money by not having to redo the cabinets, so I did purchase a microwave and removed the old vent hood. I also installed a white dishwasher, added granite, a new faucet, and a sink. I also installed a white subway tile backsplash in one day.
On the bottom cabinets under the sink, there were 2 drawer fronts which were damaged beyond anything that a new coat of paint could help. The solution here was to replace those drawer fronts, and I have a tutorial on that here.
For more info on those projects, please visit the entire condo renovation webpage. I have links to the products used to make it easier for you to find them there.

Here’s the after photo of the kitchen taken from the same angle as the “before” photo so that you can see them directly contrasted.
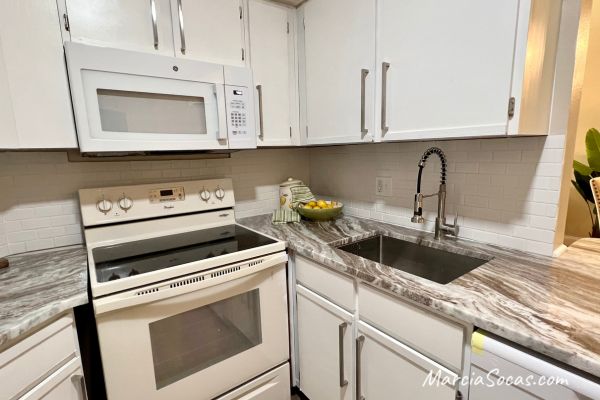
And here’s the second view. I hope you love this project as much as I did and encourage you to try it yourself!
Good luck with your kitchen! Even though this blog post focused on how to paint cabinets white, you really can select the cabinet color that you like when painting kitchen cabinets. Take your time and it can look like you have new cabinets that should last you a very long time.
Wagner provided the equipment for my project (Flexio 3500, protective paint shelter, and turntable). I loved the opportunity to work with these tools and was thrilled to receive such amazing results.
Video of the Project
That transformation of your kitchen is amazing! I love how the white cabinets brightened the room and made it feel more open. I have a tiny kitchen and I would love to be able to achieve this affect. I will definitely be needing to hire a professional cabinet painter, as I do not have these type of DIY skills at all. Thanks for posting this and being the inspiration for my kitchen remodel!