
DIY a Modern Barn Door using your existing old slab door.
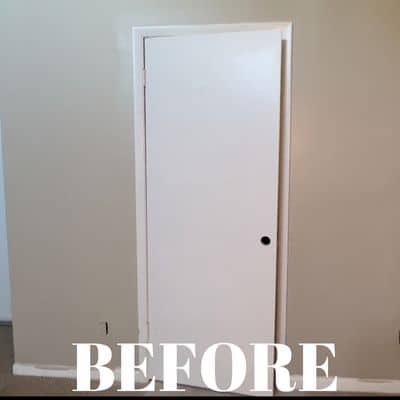
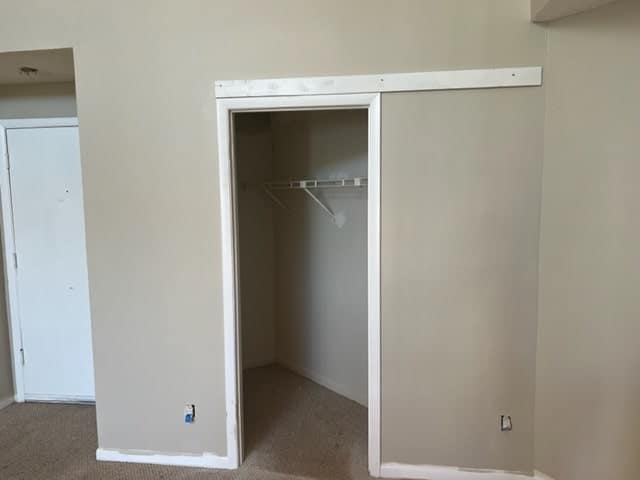
Today I’m taking this plain and worn looking old pantry door and making it over into a beautiful barn door. You can use this DIY barn door project to convert your own doors into a modern barn door or rustic barn doors, depending on the finish you choose. The best part is that you can repurpose your existing door. Barn doors are great space savers. This DIY project was perfect for the condo I was renovating and flipping, since I needed to conserve space, was on a tight budget, and wanted to provide a more modern look to this outdated condo.
Please note that the pattern I used worked for me, but you can vary it for yourself. The tutorial showing how to do it remains the same. The final design and wood pattern is up to you. (I’ll include 99 DIY barn door ideas at the end of the article to show you other options.)
Throughout my site I provide affiliate links to products that I hope will help you with your DIY project supplies. As an Amazon Associate, I earn from qualifying purchases. This means that I may receive a small commission if you use these links to purchase products, but it does not change your price in any way.
First step: I picked up my materials at the hardware store.
Supply List
Here’s the supply list for your easy DIY barn door (here’s a link to the products in a shopping list on Amazon):
- 2 x 2’s (2 of them) I used furring strips and they were under $3 each
- 1 x 4’s (at least 2 of the 8 ft long pieces, but more depending on your door design style)
**I used the more expensive 1×4’s. So, my materials cost was higher than it could have been. I have, however, realized that there is a less expensive common board 1×4 option at Home Depot and Lowes. You just need to go to the lumber area and walk through those back to aisles where the trim boards and pine boards are to find it. - Liquid Nails
- Paintable Caulking
- Sandable Wood Filler (this stuff was awesome)
- Sandpaper
- Your favorite choice of paint
I used white paint, but another color would have looked great too.
Power tools:
- Nail gun
- Miter saw, Table saw, or Circular saw
Step by Step DIY Barn Door (Video link at bottom of post)
Now on to the full tutorial:
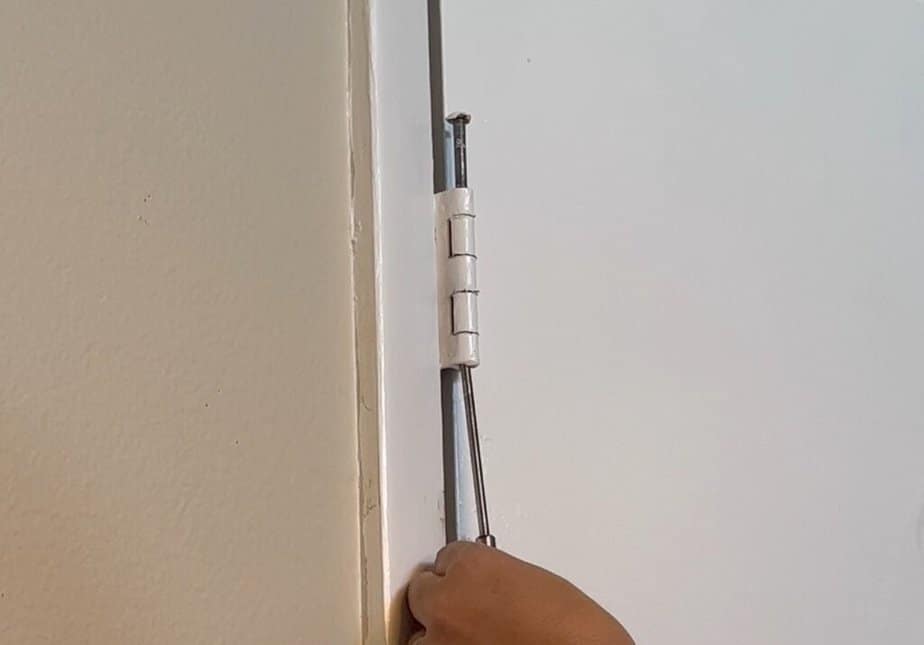
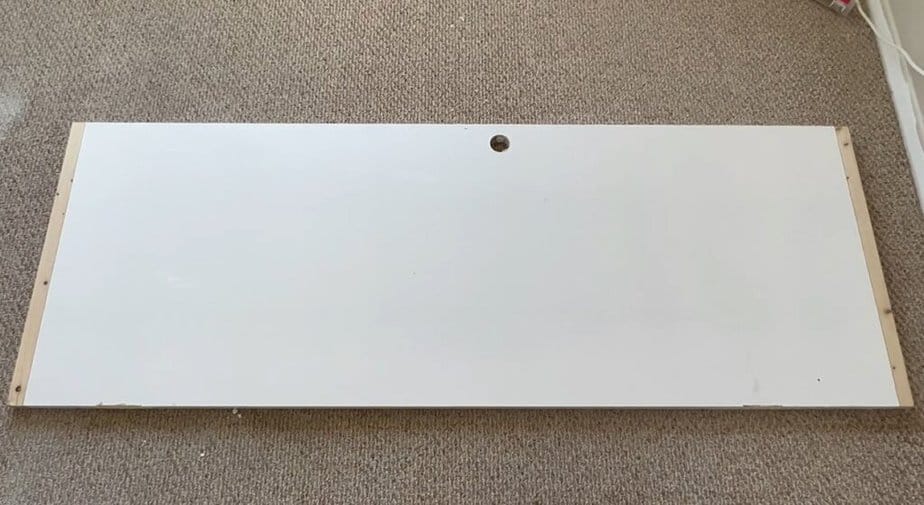
The first thing I did was to remove the hinge pins from the door and move the door into my workspace onto a flat surface. I got rid of the old door hinges and doorknob as well.
Next step, I filled in all of those gaps and screw holes with sandable wood filler.
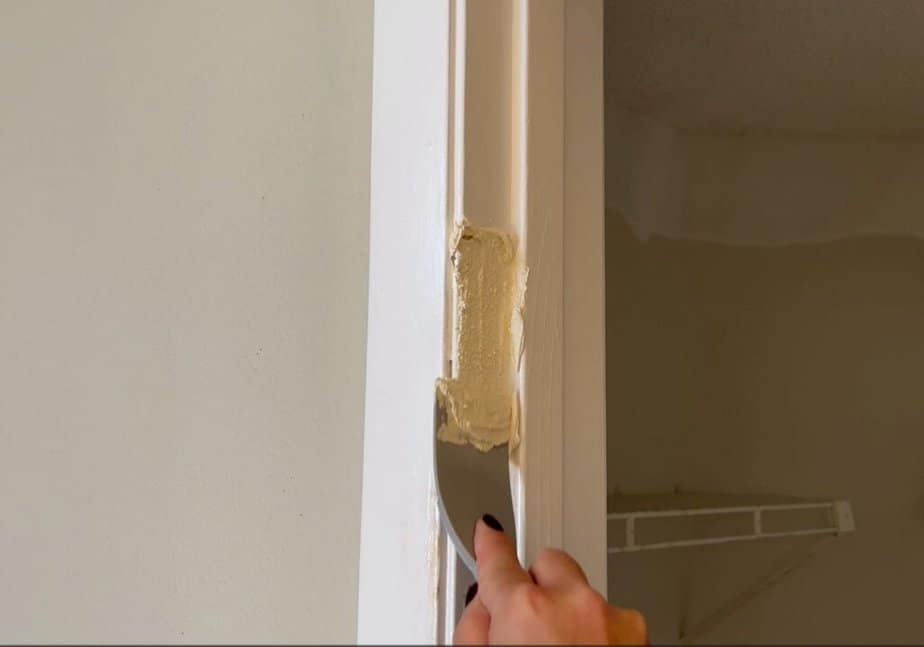
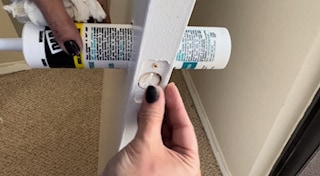
For the large hole left by the doorknob I used a little trick where I stuffed a bit of paper towel into the hole. Cover that with putty. (I have the caulking tube through the door handle opening. This is a support until the putty dries. Using the paper towel helps take up space and save on the amount of putty you’ll use)
The wood filler will take around half an hour to dry, so I’ll start working on the rest of my door.
Add length to your door
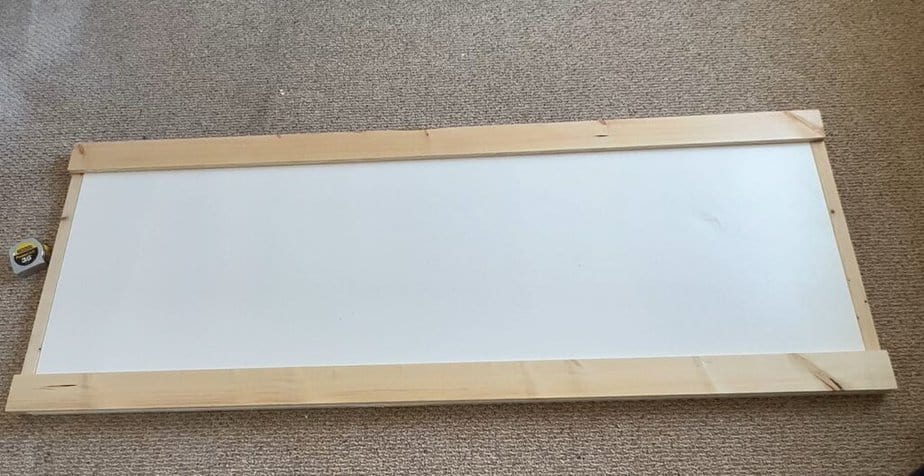
Since the barn door is mounted higher than a normal hinged door, you need to add length to the interior door. Fortunately, 2 x 2 wood pieces are the same thickness as a door!
I measured and cut my 2 x 2’s and affixed them to the top and bottom of the door.
Quick note: When I attached the wood it didn’t want to sit flush with the door but by unscrewing and drilling it in again it grabbed much better. I do it this way rather than taking time to pre drill pilot holes, and I find this to be an easy and practical way for me to seat the wood firmly.
Now that the top and bottom pieces are attached, my door looks like this.
Note: I only choose to make my door longer by adding the wood to the top of the door and bottom of the door. This was to allow for it to be the proper size when I attached it to the hardware. However, if you would like to add to the width of your door, you simply add more 2 x 2 trim pieces to the side of your door. This will add to the door width. Of course, whether or not you add to the sides of the door depends on the size of your door opening. I couldn’t add to the width of the door in my simple project. This is because I didn’t have enough wall space to accommodate a wider door.
Add Decorative Touches to your Barn Door
Now it’s time to start working on the decorative part of the door using the 1 x 4’s. I measured the length of the door and made my cuts.
By the way, I made straight cuts which were quick and easy. If you want to get more fancy you can miter cut your corners or add a different decorative layout of the wood on your door.(Photos of options at the end of the tutorial)
I attached the wood to the door using liquid nails. Place wood glue along the back of the 1×4. Be careful to move the wood into place from the outside so that you don’t get the liquid adhesive onto the surface of the door that would be visible.
I love how the 1 x 4 covers up that old door handle space! It makes it so easy.
For the horizontal pieces, I again measured and cut. Take time to make sure everything is spaced perfectly.
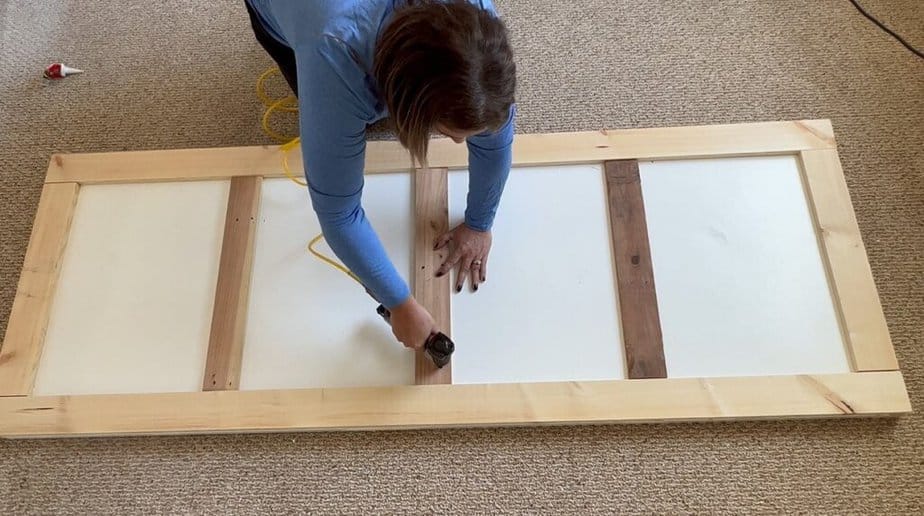
I must admit I saved money on this step by actually using wood from an old palette for my 3 center pieces. It’s a little less thick than the 1×4, but you don’t even notice it since the exterior frame is all made of the same wood. It’s just the center 3 that are slightly different.
This is where you can get creative. I’ll post photos at the end of this article of other DIY barn door ideas to inspire you, or you can check out my post with 99 Barn Door Ideas.
Secure everything in place
Once everything was in place, I used a nail gun to secure it all.
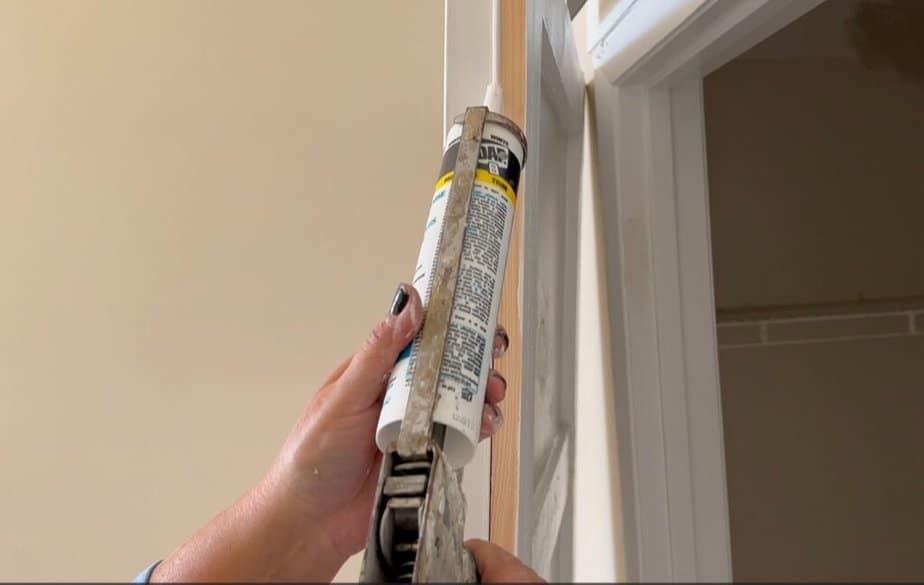
Caulking the places where the wood abuts the other pieces at the corners helps the door look seamless and caulking along the inside will help give it a great finished look. (You can also use wood filler at the edges if you prefer).
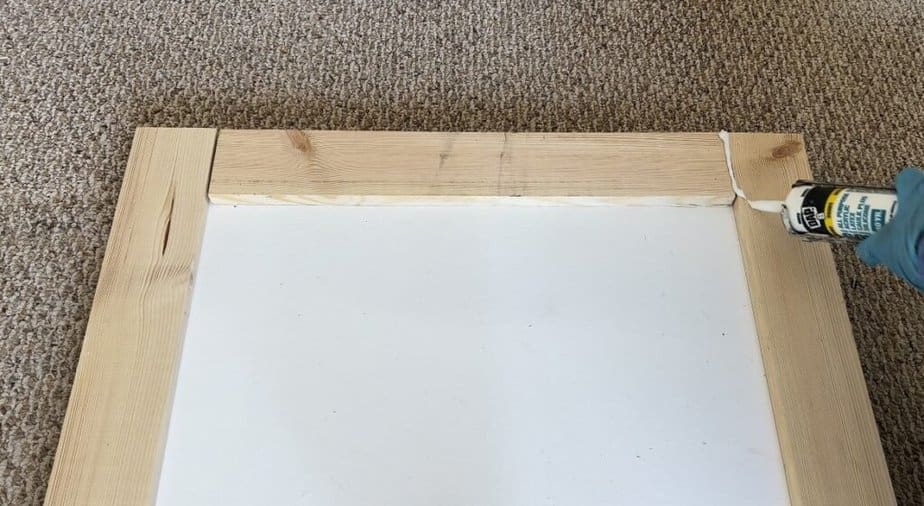
I like to apply a line of caulking and then gently run over it with my finger to smooth it into place. I gave that about half hour to dry.
Barn Door Hardware
During that time I started working on setting up my barn door track hardware.
Before installing the hardware for the sliding barn door, I made a little modification. I first added a 1×4 along the top header of the door. This is a great option when you have a door frame in place like I did. This way, the hardware comes out a bit. This is the best option I found for allowing my sliding door to move easily with enough room past the door frame.
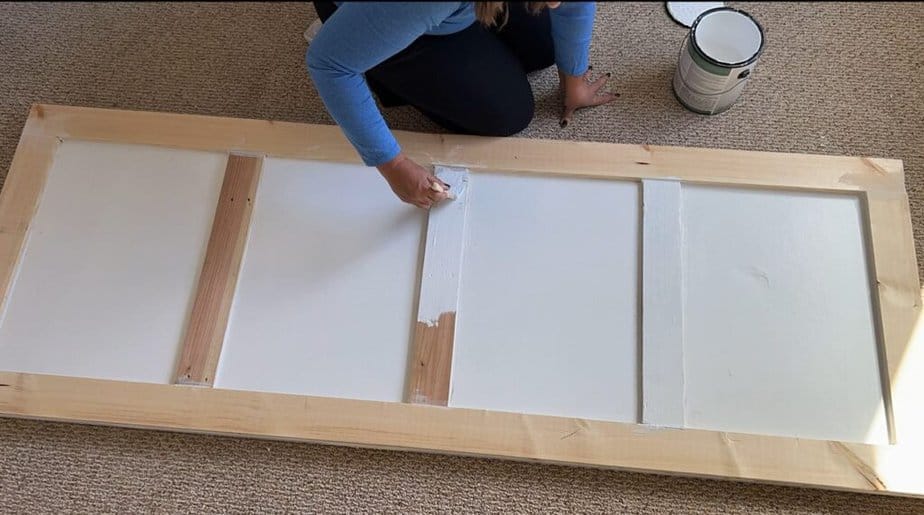
Paint your New DIY Barn Door
Painting was next. As you can see, I used white because that’s what I had already and it was nice and neutral for my space; but the door would look amazing another color as well.
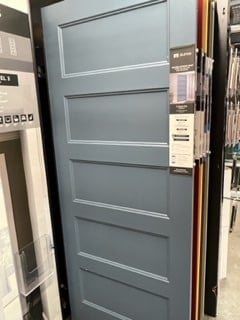
I saw a door that had a similar design, but it was painted blue and it was gorgeous! It was so pretty that I took a picture of it. I’ll post it here. You can file it away with your other DIY barn door ideas:
Once I finished my first coat of paint, I noticed that I needed to fill in these nail holes with more wood putty. That was due to me using the palette wood.
If that happens to you, no big deal, just fill those in and wait for them to dry.
I applied a total of three coats of paint to get it the way I liked it.
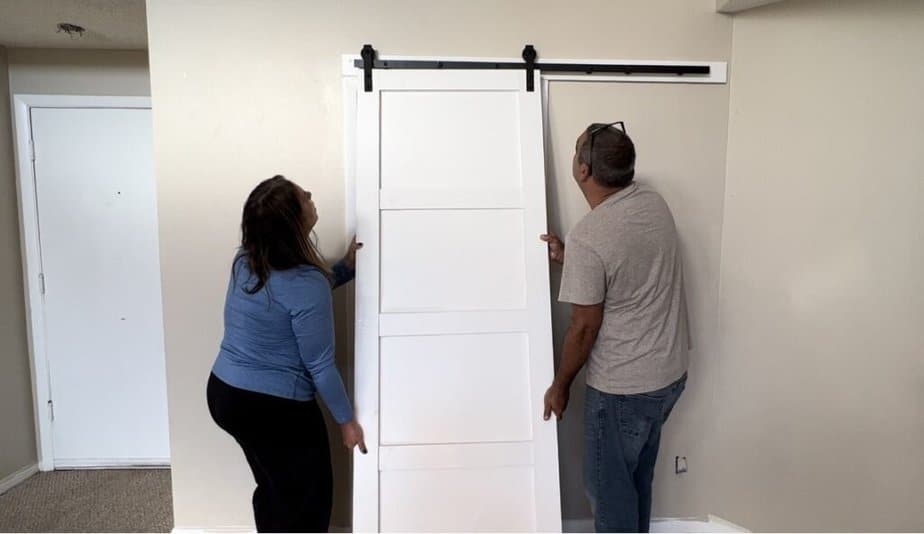
Hanging your Barn Door
Standing the door up made it easier to work on the sides of the barn door at this point. The putty was now dry, and I used sandpaper to smooth it and also to smooth the edges of the 2×2’s at the top and bottom of the door
If you don’t have a sanding block, take a piece of sandpaper and wrap it around a piece of wood. This way you’re standing with a level surface. I gave it a good sanding so that it was nice and smooth.
Use the caulking gun again at this time to fill in the gap between the original door and the decorative pieces that were added. Once that was dry, I painted those and was really happy with how seamless it looked.
Attach the barn door hardware and hang your repurposed door.
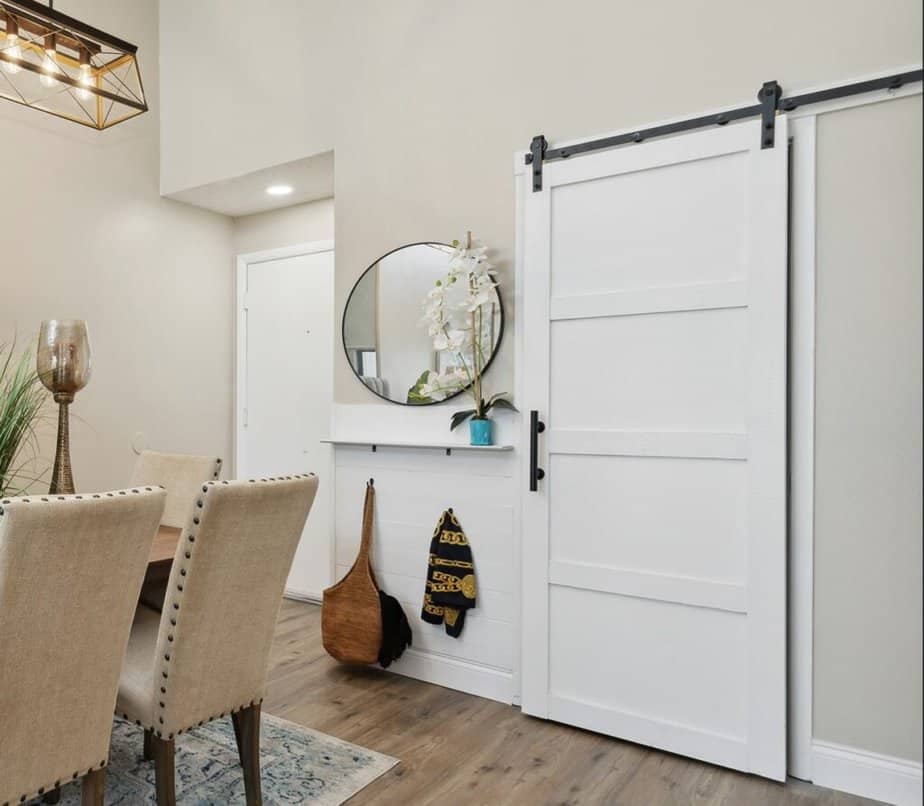
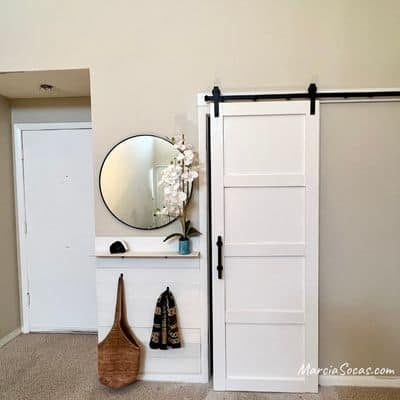
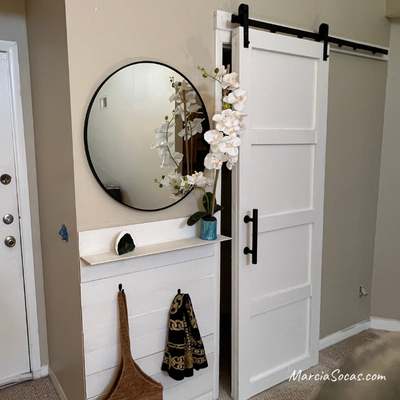
I love the way this barn door looks. Since I only had to purchase the wood and a little bit of sandable wood filler, in the end it only cost me $42 plus the hardware.
I hope you’ll agree that this custom barn door was the best thing for this small space I had available in the condo. It covers the kitchen pantry perfectly.
If I’d had to purchase all of the materials down to the sandpaper it would have cost around $86 plus the sliding barn door hardware.
I purchased the hardware from Amazon and it was $50 total including the barn door handle. I feel like I was able to create a cool modern sliding barn door.
Here’s a link to the hardware kit and other supplies from Amazon.
I hope you enjoyed this blog post and that it inspired you to repurpose your old interior door and make it a beautiful feature in your home.
A note about the back of the door:
While the front of the door looks great, the back of the door still shows the empty doorknob space. You can choose to cover this with a piece of plywood before adding your door handle. It’s especially important to finish off the inside of the door if you’re using the DIY barn door for a space like a bathroom door where you’ll often be inside with the door closed. In my situation it didn’t matter that much. After all, you don’t really close the door behind you in the pantry.
Barn Door Project Price:
How does the price tag on this compare to the complete barn door kits you can find at Home Depot or Lowe’s? My total cost was $92 and the cost for a barn door kit including a new barn door was running at around $260 for the least expensive one I saw. Plus, this was the best way to repurpose the existing door.
Other projects:
Check out these closet doors that I made over in my son’s Alabama Airbnb.
Also, do you like the shiplap shelf and drop zone on the left side of the door? I made that using leftover shiplap and there’s a step-by-step tutorial on that here.
Other materials:
Some people would feel comfortable using a plywood sheet and cutting this piece of plywood to create the trim for their own barn door. This would work and would probabaly cost less. But I don’t trust myself enough to cut a nice straight edge this long, and the 1x4s were inexpensive enough for me to just use these common boards and get it done a bit easier (for me).
Other DIY Barn Door Ideas
Here are some great ideas for you. Check out photos showing how you can create your own unique look based on the type of wood cuts and pattern you choose. This is a great way to incorporate your personal style into your easy DIY barn door.
DIY Rustic barn door look
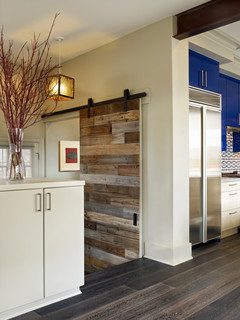
Photo by GRUBER HOME REMODELING – Browse hallway ideas
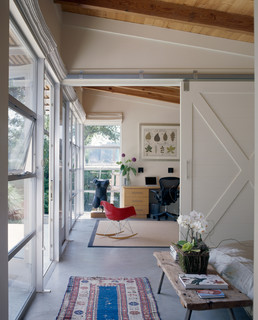
Photo by Nick Noyes Architecture – Search home office pictures
Diagonal pieces for your diy barn door
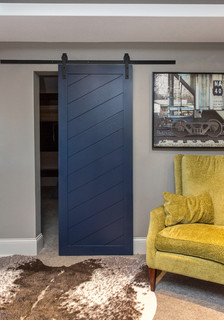
Photo by Grafted Hardware – Browse bedroom photos
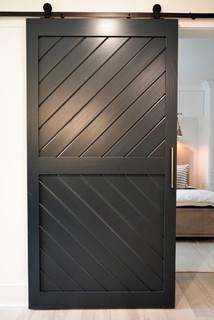
Photo by Door Architects LLC – Look for family room design inspiration
Video link:
I’m so excited to be a new host on Hometalk TV!! I prepared the project for Hometalk and you can view the video here! Be sure to follow me on Hometalk if you’d like to view more projects as they’re created.
Just curious, it doesn’t look 8ft or 6ft, so what size track did you use?
Hi! I used the 5ft track