
Interior Door DIY
I think you’ll be amazed to see what a $14.00 hardboard can do for your door.
This project works for any old door, including hollow core doors, slab doors, flat doors, paneled door, solid wood doors, etc.
I don’t, however, think it would work well for exterior doors since the hardboard may not be the best option for the weather changes outside.
Throughout my site I provide affiliate links to products that I hope will help you with your DIY project supplies. As an Amazon Associate, I earn from qualifying purchases. This means that I may receive a small commission if you use these links to purchase products, but it does not change your price in any way.
Supplies
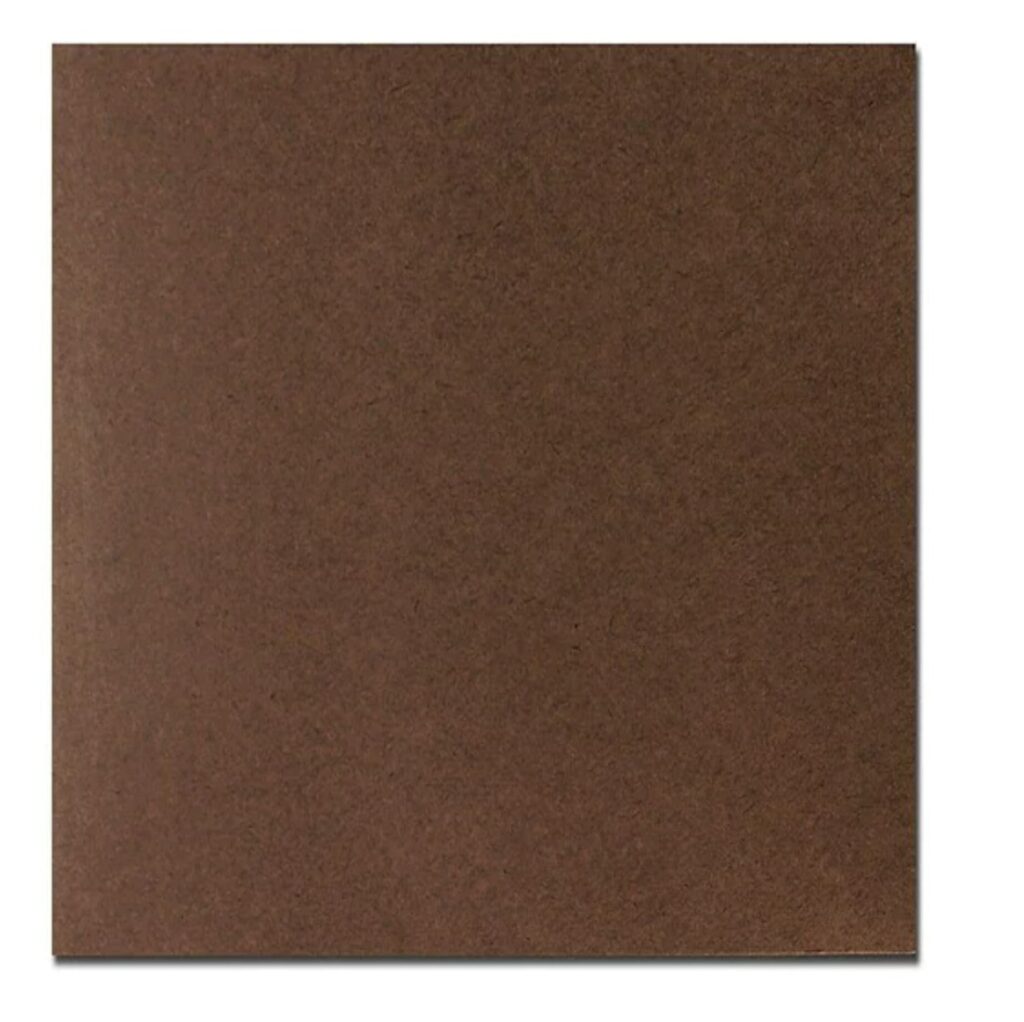
Hardboard (from any hardware store)
Full tutorial for my easy interior door makeover
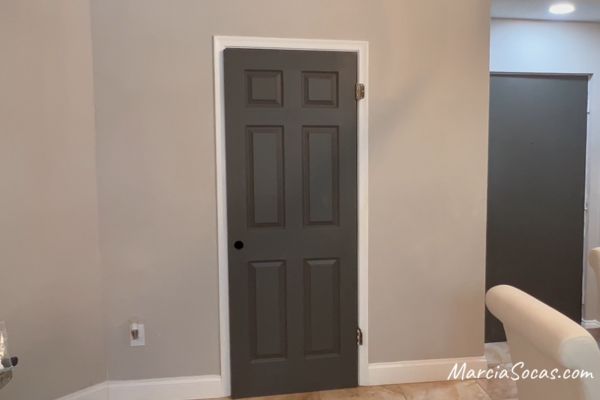
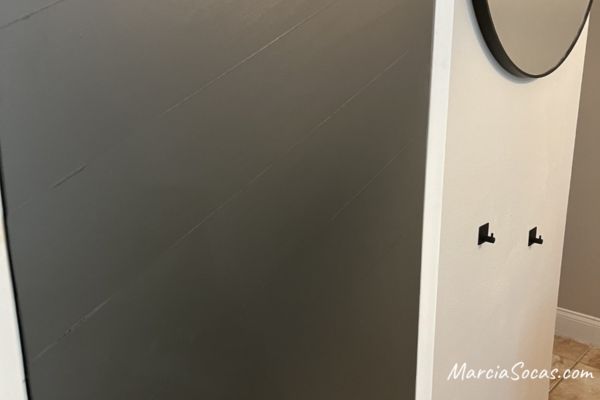
I had this nice, but not terribly modern or exciting, door. It was originally white, and I thought painting it dark with a fresh coat of paint would have a big impact, but it didn’t really. My first step was painting it a dark gray using a small roller but I just wasn’t wow’ed.
I wanted more.
At the same time, I didn’t want to pay for a new door.
Cutting the Hardboard for my Interior Door DIY
I saw this 1/8 inch hardboard at Home Depot and had an idea.
I purchased two of the 4×8 panels.
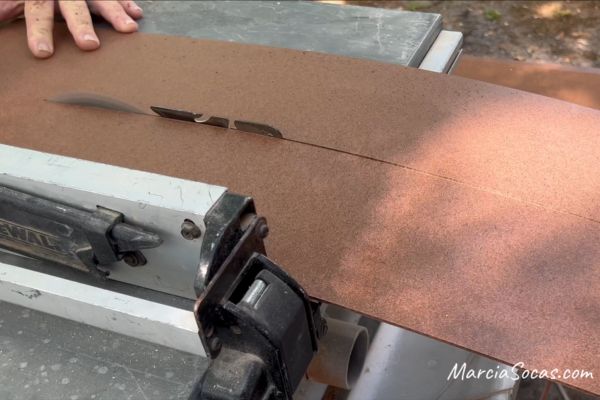
Cut the board into strips that are uniform in width.
Interior Door DIY Work Area
The first thing I did was to remove the door from the door frame and lay it down on a table outside for my DIY door makeover. Placing it on a flat surface is a great way to work on it easily.
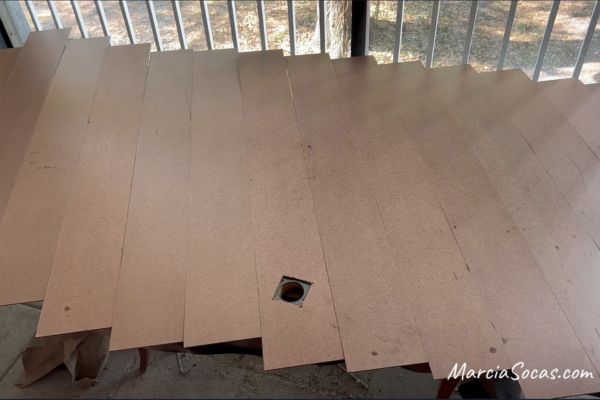
I played around laying the hardboard pieces onto the door to find a pattern that I liked. You really have the opportunity here to create a look and door style that you like.
I liked an angled pattern.
Where to Start
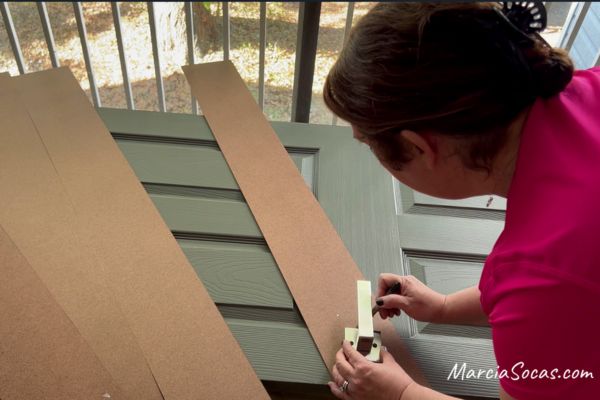
I felt like the most difficult part of my door design was going to be properly working with the door handle.
I didn’t want to end up with half a board where the doorknob needed to go so I started with this piece first I positioned the board and then used a sharpie to draw where my door handle would go.
Starting with the doorknob, I made sure this lined up with the existing door knob hole in the door.
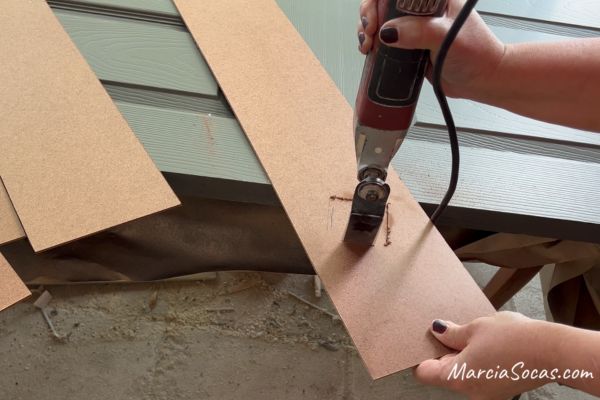
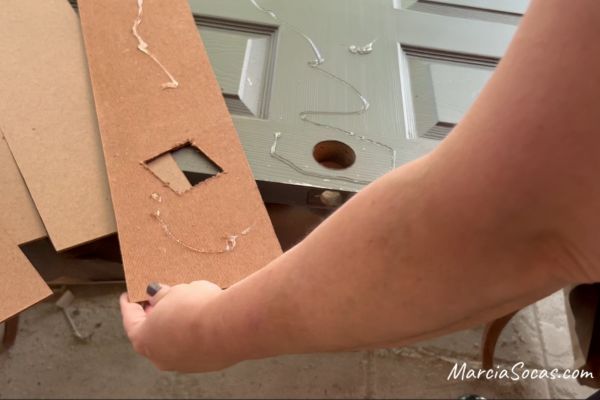
Once I had this marked, I cut it out using a multi tool, this thing really works great when you need to make a cut in the center of a piece like I needed to do here.
I secured the doorknob piece in place.
Changing the door knobs throughout the condo really made a huge difference in updating the interior space. Sometimes door hardware is one of the the best ways to easily style doors.
Securing the boards on your Interior Door DIY project
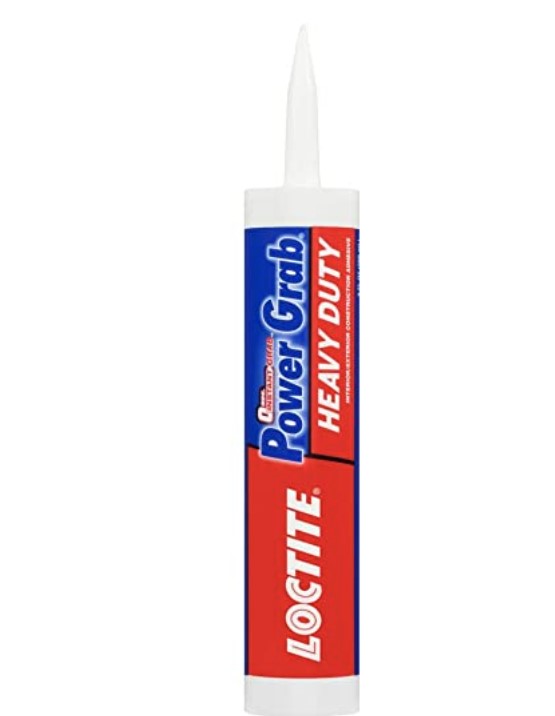
That set the angle for the rest of my pieces; and I used construction adhesive to secure those in place.

I also went back with a small pin nailer to further secure them. If you don’t have a nail gun,the construction adhesive may have been enough, but I just wanted to be sure.
Here’s how it looked at the end of Day 1
Day 2
I allowed the adhesive to dry overnight the next morning using a little handheld circular saw I cut around the door getting rid of the overhanging pieces.
I cut right along the door edge so that my boards wouldn’t interfere with the proper functioning of the door at all.
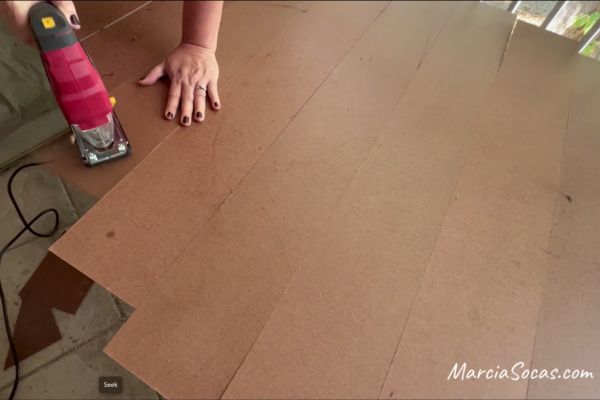
In some cases I had to go back over it again just to make sure I cut absolutely as close as possible to the side of the door.
You want to get right up to the edge of the door.
There were some spots that were a little rough from where they were cut with the saw and so I gave a little light sanding over these areas just to make sure that the hardboard was smooth.
Painting
My next step was painting the paint color I used was called Urbane Bronze by Sherwin-Williams. I used a paint brush but you could also use a paint sprayer to get into the grooves easily and quickly.
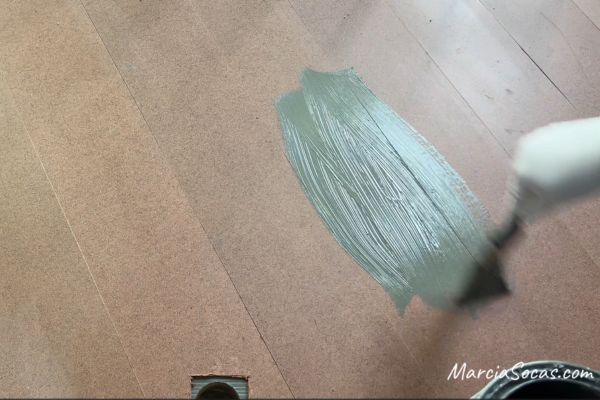
I color I used is kind of like a dark charcoal Gray and I’ve used it throughout this condo renovation that I’m working on. Black paint is also one of my favorite paint colors for DIY interior doors.
I think that white paint would be a good idea with this project if you want to achieve a more coastal look. You’re really creating a custom door, so choosing the paint for your own interior doors really can showcase different ways that paint color can set the tone for an entire room.
After my first coat of paint I stood the door up painted a second coat and let it dry.
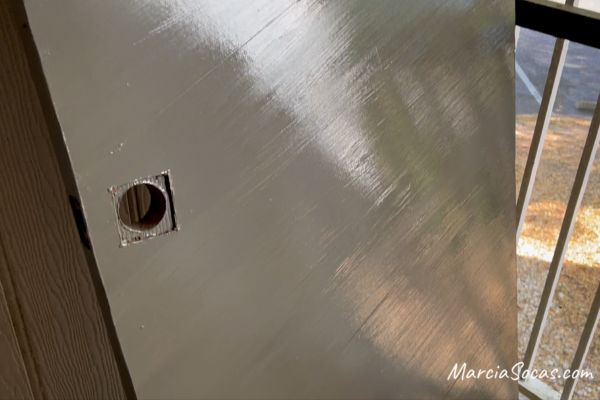
Adding Hardware to your Completed Interior Door DIY
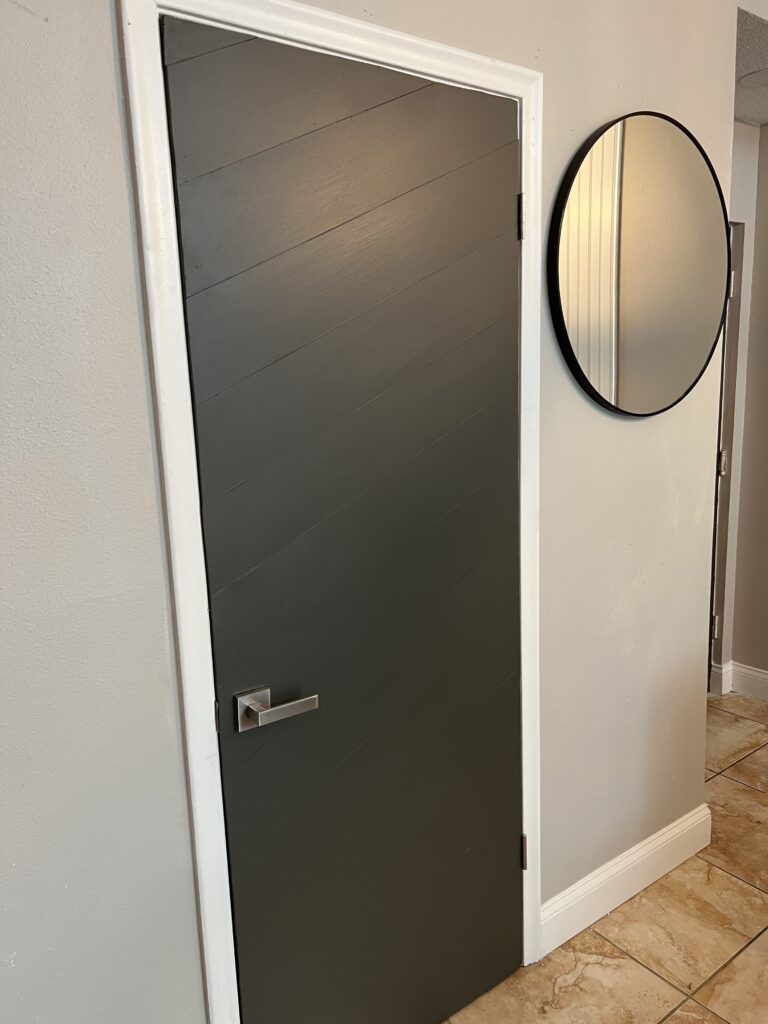
Once the paint was dry, I added a new modern handle to go with the look of my new modern door.
The new handle cost me $22.00 and fit into place perfectly.
I rehung the door and admired my work. Since the hardboard was only 1/8 inch thick it didn’t affect the opening or closing of the door.
I was able to transform this door for under $37 for my entire project.
If you had to buy the paint (which I didn’t need to) you’d still be under around $60 for this whole project. The whole process took two days, start to finish.
I hope this blog post and transformation inspired you to grab some Hardboard and create a cool pattern on your door.
You can view all of the other DIY projects I worked on in this condo renovation here
Have fun working on your own doors.
Other door projects you may enjoy:
From hollow-core doors to barn doors
Easy way to update an internal door with trim and moldings