
3 hours and $20 took this common 1980s eyesore and turned it into a modern-day beauty. If you have a mirror closet door, this is for you!
Throughout my site I provide affiliate links to products that I hope will help you with your DIY project supplies. As an Amazon Associate, I earn from qualifying purchases. This means that I may receive a small commission if you use these links to purchase products, but it does not change your price in any way.
Where to get the products when updating a mirror closet door:
You can find everything I used here at Home Depot or Lowe’s, or you can order it and have everything directly to your house from Amazon (the items are all here).
or

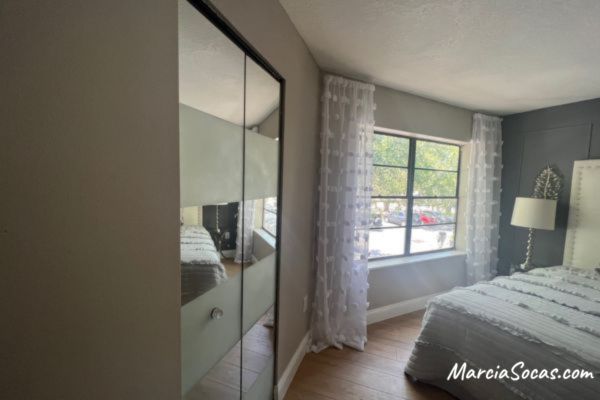
Where I was starting:
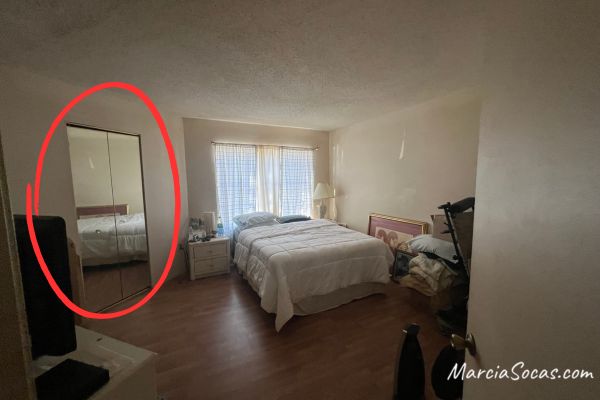
I had this old mirrored closet door with a gold frame which just wasn’t working for me. The bedroom has a large walk-in closet but these ugly closet doors brought down the whole look of the room.
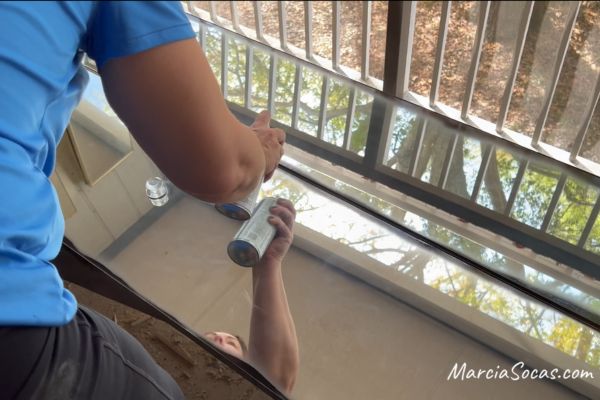
So, I removed the bi-fold doors and took it outside to a workstation area that I had set up on the porch for some projects.
I cleaned the mirrored surface several times.
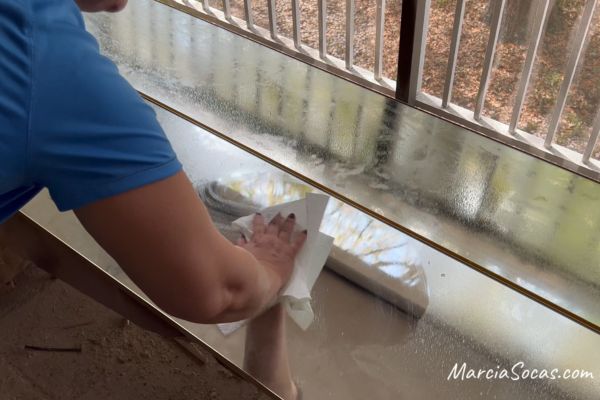
I was working on several projects in this condo so the door gotten really dirty and dusty.
Note: I first tried a window film that I had purchased online. I absolutely could not get it o work well for me. I couldn’t cut it and get it to line up with the edges of the mirror well. There was also a problem getting the bubbles out. It simply was not a successful easy diy for me. So, that’s why I decided to use frosted spray instead. It turned out to be a great option for me.
Here’s the full tutorial:
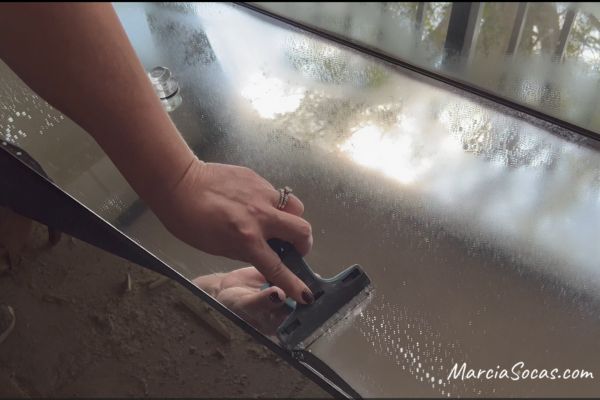
I sprayed a black spray paint primer and paint all in one along the outside of the door to cover up the gold sections.
I had previously tried taping the borders before painting and then removing the tape, but it took a long time and I mistakenly got some paint on the surface anyways. That’s when I noticed that I could scrape the paint easily from the surface when using the glass cleaner. So making that mistake actually helped me because I realized that I could just spray the black paint all around the door without worrying about overspray. Then I would wait for that to dry. I added some more glass cleaner and then I scraped off the overspray. It was quicker and I got better coverage this way, so this is what I recommend.
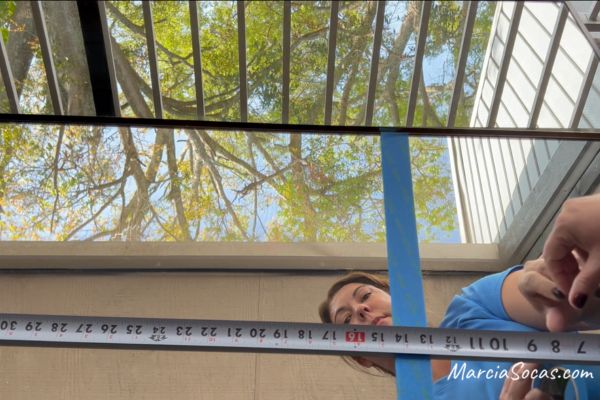
Creating your sections
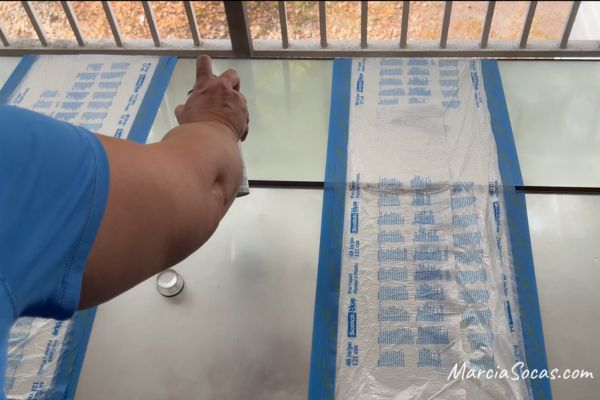
My next step was to use tape to divide my surface into sections. The mirrored surface on my door was 78 inches from top to bottom. That means that I could easily divide it into 13 inch sections. I taped my first piece of tape at the 13 inch mark. For the next piece of tape I had to make sure that the top of the tape was at the 26 inch mark not the bottom. I point this out because if you put the bottom of the tape at the 26 inch mark it would actually mess up the size of your finished squares. I had to keep in mind which would be the covered area and which would be the clear area and place the tape so that the squares were uniform in size.
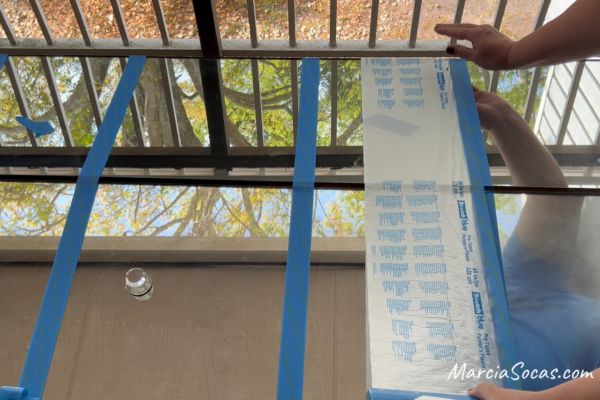
To make it easier for me to visualize, I placed a piece of tape in the areas that would not get the frosted spray. I re-measured before moving on to the next step.
Since I was using a spray, there was going to be overspray that was going to go past the strips of paint so I used this tape with an attached piece of like plasticky tarp kind of stuff to help get better coverage in the area.
How Many Coats of Frosted Spray on a Mirror Closet Door?
The product I used was a frosted paint spray and I sprayed on a light coat first and let that dry. I then added a second coat and, after waiting and giving time for that to dry, I added a third.
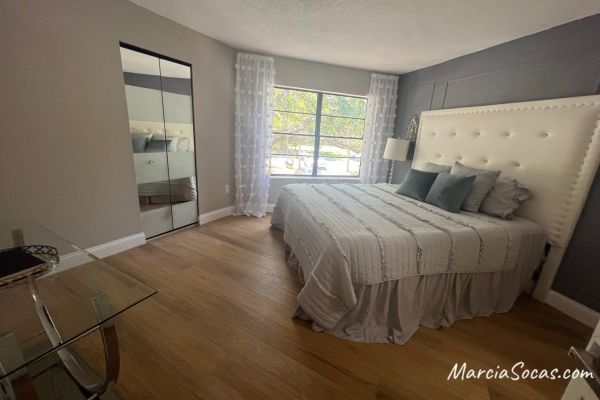
The best part was, of course, peeling off the tape when it was done. The lines were crisp and I felt like the mirror looked a lot more modern.
I love the way the door looks in the room. I have six other mirrored closet doors in this condo, and I can’t wait to get those completed and installed too!
If you’d like to view the other DIY projects from this room transformation, or others, click on the “home flipping” tab above and you’ll see a drop down menu with different reno homes to choose from.
Final Thoughts on my Mirror Closet Door
Using this technique of the frosted glass spray on your mirrored bifold doors is a great way to achieve a modern look and avoid the expense of purchasing new doors. I love the way my mirror doors look now. The natural light from the window reflects off of the mirror closet doors, making this master bedroom look larger and brighter. At the same time, the mirrored doors have a contemporary style. I really think it has made a huge difference and is one of the best DIY closet door ideas that I have seen to date. Painting the metal frame was a simple way to remove the gold and the paint and primer all in one was an excellent choice for saving time. I love the final result and updated look and hope that you do too.
While this technique is the perfect way to update bifold closet doors, and would also work for French doors, I don’t think it would be a great idea for barn doors that have any chance of rubbing up against each other since the frosted spray can rub off a bit. If the sliding barn door is on its own then it might work, but if you have a pair of sliding doors that go one in front of the other then I would caution against it. If you are looking for a way to upgrade barn doors, you may want to check out this tutorial I have where I upcycled hollow core doors into a barn door.
Want to see more mirror makeovers?
See the unique way in which I upgraded a large rectangle bathroom mirror. Large mirrors are expensive and cumbersome to change out. Have some fun with your interior design and update your mirror with this contemporary style using hexagonal tile.