
DIY Bathtub Surround Ideas
I wanted to create a fun bathtub surround for this waterfront condo I was renovating. I was determined to use only DIY projects to renovate the property and try to document it every step of the way. So, if you’re looking for budget bathroom ideas, or other DIY projects throughout the house, you’ve come to the right place!
Throughout my site I provide affiliate links to products that I hope will help you with your DIY project supplies. As an Amazon Associate, I earn from qualifying purchases. This means that I may receive a small commission if you use these links to purchase products, but it does not change your price in any way.
The old style of tub skirt:
OK, so I’ve seen several small bathroom remodel projects where the outside of the tub was covered with colorful tiles or unique tile designs. While this may be a great option for some projects, it’s just not the best choice for my coastal condo. I also didn’t want to deal with thinset mortar or grout lines that ceramic tile would require.
Here’s a photo of a tub surround that I created with mosaic tiles. It was beautiful but took a long time and was quite expensive:

Wood tub surrounds:
Other DIY bathtub surround ideas have centered around wood. Either vertical wood pieces, or decorative wood designs.
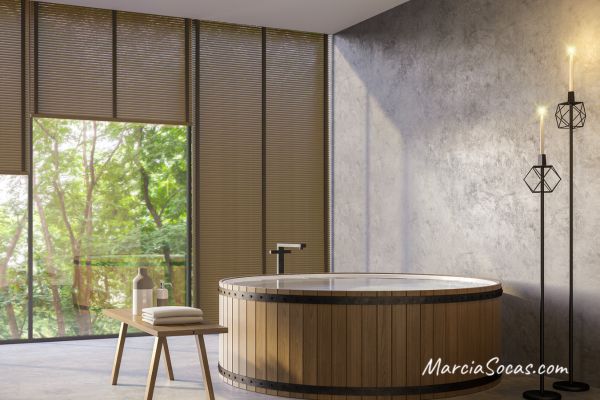
The only thing that I worry about with this is the moisture that could get behind the wood paneling and cause mildew or mold. So, an important aspect of the project for me was to keep it as watertight as possible.
I wanted to keep this project easy, easy, easy.
So, I found a great way to make my room look cohesive, while staying budget friendly, by using luxury vinyl plank flooring!
Getting started with my DIY tub surround
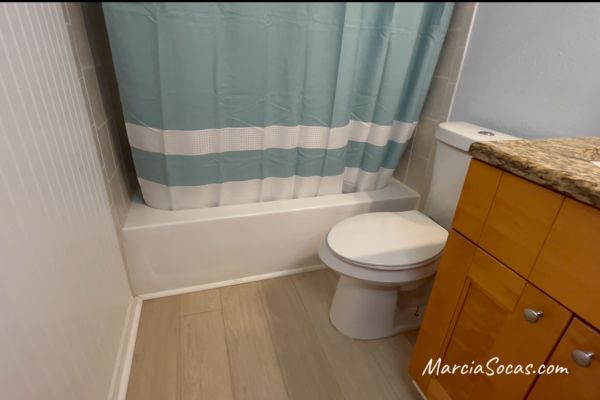
Assessing the existing bathtub enclosure:
I had a typical drop-in bathtub which was in “ok” shape. This helped because I didn’t want to spend money on a new tub. I also didn’t want to install a new bathtub because any time we remove an old tub, the side walls and back wall suffer some damage and I didn’t want to risk damaging those wall surfaces or the existing tile on the shower surround.
I just wanted to cover my ugly bathtub as quickly and easily as possible.
Bottom trim for the tub surround:
The first step was to start with the bottom trim.
I used this waterproof polyurethane trim molding for this project. It was a great choice for keeping the decorative tub surround waterproof. To attach it, I simply put a tube of liquid nails in my caulk gun and ran a bead of it along the silicone trim. I attached it to the bottom and pressed it into place.
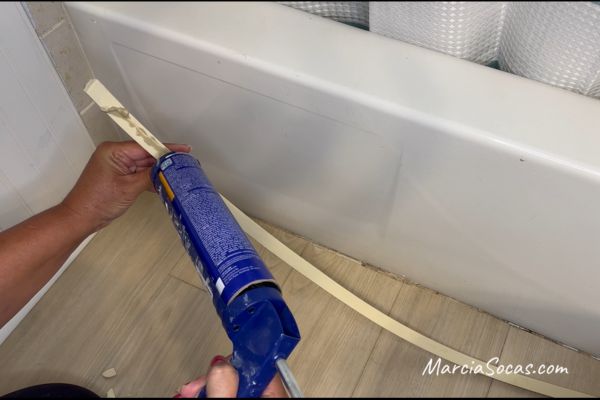

You may need to use painters tape to hold it in place while it dries
Adding LVP Flooring to my DIY bathtub
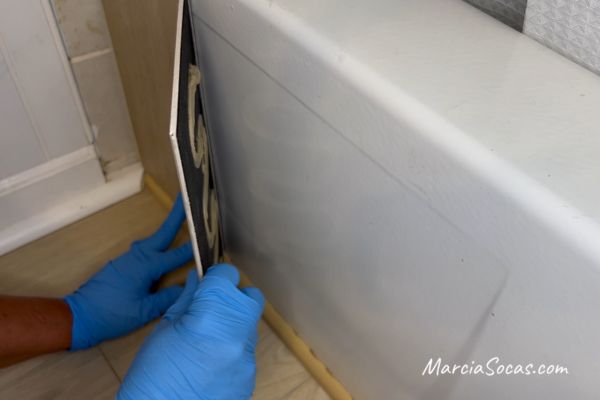
The next step was to add the vinyl plank pieces along the side of the tub. The flooring was from Home Depot, and I love this vinyl plank flooring because it is also water resistant.
The first thing to do on this step was to measure the height of my tub and cut my luxury vinyl plank pieces.
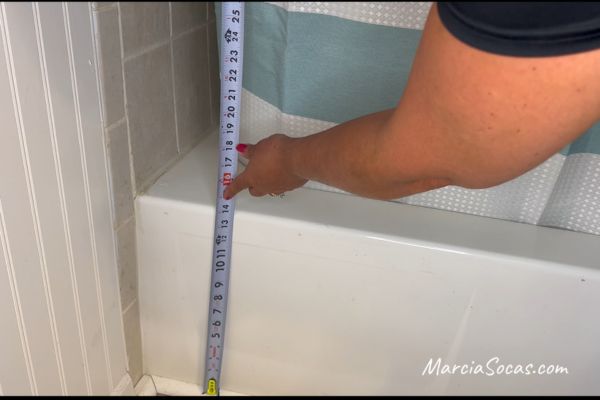
The luxury vinyl plank utilizes a click and lock system that makes it super easy to attach the pieces together. One vertical piece just locks in place next to the other. I also love the way the vinyl planks have a wood grain look to them.
The tub didn’t have a totally smooth surface. There was an indentation in part of the tub as part of the drop-in tub design. So, in order to account for this, I just had to add more liquid nails to build up the area behind the vinyl floor tile plank.
The final piece
When you get to the end, you may have to cut down the width of the plank a little bit. My recommendation is that you finish behind the toilet like I did, so that any imperfections with the finish are hidden.
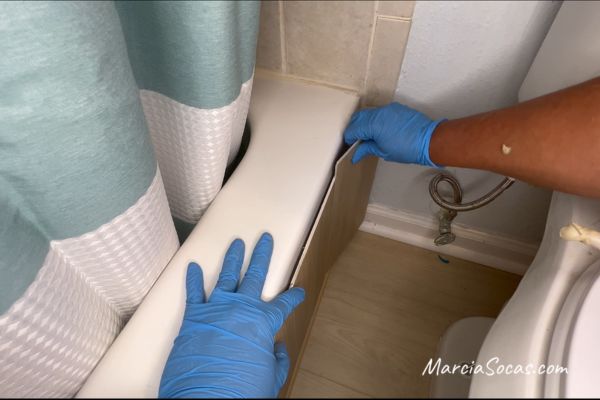
In order to make sure that my lvp pieces stayed secure, I taped them into place, tight against the bathtub, and allowed them to dry.
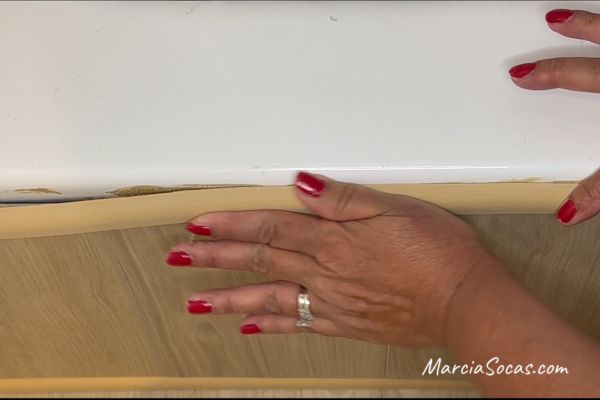
Top trim
Here I used the waterproof trim again. It really works wonderfully in wet areas like this. I placed it just under the top edge of the tub. The fact that it comes in different color shades allowed me to match it with the flooring color. So, the trim pieces did a great job in providing a decorative accent and a clean edge to my DIY project.
Here’s a closeup
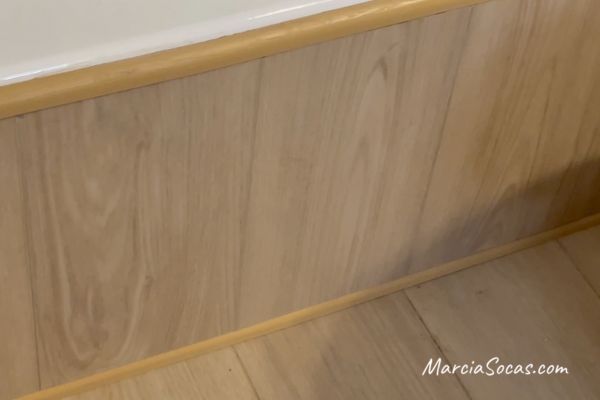
The total cost was $50 for the two trim molding pieces. The flooring didn’t cost anything since it was left over from the previous flooring project. So, this is really an affordable way to update the look of your bathroom.
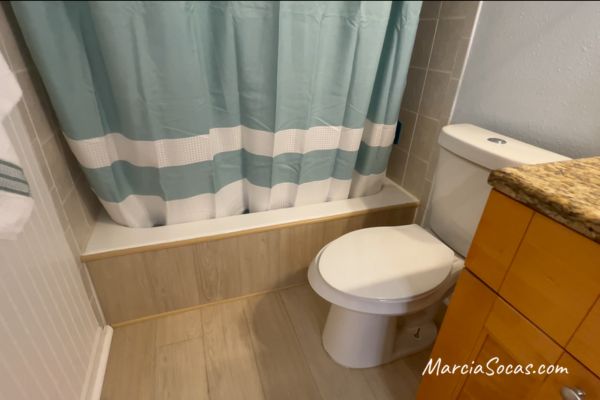
Final view of my DIY bathtub surround
I hope that out of all of the DIY bathtub surround ideas available, you’ll agree that this one is quickest and easiest. It really took me no time at all, and the price was great.
?Now I’m off to renovate the rest of the bathroom! Check out all of the projects here.
I want to do this yo my tub, but it is one them garden tubs that’s got a step up into it. I don’t know how to do the curve ends to the step. Oh, I am a renter. Any suggestions.