
DIY Room Divider
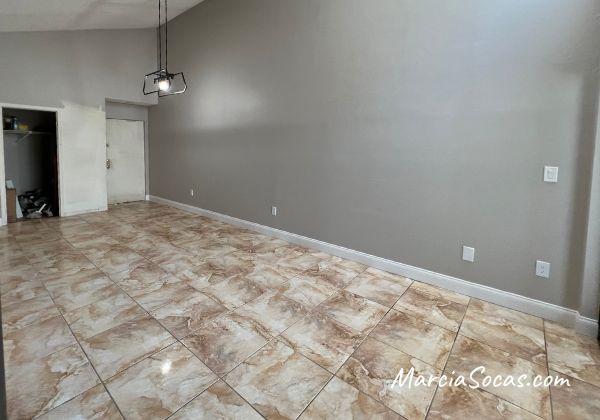
I have an area of my house that has this open desk area which I wanted to cover up a little bit just because it gets a bit messy and I wanted to hide it from view. I wanted to accomplish this by creating a freestanding linear partition wall. It would be a great way to hide my little home office without building an actual wall. The reason I wanted it to be freestanding is that I only needed it to be a temporary solution during normal times of the year. When we do have large family gatherings or parties with guests over, I’d remove this room partition and clean up my desk so that there’s easy access for guests to get to the hall bathroom located at the end of this hallway.
Not sure if that explanation of my floor plan made sense, but needless to say, I wanted to create a mobile room divider rather than a permanent one.
Materials
- 1×3 inch wood boards, I used 8 ft tall but you can adjust this based on your ceiling height
- ?Nail gun
- Saw
Building my Partition Wall

I ran to the hardware store and found pieces of 1 by 3 inch, 8 foot long boards. These cost under $7.00 a piece, and I purchased eight of them, so the project was just around $60.
Sizing your DIY Partition Wall
I determined that I wanted the width of my partition wall to be 24 inches total, more or less.
I wanted 7 inch shelves in between the different partitions. So, I cut 7 inch pieces of wood so that I could use these for my shelves.

Assembling your DIY Wall Divider
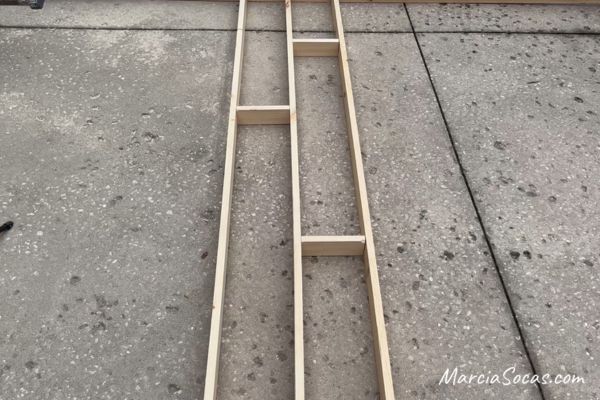
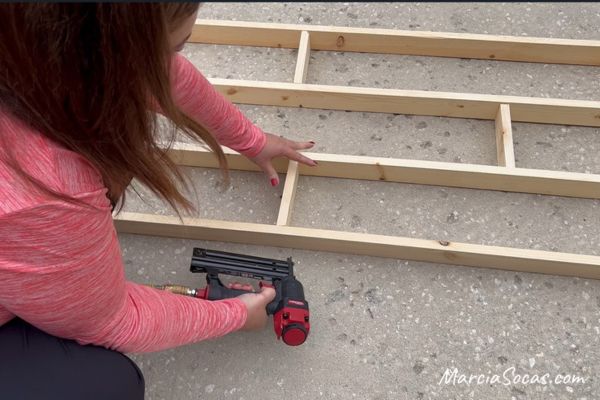
Once those were done. I laid down my 8 foot long pieces and placed my shelving pieces in between them, spaced out the way that I thought would be appealing. While I was building this, I placed a board at the top and at the bottom just to make sure that my pieces were square and that they were even on the top and the box. Once I had my shelf pieces where I wanted them. I secured these into place using a nail gun. That was going to be the centerpiece of my partition wall.

The right side of my partition wall
After that I worked on the right hand side piece. I placed the shelves in different areas because I wanted to have some visual interest with symmetry on the right and left sides but a bit different in the center. Once I had those placed where I wanted them, I secured those as well using the nail gun again.
Making my DIY room divider symmetrical
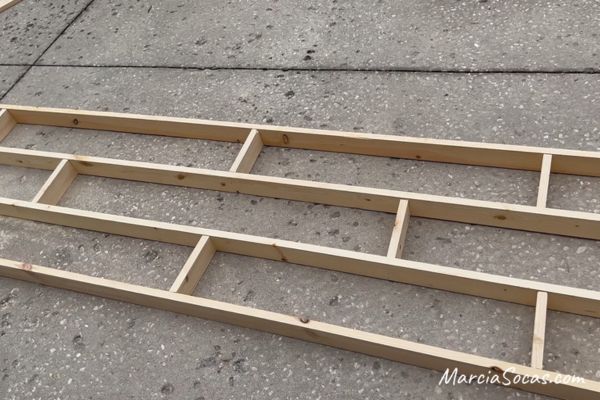
The last step was to work on the left side. I made sure that these shelving areas lined up with the one on the right so that they would be symmetrical, secured those into place and everything was starting to come together nicely. It was a simple design that I really liked.
The top and bottom of my DIY Partition Wall
I then measured the top and bottom of my partition wall using the boards right in place so that I knew that I would have the exact measurement. I marked this, cut it, and then secured it again with the nail gun.

Finalizing the wood frame:
?You can add wood filler to fill in any spaces left in the wood by the nail gun. Just let that dry a bit and sand it down.
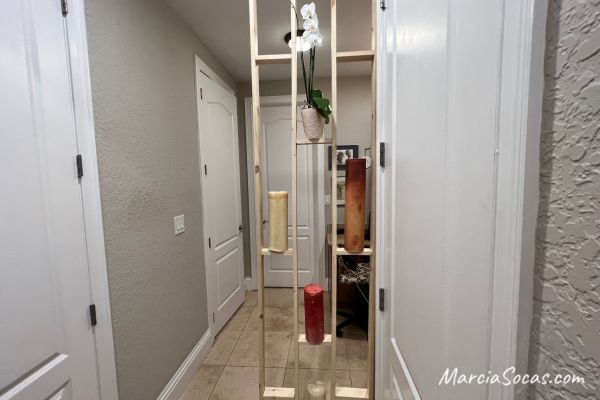
In under an hour I created this little structure. I lifted it up and moved it into place inside the house. At this point, you could choose to secure yours if you know you want it there permanently. I wanted mine to be freestanding.
Customizing your DIY Partition Wall
It would be a great idea to customize the wood frame to go with your decor. You can choose to stain yours and it would look great in a darker color or even painted in black or another preferred color that goes with your style.
I placed a few items onto my little shelves and here’s how it turned out. Shelves like these can serve as the perfect place to display and highlight items that you love. It did a great job of camouflaging the messiness of my desk and just kind of kept that area separate. I could decorate it with anything I wanted to, change the decor as the seasons change, or I could also add some LED strip lighting to the back and that would look pretty interesting too. There are so many different ways to adapt the idea, so please remember that you can customize this for different sizes, different styles, and any other creative ways that work for you.
Making your sleek room divider more permanent:
While I wanted to keep mine freestanding, you could choose to have a type of room divider that is more permanent. If you choose to do so, it would be a good idea to attach the top plates to the ceiling joists, and the floor plate into your floor. You can also attach the side to the vertical studs in your wall. This will give you practical dividers that are also sturdy.
I hope this inspires you to build and customize a partition wall for your own living space! With just a little time and not much money, you can create a practical solution like this one to divide a big room or create a little privacy in a dedicated space without building solid walls.
Other room divider ideas I’ve used:
I also renovate many properties and rental homes, you can view all of the projects here. This includes condos with an open floor plan where the dining room and living area are visible, like this one:
I found a great option to break up this open space visually without physically creating a new wall. This involved using beadboard along the dining area wall. The beadboard went up the wall in this large space with high ceilings and visually delineated the space.

It was the perfect room divider that didn’t take up any floor space whatsoever or shrink the already small living room.
Other great places for a DIY partition wall:
Wall dividers also work wonderfully for a studio apartment where you want to try to create separate spaces without taking up too much interior space. When a room divider wall can serve double duty by serving as shelving as well, it’s a win win for small spaces.
For more projects and DIY solutions, I hope you’ll sign up for my newsletter and check out my blog with a listing of all projects.
Let’s be Friends:
Follow me on Socials here: