
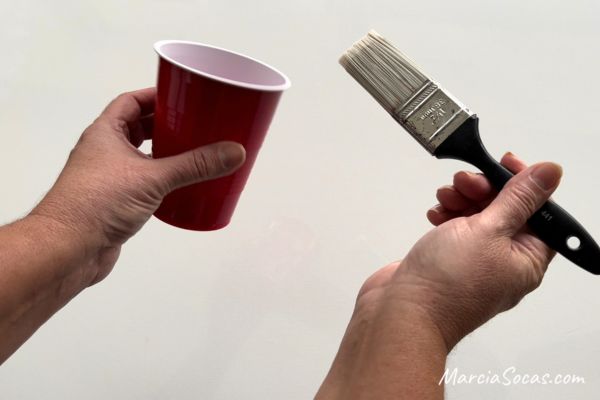
What does a solo cup have to do with painting? I’ll show you how I used a Solo cup for a paint project, and it has nothing to do with washing out my paint brush.
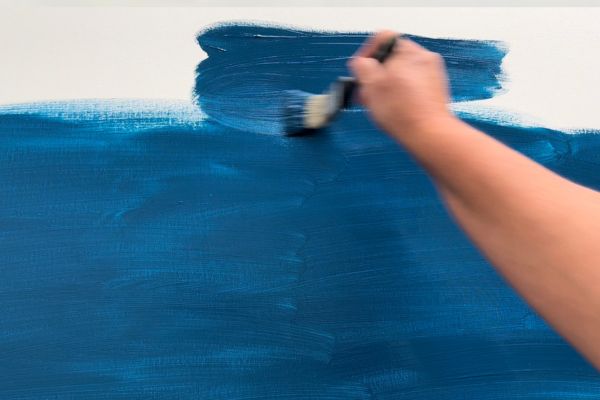
Add your base color
The first step in my painting project was to set the background base color. For this I used Sherwin Williams Loyal Blue. Once my background color was painted and given a few hours to dry, I was ready to use the solo cup to add my accents.
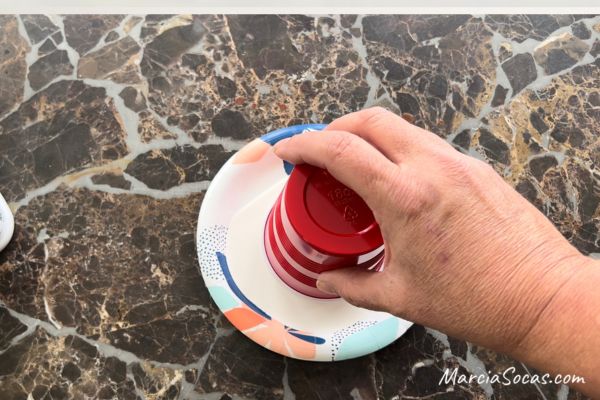
Adding the Solo Cup painting pattern
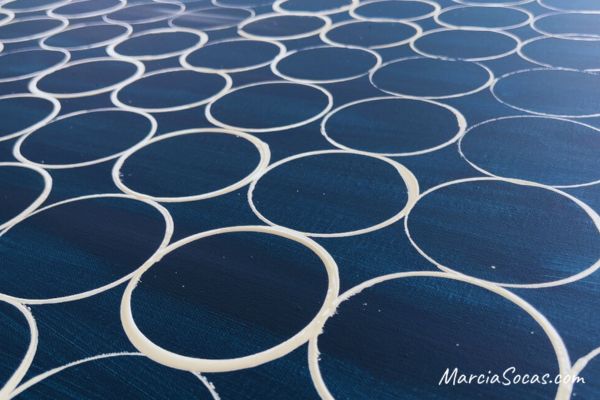
I poured some white paint onto a paper plate. After that I dipped just the rim of the solo cup into the paint. The next step was to place it on my base color. In this way, I got a perfect circle of white onto the blue. I applied it several times before re-dipping it in the white paint again.
A caution when using the Solo Cup Paint Technique
One thing I’d do differently, and that I’d caution you about, is that I’d do my first application of the solo cup with paint on a napkin before placing it onto my project. This way I’d avoid the bit of splatter that comes with that first application where there’s a bit of overage on the rim of the solo cup.
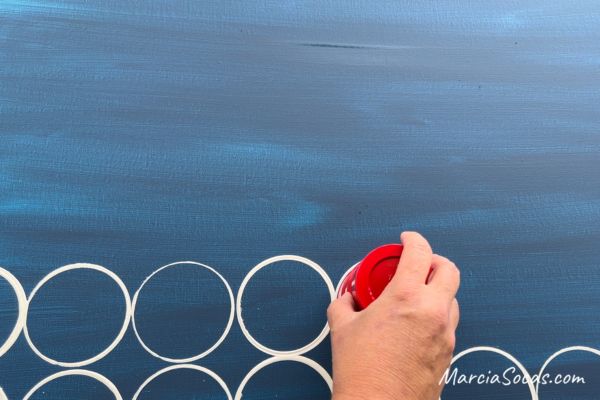
The process was really quick and easy and I loved the pattern it created. My project was finished in no time and looked great.
It was easy to create a uniform pattern.
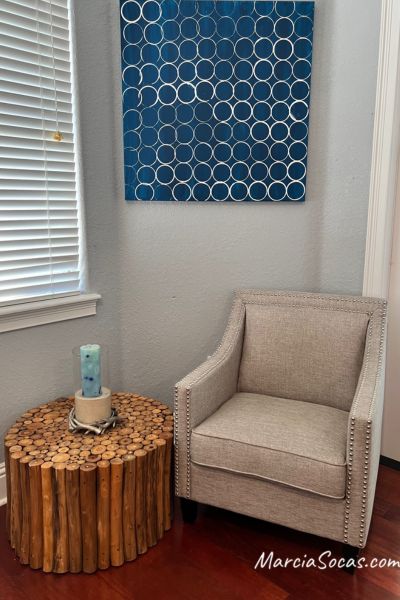
You can use this technique to paint a pattern on a wall. Or, paint it onto a large canvas like I did. This canvas is 36×36 and added a great touch to this little corner of the room.
Your Turn!
I hope you enjoyed this Solo cup painting technique. If you do try it out yourself, please send a photo and I’d love to upload it here!
View more DIY and decor projects here
Let’s be Friends!
Here’s my Instagram