
How to paint kitchen countertops to look like marble
I wanted to brighten up this dark kitchen, but getting rid of the countertops completely and changing them to marble was just too expensive.

The existing kitchen countertops were in great condition. They are black granite countertops and they just weren’t what I wanted for the look of this kitchen anymore. So, I decided to try my hand at painting them!
I had seen several faux marble countertops online, and hoped I could get this DIY project to work for me in this condo I was renovating. I wanted to achieve the look of marble, similar to the real marble I have on my kitchen counters at home.
Throughout my site I provide affiliate links to products that I hope will help you with your DIY project supplies. As an Amazon Associate, I earn from qualifying purchases. This means that I may receive a small commission if you use these links to purchase products, but it does not change your price in any way.
Supplies:
I used a product from Amazon and you can get it here. This kit comes with everything.
This DIY project is part of a condo renovation that featured all DIY projects.
You can view tons of DIY projects here.
You can also view some renovation projects start to finish if you hover over the “home fliping” tab in teh menu bar above.
How to paint kitchen countertops to look like marble, step-by-step guide
- Clean
- Sand
- Prime/paint (multiple coats)
- Paint gray veins
- Lighten, feather, blot
- Epoxy coat to seal
Clean
The first step was to clean the entire surface several times making sure to get rid of any dust or debris, and I scraped off any little bits of paint or anything else that was stuck to the counter top.
I removed the sink because I was planning on changing it. It’s not necessary prep work for the procedure, I just wanted to upgrade it.
Sand
After everything was cleaned, I just lightly sanded the surface of the countertops using a little piece of sandpaper that came in the kit, and then covered up the area so that I could protect the cabinets. The kit came with a small grit sandpaper to use.
I also protected the backsplash a bit. But, to be honest, I’m going to change out this backsplash. So, I really wasn’t too worried about it (and I ended up getting paint on it in the end). The kit came with a small amount of tape with plastic sheeting attached, so that was helpful.
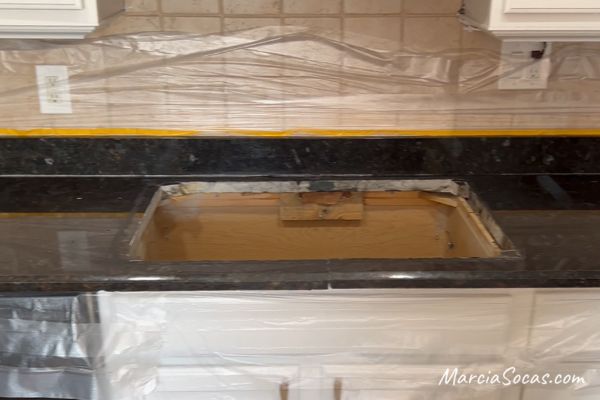
I covered up the stove just because I knew I might make a mess on the stove. It’s new, so I wanted to avoid accidentally getting paint on it.
So here I was ready to start!
Prime/Paint
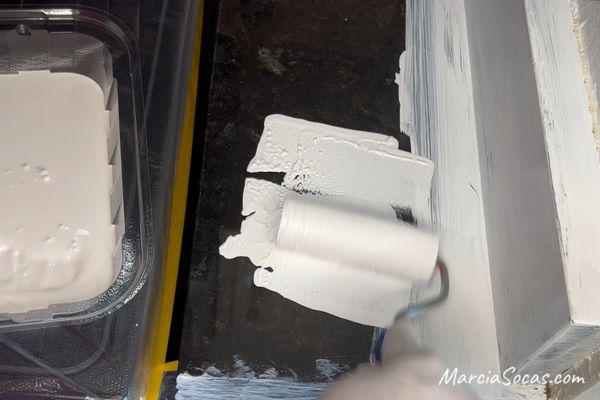
Paint with the white color primer.
I mixed up the paint and the activator with a paint stick, poured it into my paint tray, and started brushing it on. It was important to brush it on in 2 or 3 foot sections, nothing larger, because it starts to dry on the countertop surface. So just don’t take too much time in any one section and keep moving along your counter tops. You’ll be coming back for additional coats anyways.
I brushed it along the backsplash and into the crevices, and then I used a foam roller to get it on the main surface of the countertop. This first coat didn’t give great coverage, but I didn’t expect it to. I was just getting the surface level stuff done and trying not to get any streaks or bubbles.
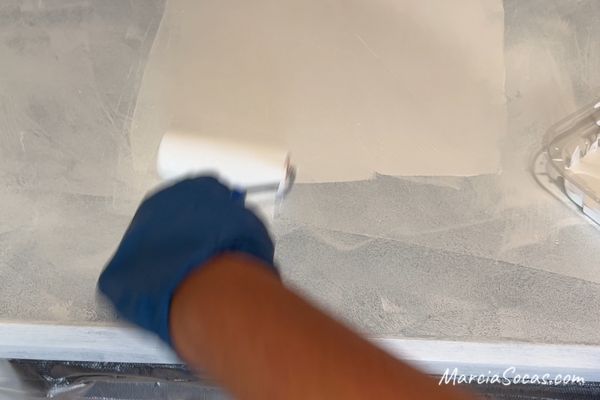
Once that dried, I added a second coat. That might be enough for some applications, but since my countertop was black I still had some color coming through, so I used the paint roller and added a third coat and that gave it the coverage that I wanted.
Here’s the second coat of primer going on over the first. You can see the coverage gets a lot better.
Paint Gray Veins
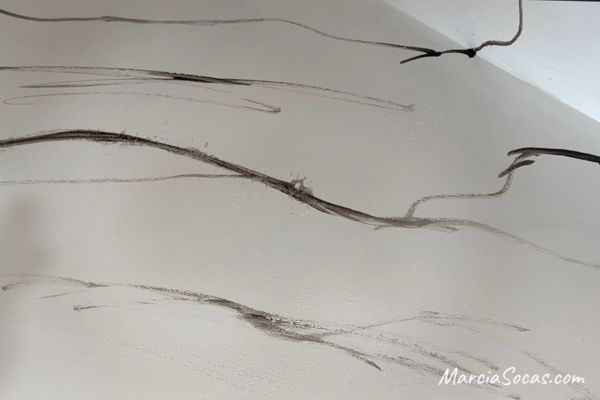
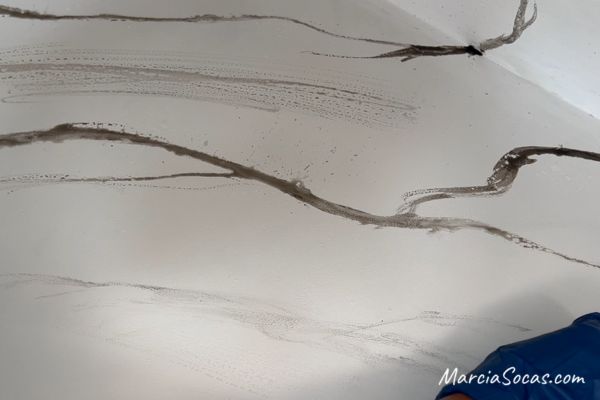
The next step was to start painting on the grey paint for the veins of the marble. There were a couple of small paintbrushes that came in my kit for the marble veins, and I had washed the paint brush that I had used for the white paint so that I could reuse it here again.
I painted lines kind of haphazardly onto the countertop with the small brush; the only thing I made sure to do was to have the brush strokes go more or less in the same direction.
I painted on several major veins, and then had some smaller lines coming off of these main veins.
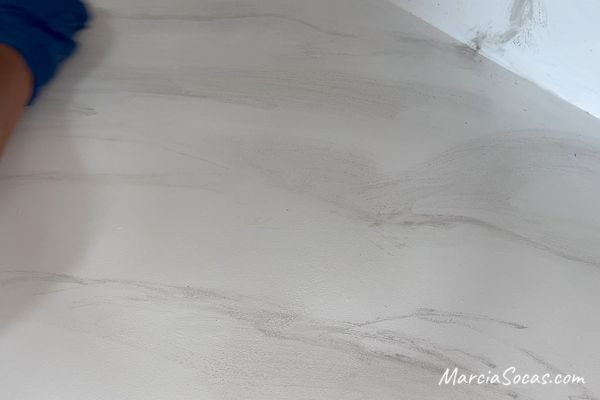
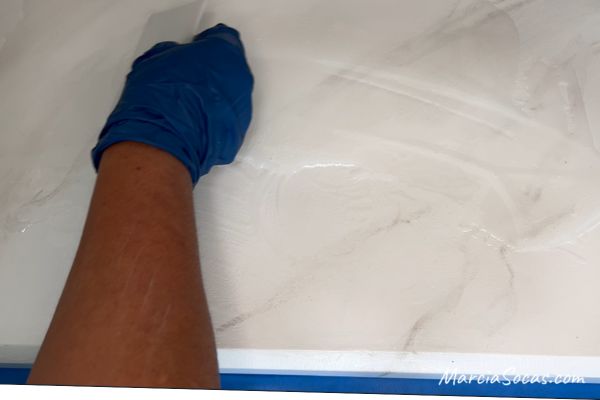
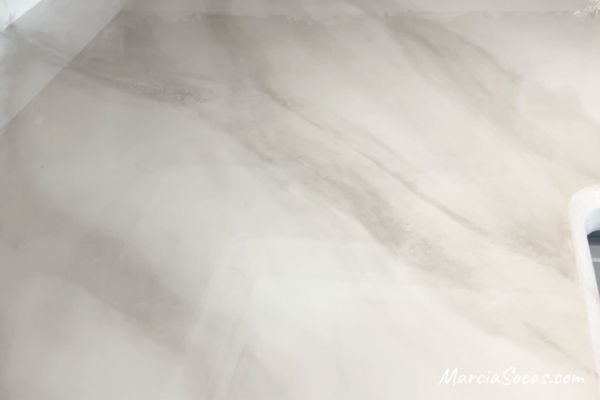
Lighten, feather, blot
After that, I added some water from the spray bottle and I softened up the line using the paintbrush and also using a paper towel in some cases. Don’t add too much water from the start, it really makes the veins blur, but it’s great for adding the ghost veins. Ghost veins are the lighter veins you see running through marble. Having main veins and ghost veins help add to the realistic look.
Some people advise to use a feather and run the tip of the feather along the edges of the gray veins to blur and blend them naturally onto the white surface. I didn’t feel this was necessary for me but you can play with the idea and figure out the best way for you.
I’ve seen some other tutorials recommend a sea sponge, so if you have that, it’s great. But if you don’t, blotting with a paper towel worked just great for me. I really wanted to kind of dull it a little bit. I didn’t want really distinct lines because that’s not the way that natural marble looks. There’s natural marble in my kitchen at home and so I used the look of that as my inspiration when I was working on this condo. I continued softening it until it achieved the look that I was going for.
it was important to step back every once in a while, and make sure I wasn’t doing too much painting or leaving too many sparse areas or following too much of a pattern since a natural stone is pretty random.
Epoxy coat to seal
Once I was happy with it, my next step was to prep the epoxy. This involved mixing two solutions together and stirring it for two minutes.
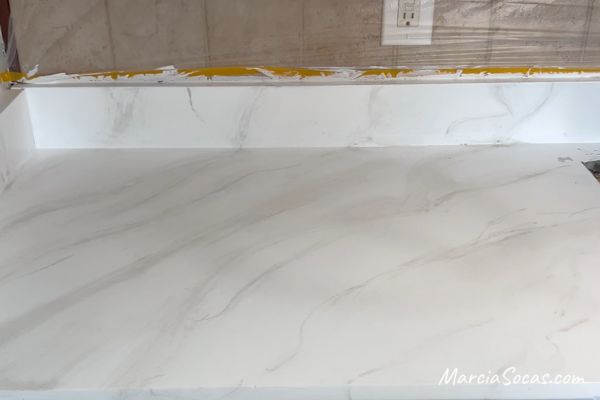
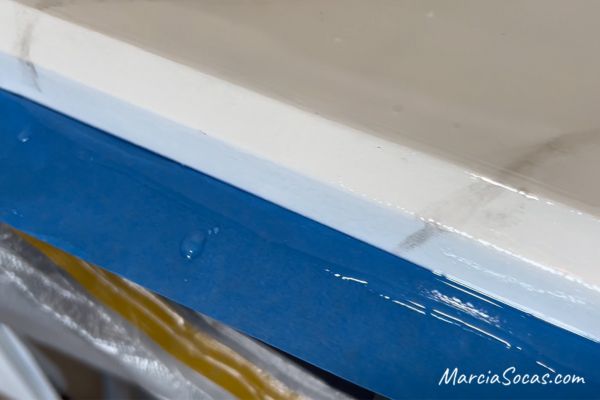
Since the epoxy resin may run off of the countertop, it was important to add painter’s tape along the edges, with the sticky side up, to catch any epoxy that might drip over the sides. It’s a good idea to use drop cloths to protect your floors at this step. (I learned that the hard way)
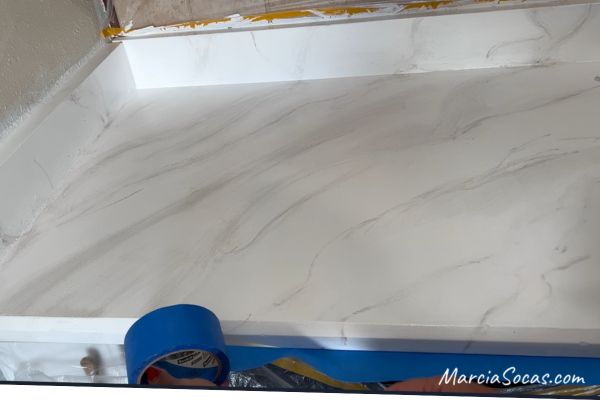
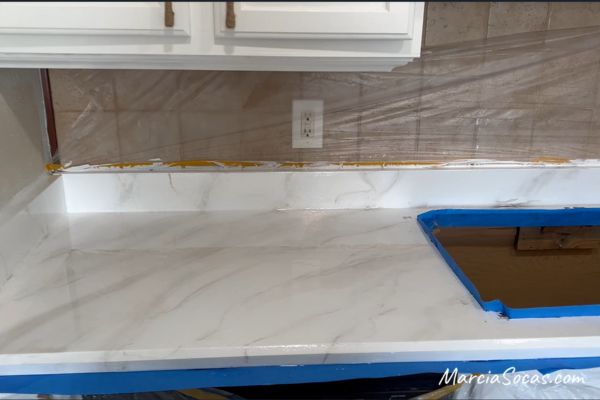
Pouring the epoxy on the entire countertop was easy. Then I just spread it using a little spreader that was included in my kit. I let it sit for several hours and it started to shine and look great right away.
Here you can see how the epoxy flows off of the countertop and onto the edges of the tape. So, I’m really glad I had that there otherwise I would have had a big mess to clean up off of the floor.
It’s amazing how this clear coat immediately makes the painted surface get a marble look. It’s like that top coat provides a deep and smooth surface that makes the marble paint stop looking “flat”.
Final Step
A couple of hours after everything was dry, (approx 2 hours dry time for this step) I simply removed the tape. That was the final step. Then allow the glossy finish to harden for about a week before any serious use.
I thought my new countertops looked amazing! They looked completely natural and they lightened up the kitchen so very much. And, the best part was that they cost under $150 and I was able to do it myself.
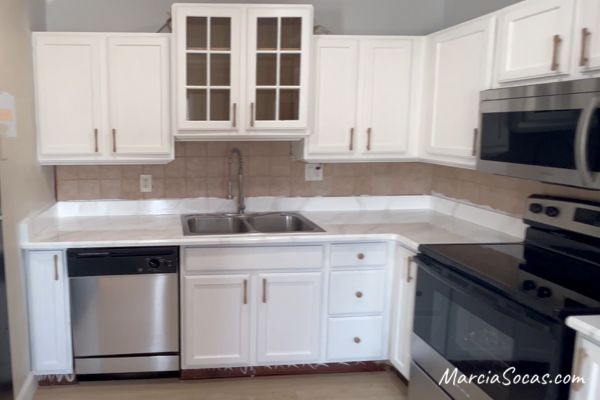
Here’s a look at my kitchen the next morning. Most of the kitchen makeover is complete. I still need to add the shiplap backsplash I’d like to incorporate here.
You’ll see that I also painted the kitchen cabinets white, and added upper cabinets, to give it this final look:
I love the way this project turned out. I hope this inspires you to try a faux marble project of your own on your kitchen or bathroom countertops. With it you’ll give those old counters a new look and a great smooth finish.
Durability:
These faux marble countertops are still new to me, so I don’t know yet how they’ll hold up in the long run. But, I do know that you shouldn’t use the counters as a cutting board the way you can with granite. You may damage the epoxy sealer if you do.
Note: I used this kit and this technique on granite counters, but I do believe that it also works on laminate countertops the same way. Painting countertops, granite or laminate counters, is a great way to give a kitchen a whole new look at a fraction of the cost.
Download printable “How to paint kitchen countertops to look like marble” free worksheet.
Your turn! Implementing the “how to paint kitchen countertops to look like marble” project.
If you take on this DIY faux marble countertop project, please send me a photo and I’ll post it here!