
Wall Shelf DIY Project
Recently I created these DIY shelves in the living room of the waterside condo that I’m renovating, and living in, this summer. These wooden shelves were a great way for me to fill in the small spaces next to the DIY fireplace.
I wanted to keep the look of the living space light and so the open shelving really allowed for that.
Rather than buying a wall shelf, it was easy to build it on my own as a DIY project. You can also build your own shelves using this step-by-step tutorial below.
Throughout my site I provide affiliate links to products that I hope will help you with your DIY project supplies. As an Amazon Associate, I earn from qualifying purchases. This means that I may receive a small commission if you use these links to purchase products, but it does not change your price in any way.
Supplies:

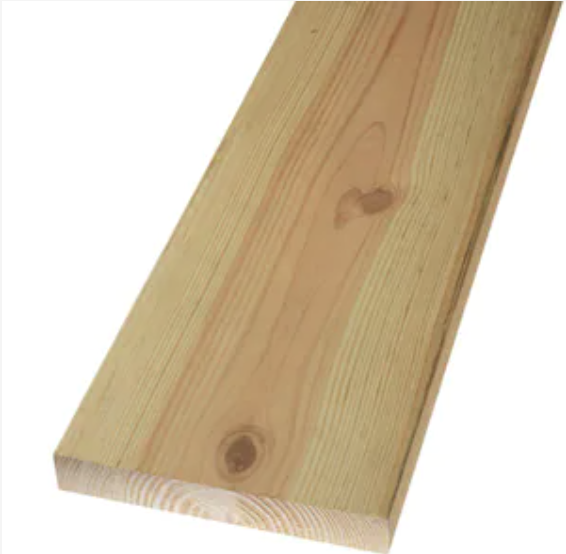
Wood Boards (you can find these at Home Depot or Lowe’s)


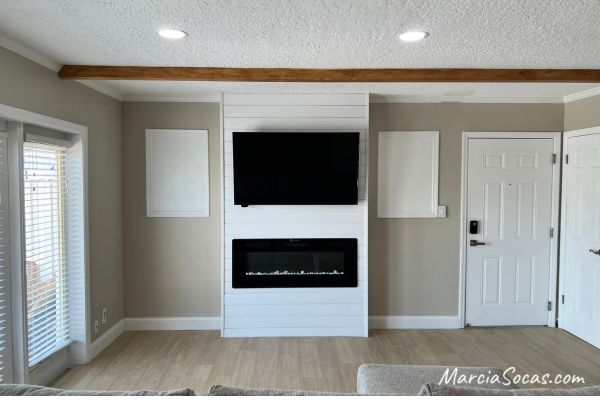
Living room before my wall shelf DIY:
This is where I was starting. I had already built the fireplace and added the faux wood beams to the ceiling:
DIY Shelf Tutorial:
1. Determine the location of your DIY wood shelves
It’s a great idea to use a stud finder to locate the wall studs behind your wall and mark those to drill into. However, in my project, I didn’t have studs where I needed them.
If you run into this same situation, a great option is using drywall anchors or toggle bolts on your own DIY wall.
I used toggle bolts because they were going to hold more weight than the drywall anchors.
2. Determine the size for your wall shelf DIY
You’ll take your measuring tape and find the perfect length for your shelf boards.
However, you should also take your tape measure to see what depth is best for your wooden boards.
If you’re starting with just a blank wall, then you can determine any depth (and length) that work for you.
For me, since I was working on both sides of this fireplace, I wanted to make sure that my wall shelves didn’t extend past the depth of the fireplace. The fireplace came out about 10″, and so I used 2×10 wooden boards.
When the lumber is 2×10, it’s actual dimensions are 1.5″ x around 9″, so this was perfect for me.
The best part is that you can find different sizes of wood boards at your hardware store and that makes it easy to customize the project to fit your wall.

By the way, one great thing that hardware stores offer is “courtesy cuts” at no extra cost. So, if you measure what you need for your entire wall, you can go into the store with your cut list and try to get them to cut the wood for you.
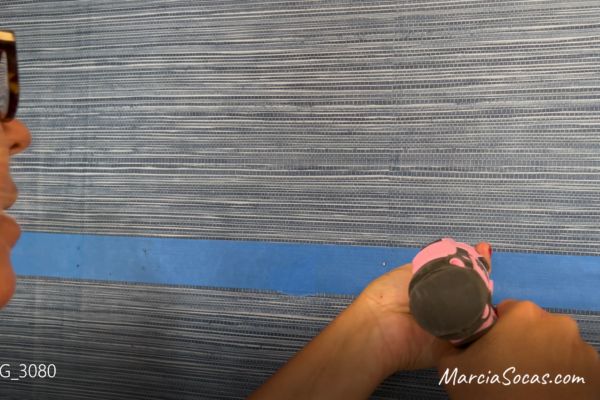
3. Determine where your DIY shelves will go on your wall.
I marked mine using painters tape so that I could step back and make sure that I liked the way it looked.
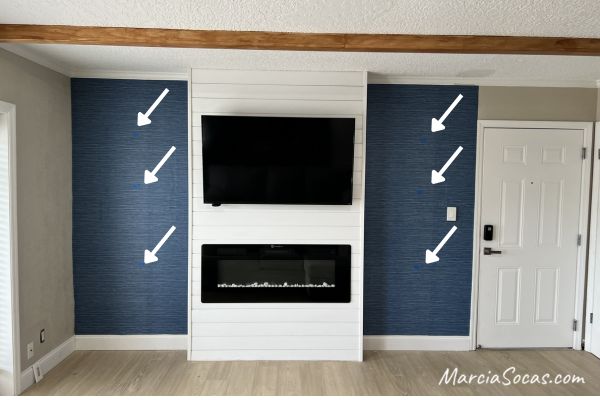
Then I measured the center line, and spaced the two brackets out evenly from there.
I didn’t want the brackets to go all the way at the end of the board.
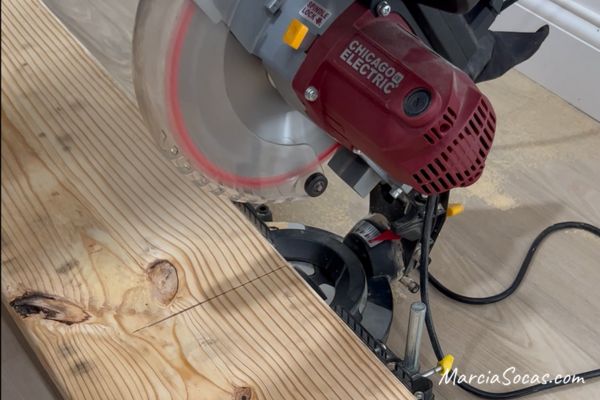
4. Cut your wooden boards
If you weren’t able to get your wood cut at the hardware store, you’ll need to cut it yourself now. You can use a miter saw, circular saw, table saw; whatever you have.
5. Sand your shelf boards
It’s a good idea to sand your wood at this point. I used 220 grit sandpaper to get rid of my rough edges.
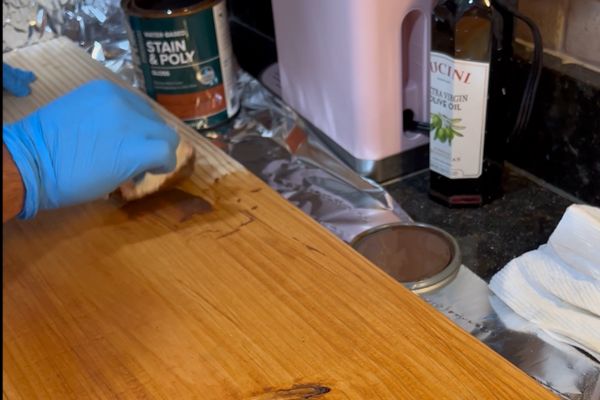
6. Stain or paint your wood shelves.
Side Note: This is a spot where scrap wood can be put to good use.
So grab a piece from the scrap pile and test out your wood stain or your different colors of paint to see how they’ll actually look on your wood.
I stained my shelves using a Behr water-based stain and gloss (Antique Walnut) and a rag.
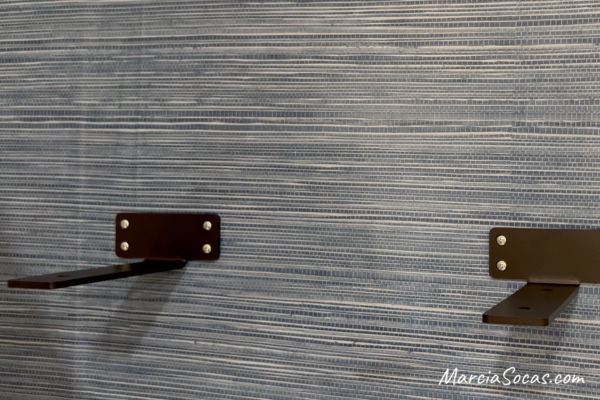
7. Install your shelf brackets
I used my favorite pink cordless drill to first drill pilot holes and then add my toggle bolts and the shelf brackets.
8. Mount your shelves
I placed my shelves and them moved them around a bit to see where I liked them best.
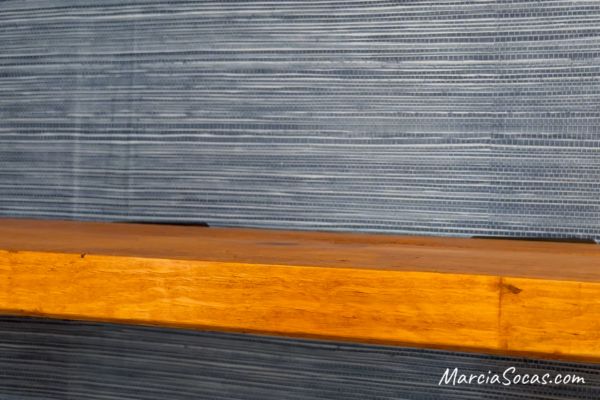
Here’s my end result!
The final step is to decorate your DIY shelving to fit your style.
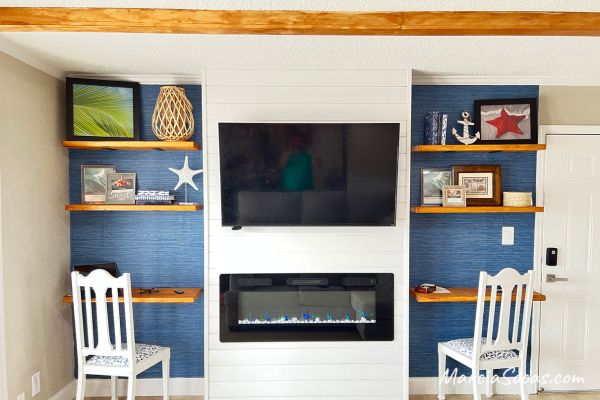
Note: for the bottom shelves, I used 2 x 12 boards because I wanted them to have a bit more depth so that I could use them as desks for my tablet and stationery.
Other types of Wall Shelf DIY’s
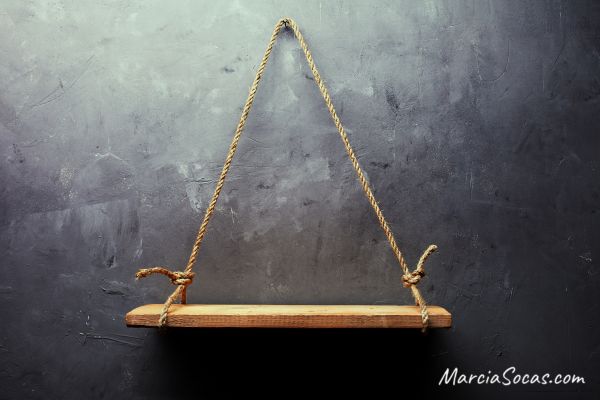
Rope Shelf –
Simple Floating shelves –
I love the look of a floating shelf but it does involve more steps that these bracket shelves. You see, with the DIY wall shelves in this tutorial you just add the board onto your brackets. However, with floating shelves you’ll typically create a frame and then add wood or a plywood board to the top and bottom and finish with a front board. This just involved more steps than I wanted to take on; and I did feel like my brackets were pretty unobtrusive and allowed me the look of floating shelves while maintaining the ability to have this as a quick project.
Where to add DIY wall shelves (pretty much anywhere you need extra space!)
This type of wood shelf DIY project is great for small rooms because adding shelves can help give you some extra storage space.
I’d also add them to a laundry room where you need as much space as you can get for storing cleaning supplies.
A home office, of course, would look great with bracket shelves.
Alternatively, you can upcycle an existing built-in bookcase. For example, a lot of times these have thin shelves that don’t look as modern as the thicker shelves you see today. You can replace the existing shelves, add extra shelves, really just customize it the way you need to.
If you want to get creative with your cuts, you can also buy corner brackets and create a great corner shelf.
Your Turn!
I hope you enjoyed this simple DIY and that you found these to be simple steps that you can replicate.
You can view my previous projects by looking under the home flipping tab and seeing the various homes start to finish, or go to The Blog which has a list of all of the DIY home projects I’ve shared.