
DIY Trim Accent Wall
I love a good accent wall (especially affordable accent walls), and when I can create one using trim accents, it’s even better because it gives texture and presence to the entire wall.
Throughout my site I provide affiliate links to products that I hope will help you with your DIY project supplies. As an Amazon Associate, I earn from qualifying purchases. This means that I may receive a small commission if you use these links to purchase products, but it does not change your price in any way.
I have created these accent wall ideas in the past:
- Board and Batten Wall (this was a cool feature wall)
- Slat Wall (vertical pieces with the bonus of LED lighting)
- Picture Frame Molding wall
- Even an accent wall created with wood shims
This one is a different trim accent wall idea… and it’s an easy way to use leftover wood trim pieces from other projects you’ve worked on in your own home.
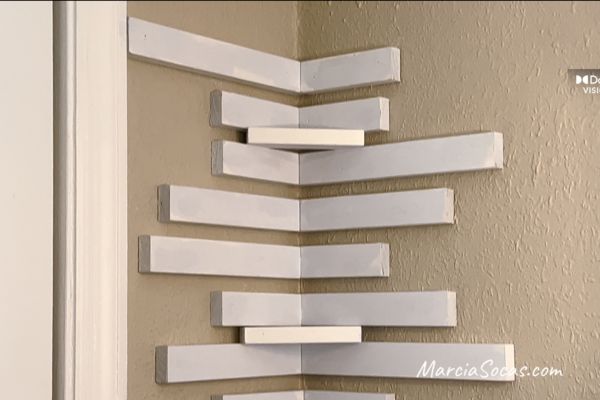
Full Tutorial, wood accent wall (corner project):
I wanted to add some visual interest to this small corner of my room. It’s just a small corner with a very dark blank wall feel in the master bedroom of this condo I’ve been renovating with all DIY projects.
I happened to have some leftover 1×2 brick molding which I had used for a different project. You can view that project here.
After looking at the cut pieces I had left behind, I knew that I could put something together that would look really cool on this wall.
Materials
Cut
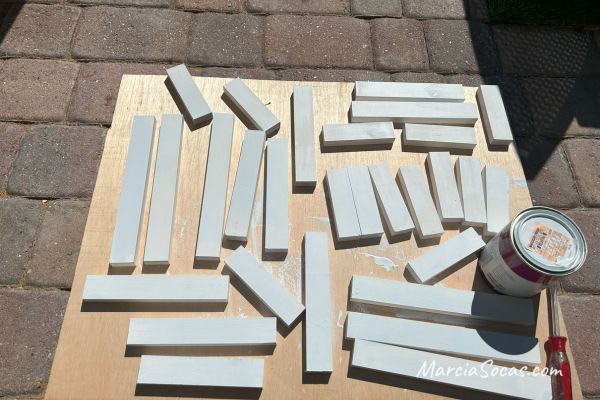
I made sure to cut my pieces in three different lengths. One was 5 1/2 inches, then 8 1/2 inches and the largest size was 11 1/2 inches. I just used a straight cut on my pieces, but you are welcome to miter cut yours if you prefer of course.
Paint
Once I had my pieces cut, the next step was to give them a quick coat of paint and made sure to paint the edges because those looked raw and brown from cutting them.
Plan
When they were dry, I laid them out on the floor and played around with patterns and designs because I wanted my final design to look somewhat random and to have varying lengths of board along the wall.
Attach Right Side
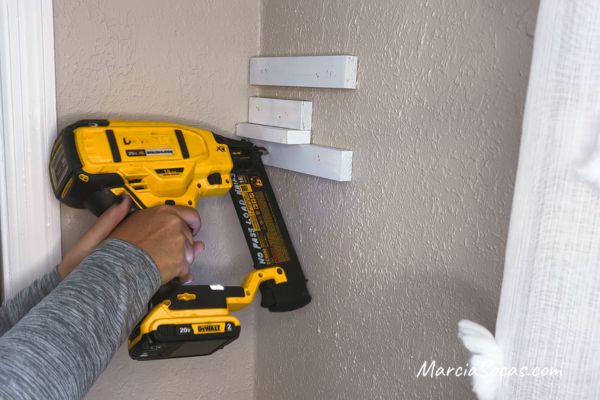
Once I was happy with my design, I stacked up my horizontal pieces and I started adding them to the wall, making sure the first piece was level. You can use construction adhesive / liquid nails on the back of your pieces and then use a nail gun to put them in place, but I just went ahead and use the nail gun straight away. I used brad nails, as opposed to finish nails, so that it would be really secure.
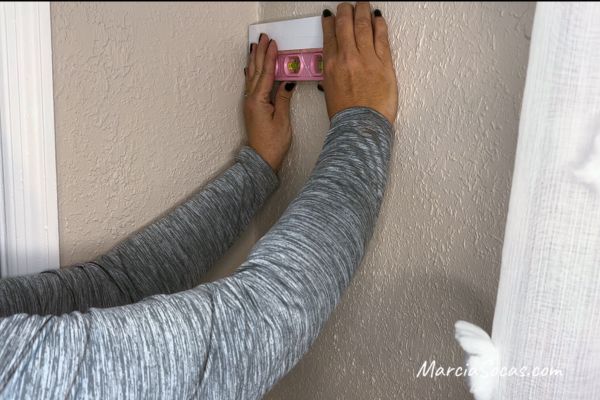
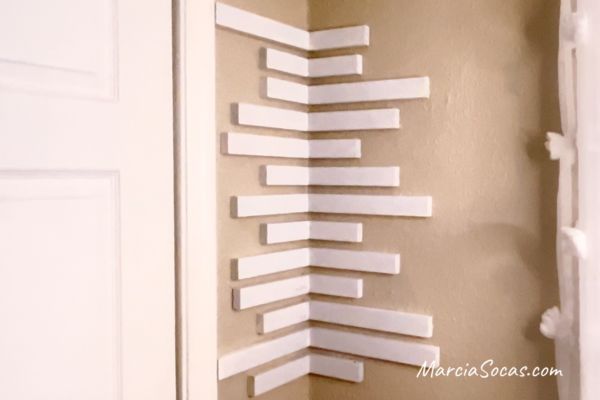
I attached the pieces to the right side of my corner first, putting the pieces all the way up against the corner wall. Make sure your first horizontal piece is level using your hand held level or laser level, because all of the other pieces build and are spaced from this one.

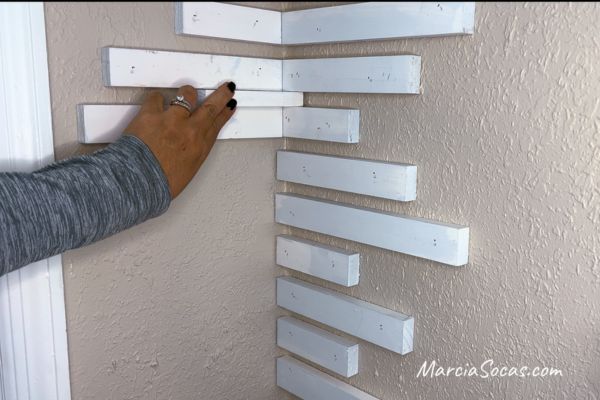
I then created a spacer using the exact same block and justice angled it on its side instead of flat I used the spacer so that I could have even spacing between my accent wall pieces. I just moved the spacer along as I continued along my project.
Attach Left Side
When it came to the left side, I abutted it right up against the right side pieces.
Once the accent pieces were on the wall, I then needed to cover up the nail holes left by the Brad Nailer.
Fill Holes
You can use wood putty wood filler or you can use some caulking. For this. I had some caulking on hand from another project so I just put it in the little hole spaces and allowed it to dry.

Final Step
Once that paintable caulk was dry, the last step was to add a little more touch up paint to make sure that everything looked nice and fresh.
I love the way these little accent trim pieces give some life to a wall space that would otherwise be unusable because of its size. It gives some visual interest there, breaks up the dark beige that I have in this room, and since I used this spacer I can still add other pieces of this same wood and create some makeshift shelves.
Personalizing
My shelves can be movable anywhere along the entire accent piece. And there’s so many different things I could add on here.
I could add plants. My favorite perfumes, candles, even perhaps some books if they’re small enough.

Or I could just leave it as it is, just as a decorative accent piece.
I love the versatility, you could make this as tall as you want. Have it go from the ceiling all the way to the bottom of the wall, or make it as small as you want. It could just be the same size as your window or some other feature that’s next to it, for example. There are plenty of different ways to customize this little DIY accent wall.
Your turn!
This DIY project didn’t cost me anything at all since I was just using leftover scraps from another project. I hope this inspired you to use your leftover scraps in a creative and affordable way, and perhaps build a variable height accent wall like this one. I hope you enjoyed this quick and fun project using leftover trim mouldings and not requiring a ton of fancy tools.
?If you create a DIY trim accent wall of your own, please send me a photo and I’ll upload it here for everyone to see your creation!
Sign up for my newsletter for more home projects